ग्राहकों को अपनी पसंद के permission level पर private GitHub repository का collaborator access दें और cancellation होने पर इसे स्वचालित रूप से रद्द करें।
GitHub entitlement किसी paying customer को private repository पर collaborator के रूप में जोड़ता है। आप permission level चुनते हैं (pull, push, triage, maintain, या admin)। Dodo Payments collaborator invitation भेजता है और grant revoke होने पर collaborator को हटा देता है।
ग्राहक Customer Portal से अपना GitHub account connect करता है। इससे उसका GitHub account purchase से link हो जाता है।
Dodo Payments उस account को आपके repository में configured permission level के साथ invite करता है। GitHub पर invitation स्वीकार करने के बाद ग्राहक को access मिल जाता है। यदि repository ग्राहक की own है, तो invitation की आवश्यकता नहीं होती।
Cancellation, refund या manual revoke collaborator को हटा देता है और किसी भी pending invitation को cancel कर देता है।
इसके सामान्य उपयोगों में source-available products, paid templates, course code repositories और gated client SDKs शामिल हैं।
Dodo Payments dashboard में Entitlements पर जाएँ और नया entitlement शुरू करने के लिए + पर click करें।
2
Pick GitHub
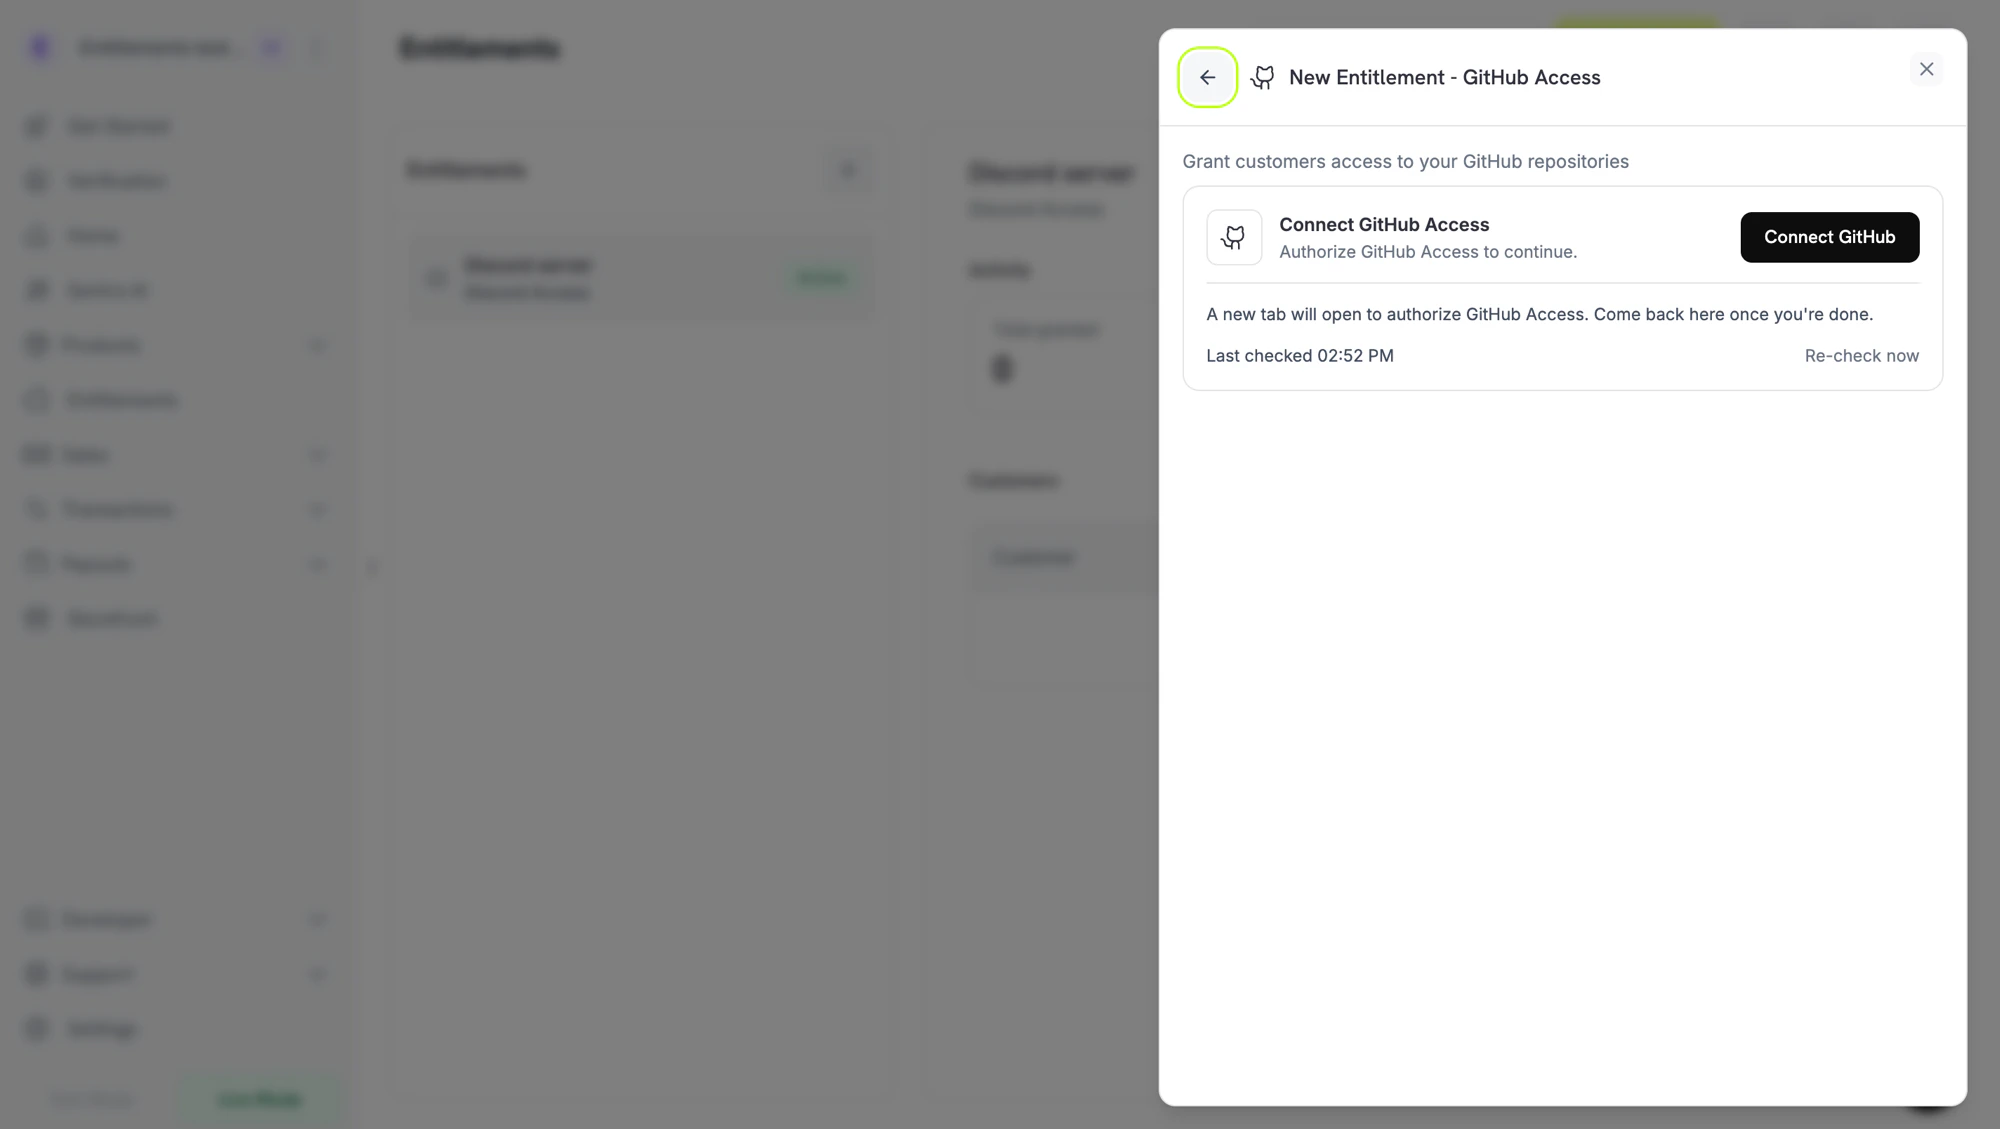
Integration के रूप में GitHub Access चुनें। यदि GitHub अभी तक connected नहीं है, तो Connect GitHub पर click करें।
Connect GitHub prompt before the install handoff.
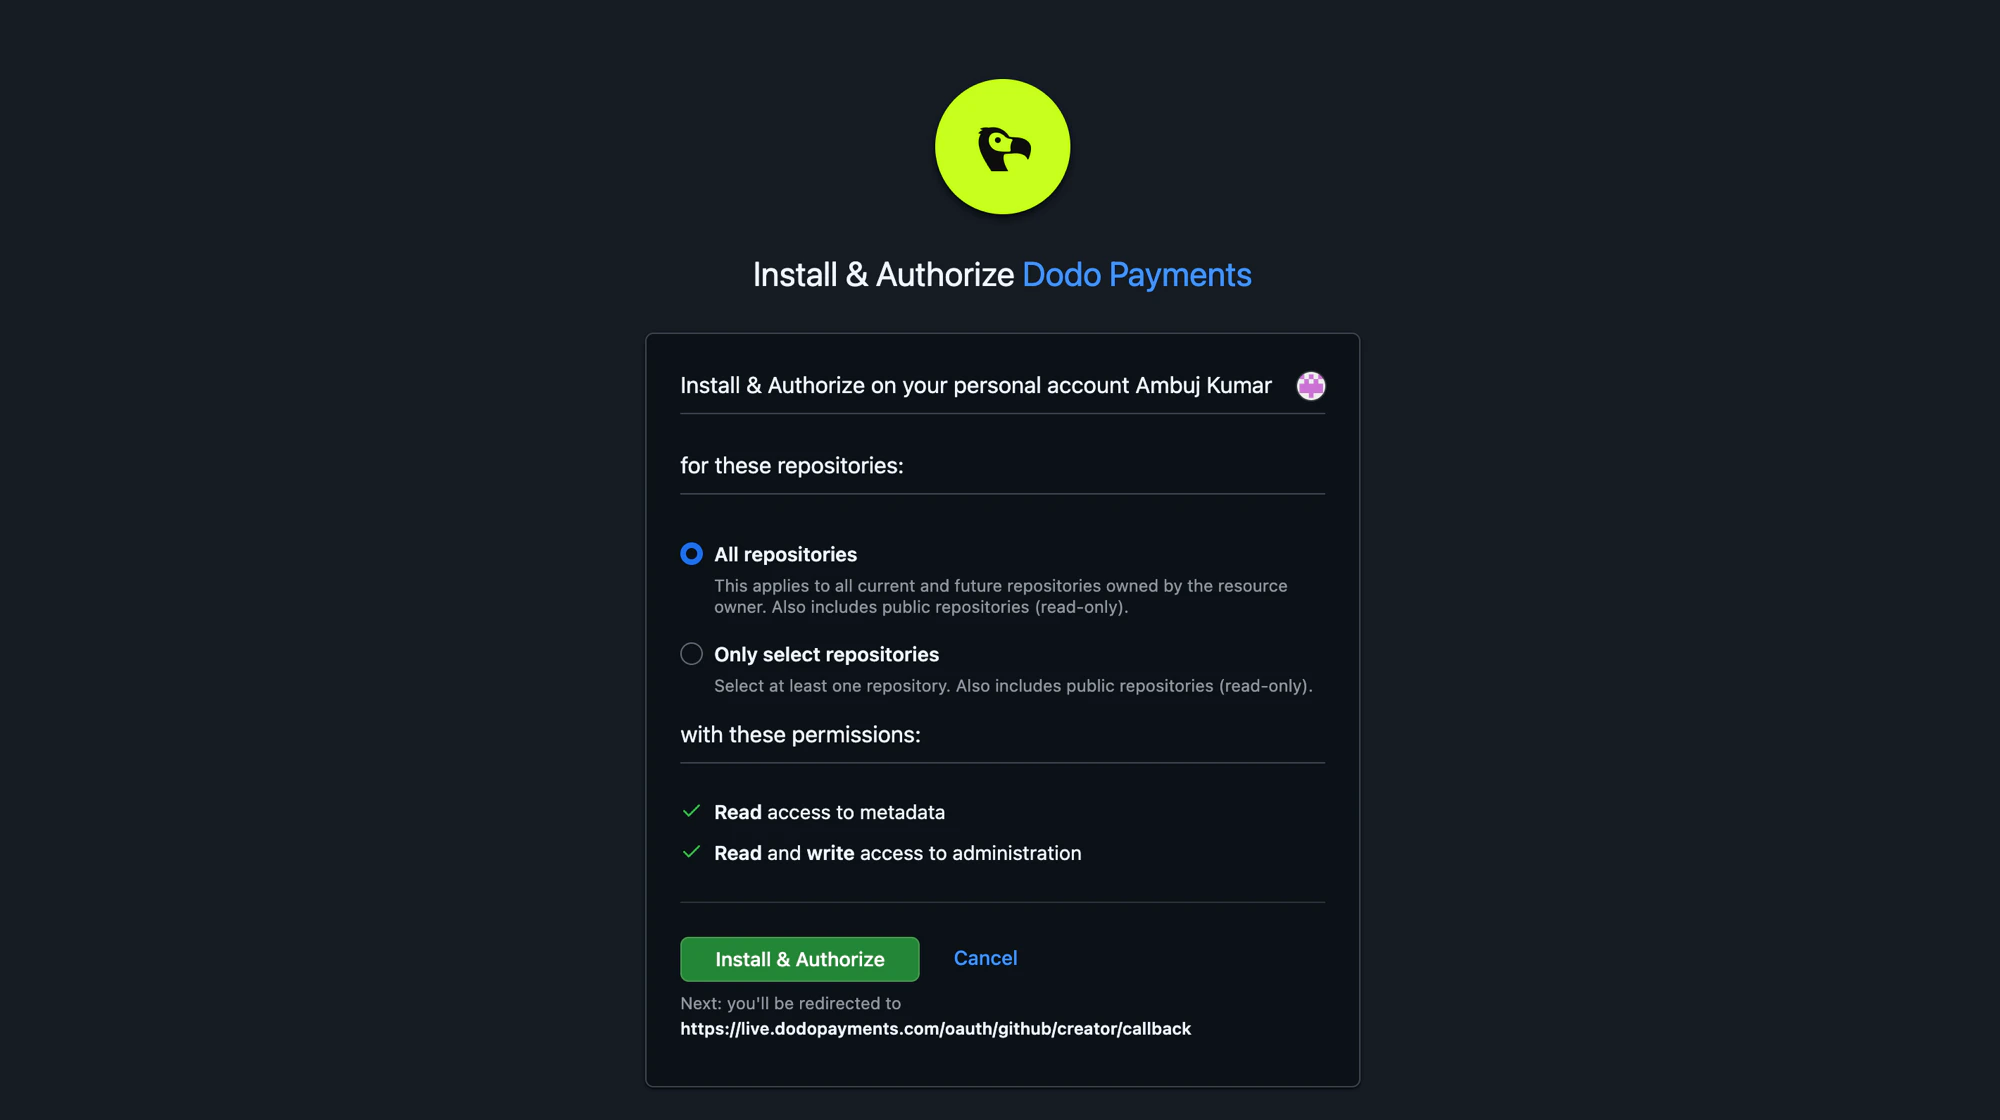
GitHub एक नए tab में खुलता है। Sign in करें, फिर उस organization या user account पर Dodo Payments GitHub App install करें जो repository का owner है। आप app को All repositories या Only select repositories का access दे सकते हैं। यदि आप repositories चुनते हैं, तो उन सभी repositories को शामिल करें जिन्हें आप gate करना चाहते हैं।
GitHub Install & Authorize page. Choose which repositories the app can manage.
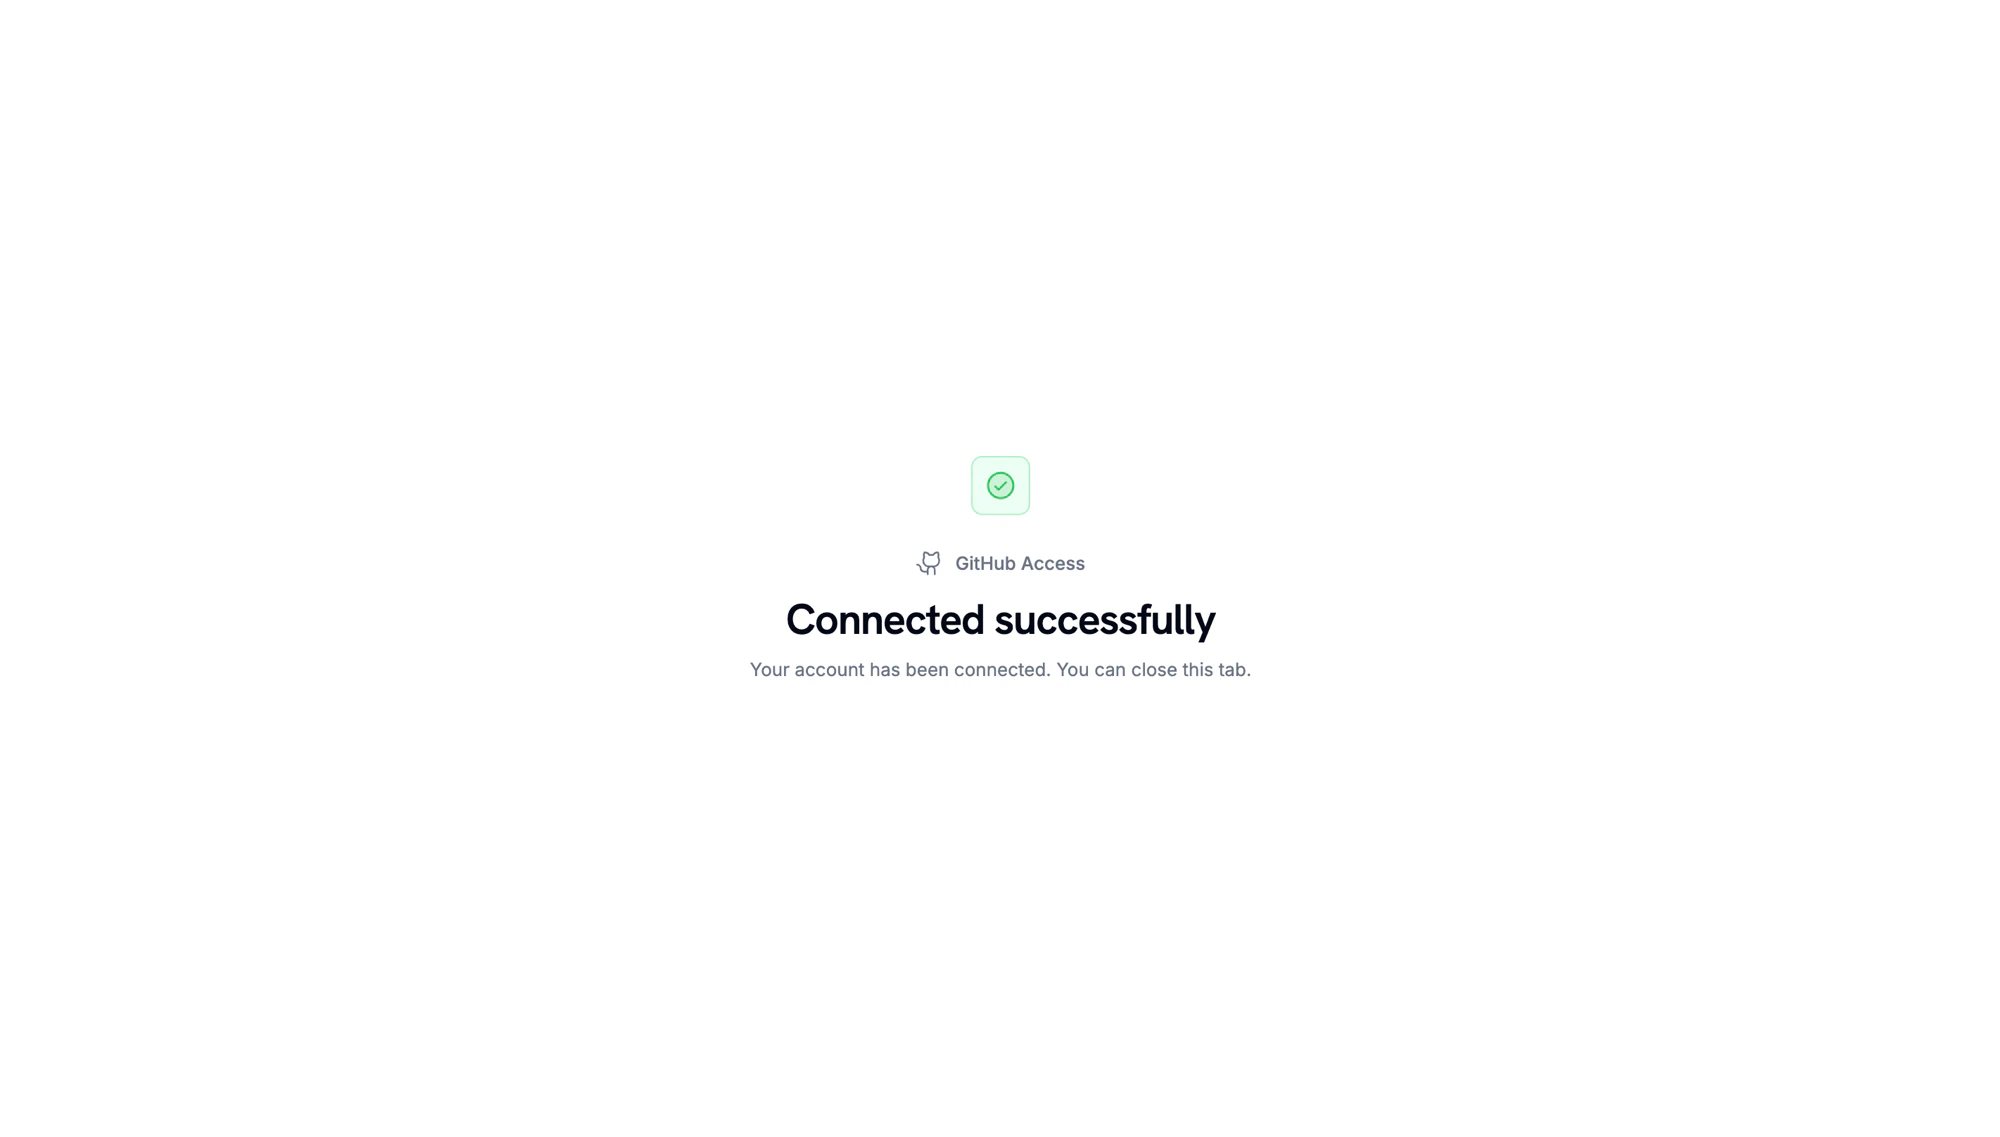
जब GitHub वापस redirect करता है, तो एक confirmation page दिखता है कि account connected है।
Account connected. Return to the Dodo Payments dashboard to continue.
3
Pick a Repository and Permission
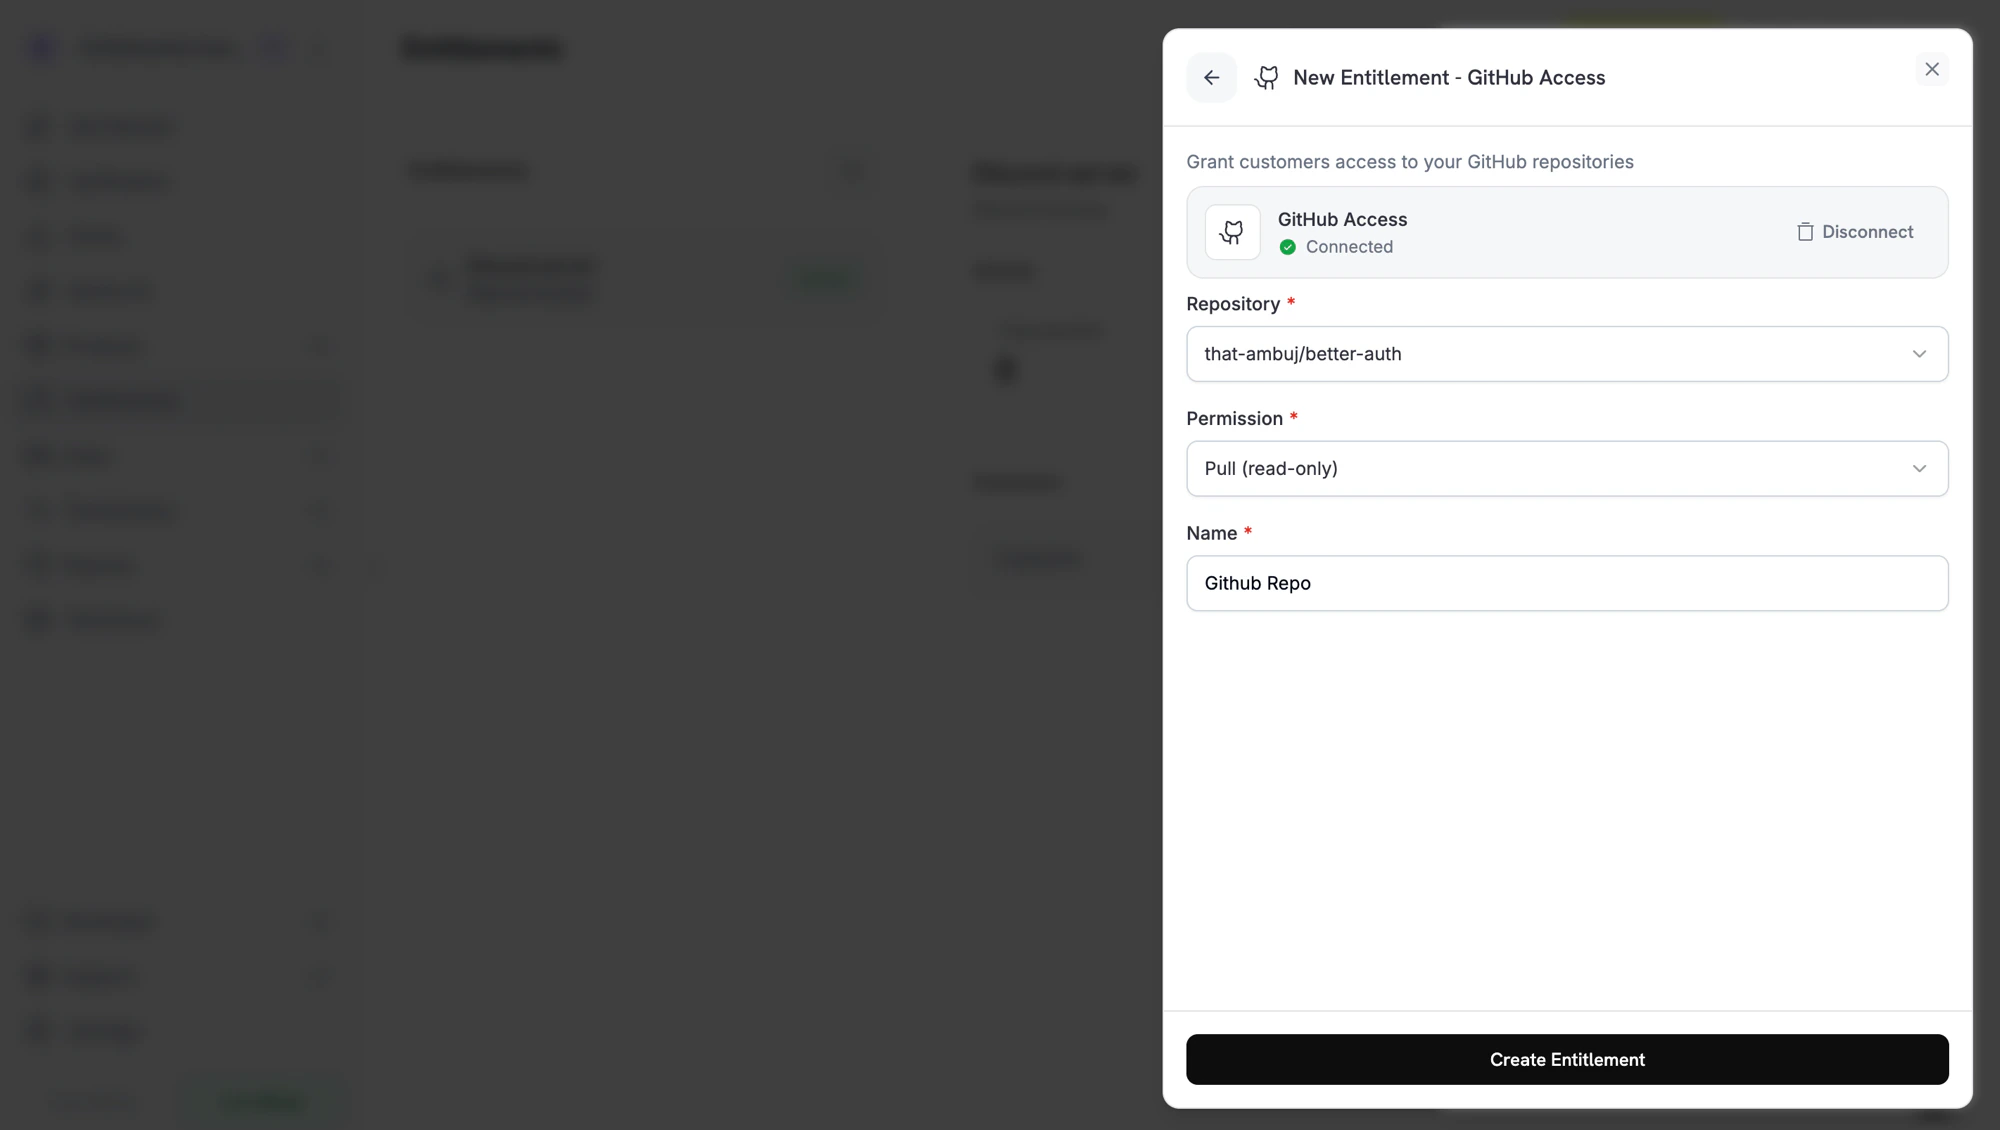
Dashboard में वापस जाकर वह Repository चुनें जिस तक entitlement access देता है, फिर Permission level चुनें। Repository picker केवल उन repositories की सूची दिखाता है जिन तक GitHub App पहुँच सकता है। Entitlement के लिए Name दर्ज करें और Create Entitlement पर click करें।
Creating a GitHub entitlement. Pick the repository and the permission you want customers to receive.
4
Attach It to a Product
Entitlement को किसी भी product से attach करें। उस product को खरीदने वाले ग्राहकों को अपना GitHub account connect करने के बाद GitHub invitation प्राप्त होता है।
Dodo Payments, Pending स्थिति में एक grant बनाता है। Dodo Payments तुरंत GitHub authorization URL बनाने का प्रयास करता है और उसे oauth_url में संग्रहीत करता है। यदि यह विफल रहता है, तो ग्राहक द्वारा accept flow शुरू किए जाने तक oauth_url, null पर ही रहता है।
भुगतान पुष्टिकरण ईमेल entitlement को Action Required के रूप में सूचीबद्ध करता है और Customer Portal से लिंक करता है। पोर्टल में, ग्राहक Connect पर क्लिक करता है और GitHub के साथ authorization करता है। Authorization link 30 मिनट बाद समाप्त हो जाता है, और ग्राहक के वापस आने पर Customer Portal एक नया link बनाता है।
Dodo Payments, ग्राहक के GitHub account को configured permission के साथ repository में आमंत्रित करता है। Invitation बनाए जाने के बाद grant, Delivered पर चला जाता है। यदि GitHub invitation अस्वीकार करता है, तो grant deliver नहीं किया जाता।
यदि subscription cancel हो जाती है, payment refund कर दिया जाता है, या grant revoke कर दिया जाता है, तो Dodo Payments ग्राहक को collaborator के रूप में हटा देता है और किसी भी pending invitation को cancel कर देता है।
// client is a *dodopayments.Client, for example from// dodopayments.NewClient(option.WithEnvironmentTestMode()); ctx is a context.Context.client.Entitlements.New(ctx, dodopayments.EntitlementNewParams{ Name: dodopayments.F("Code Share Repository"), IntegrationType: dodopayments.F(dodopayments.EntitlementIntegrationTypeGitHub), IntegrationConfig: dodopayments.F[dodopayments.IntegrationConfigUnionParam]( dodopayments.IntegrationConfigGitHubConfigParam{ TargetID: dodopayments.F("acme/private-sdk"), Permission: dodopayments.F(dodopayments.GitHubPermissionPull), }, ),})
entitlement_grant.created, status: "Pending" के साथ fire होता है। oauth_url में GitHub authorization URL पहले से मौजूद हो सकता है। यदि यह null है, तो ग्राहक द्वारा Customer Portal से accept flow शुरू करने पर इसमें value भर दी जाती है।
entitlement_grant.delivered, collaborator invitation बनाए जाने के बाद fire होता है।
entitlement_grant.revoked, access वापस लिए जाने पर fire होता है। यदि आप GitHub App uninstall करते हैं, तो Dodo Payments उस installation के pending और delivered grants को revocation_reason: platform_external के साथ revoke कर देता है।
यदि Dodo Payments ग्राहक को repository में add नहीं कर पाता, तो entitlement_grant.failed, error_code: "GRANT_ACCESS_FAILED" के साथ fire होता है; उदाहरण के लिए, GitHub App का उस repository तक access समाप्त हो जाने पर।
Dodo Payments GitHub App उस organization या user पर installed होना चाहिए जो repository का owner है। Entitlement form में, GitHub card पर Disconnect पर क्लिक करें, फिर app को reinstall करने के लिए Connect GitHub पर क्लिक करें और उन repositories का access grant करें जिन्हें आप gate करना चाहते हैं।
Grant fails with a permission error
GitHub App की installation के पास अब repository का access नहीं है, या repository का नाम बदला गया है या उसे transfer किया गया है। App को फिर से repository का access दें और अगला regrant सफल होगा।
Customer hasn't accepted the invite
ग्राहक अपने GitHub notifications से या GitHub के invitation email में दिए गए link से GitHub invitation स्वीकार करते हैं। जब तक वे इसे स्वीकार नहीं करते, उन्हें invite किया गया होता है, लेकिन वे repository clone नहीं कर सकते। Dodo Payments में grant अभी भी Delivered रहता है, क्योंकि invitation Dodo Payments द्वारा issue किया जाता है।