

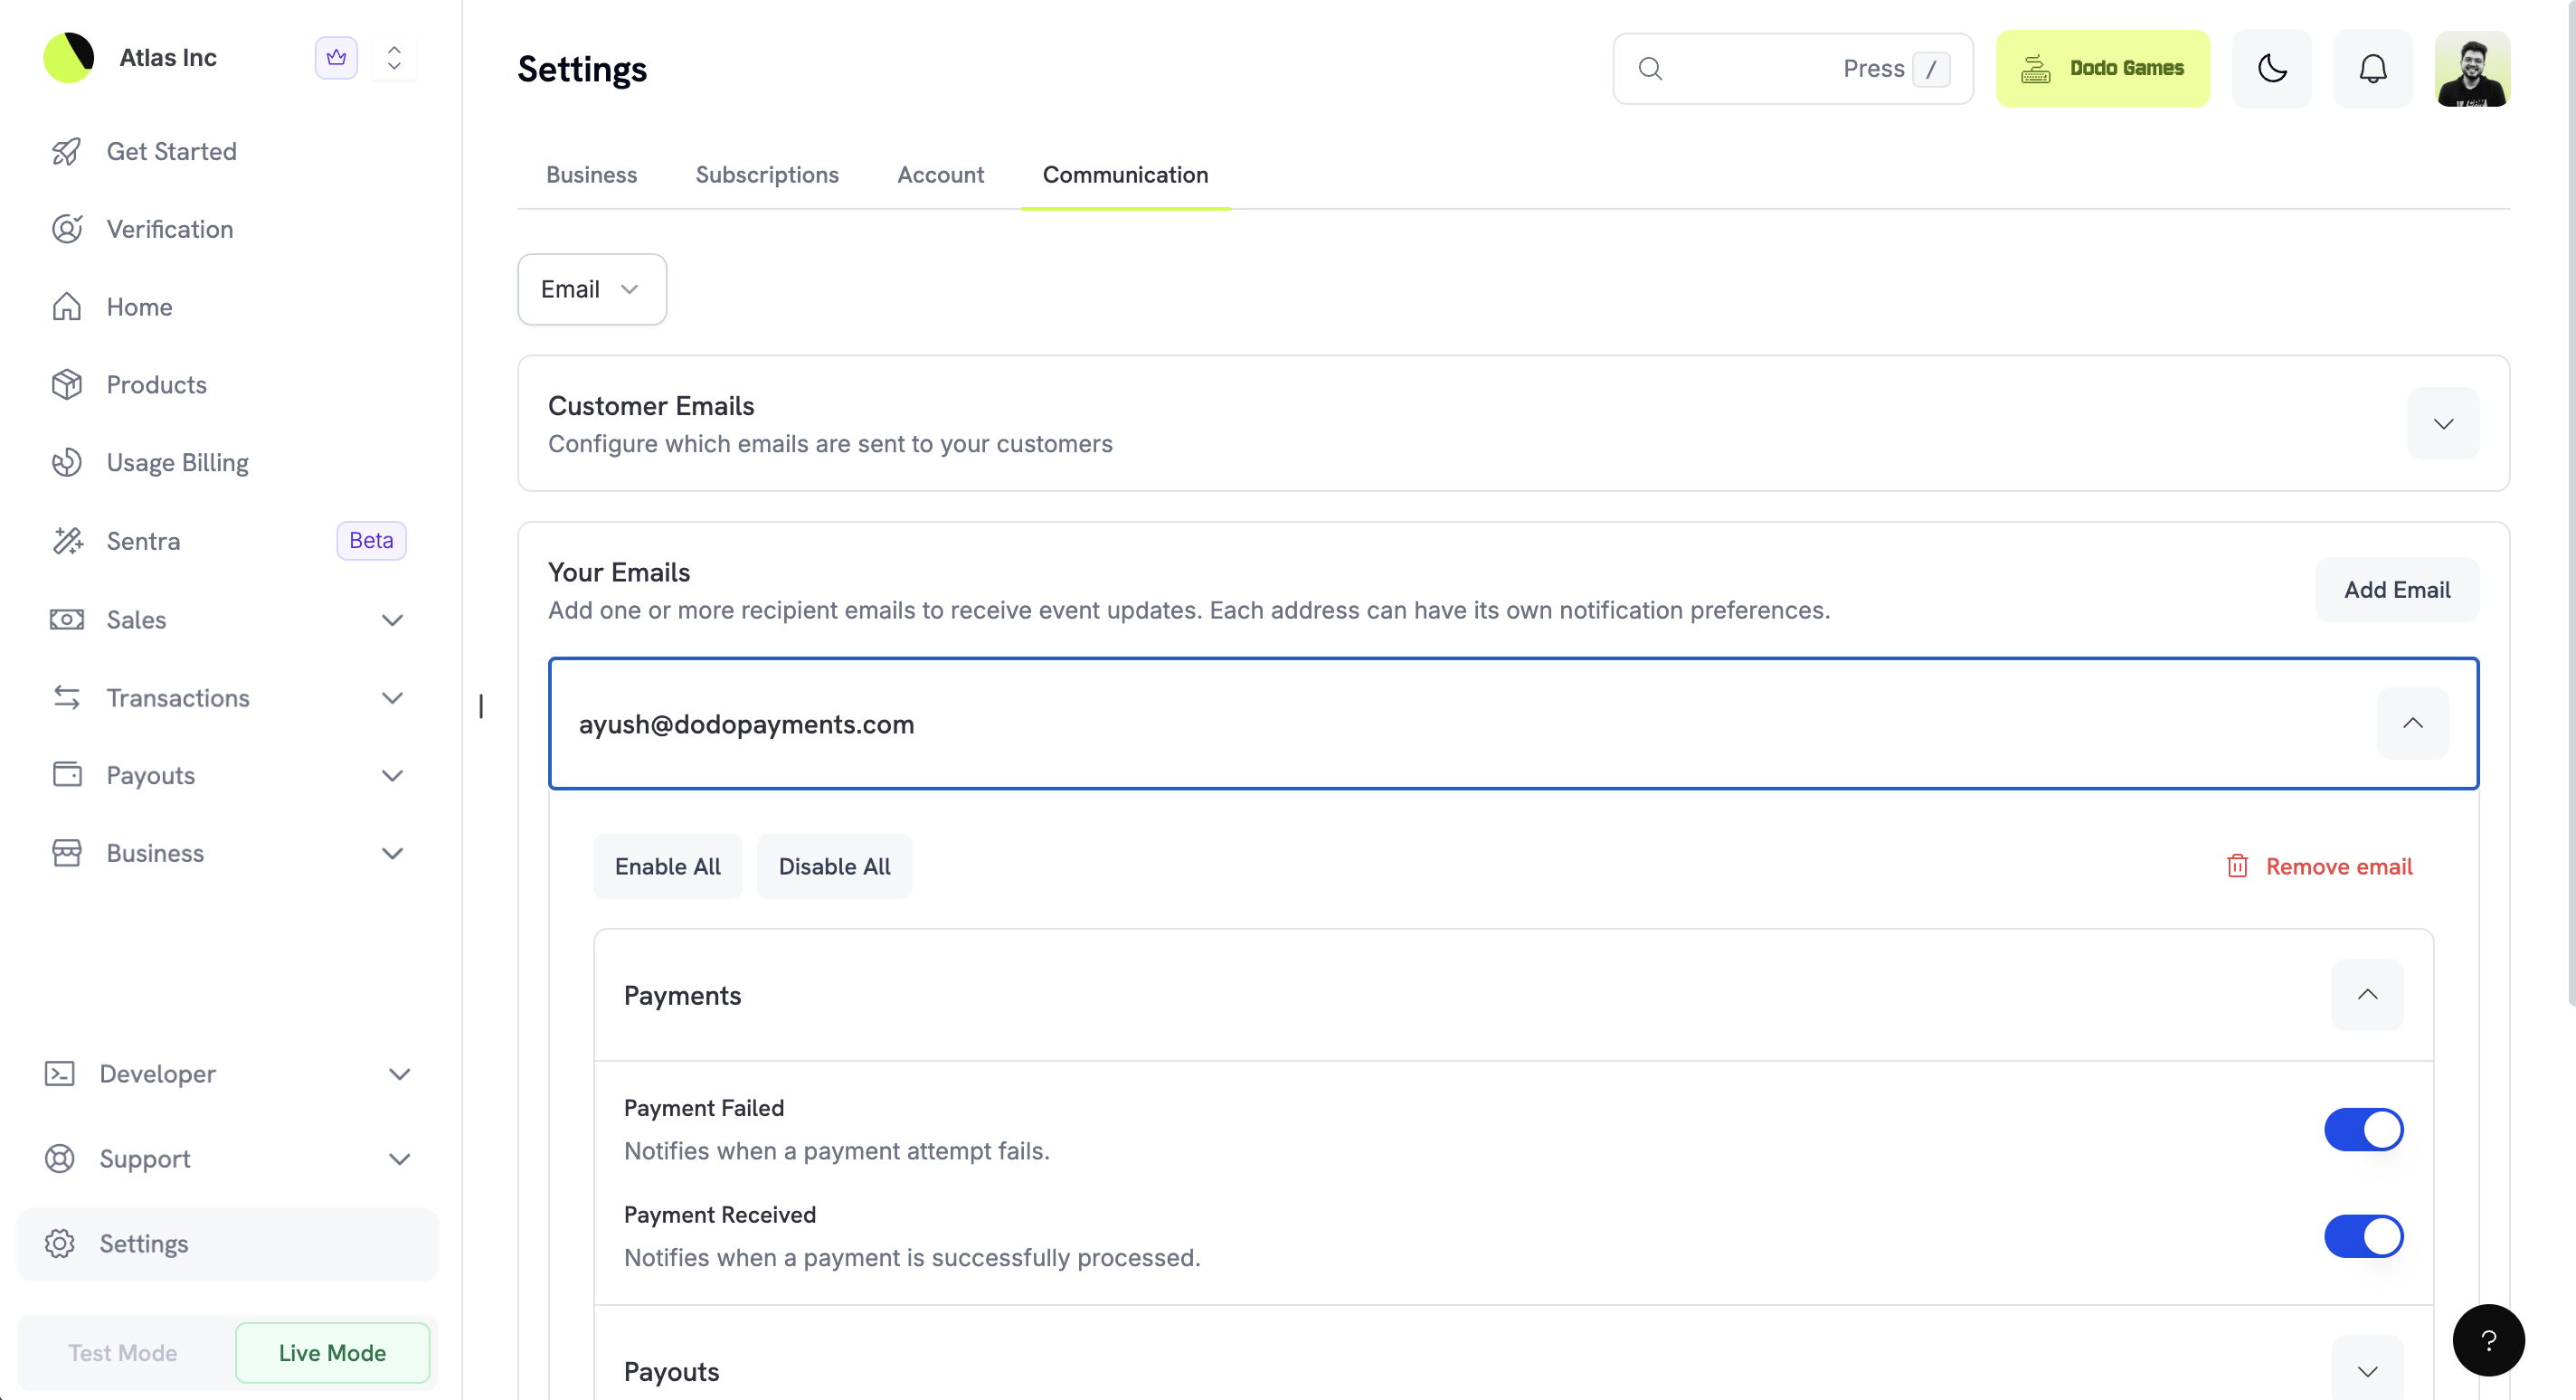
Communication Preferences controls how and when you’re notified about events in your Dodo Payments account. You configure notifications for yourself, add team email recipients with their own preferences, and choose between the email, in-app, and push channels. The same page controls which transactional emails your customers receive.
Accessing Communication Preferences
To configure your communication preferences:- Go to Settings in your Dodo Payments dashboard.
- Click the Communication tab.
- Use the tabs to switch between notification channels: Email, In-App, and Push Notifications.
Notification Channels
Dodo Payments supports three notification channels, each suited to a different use case. You configure each channel independently.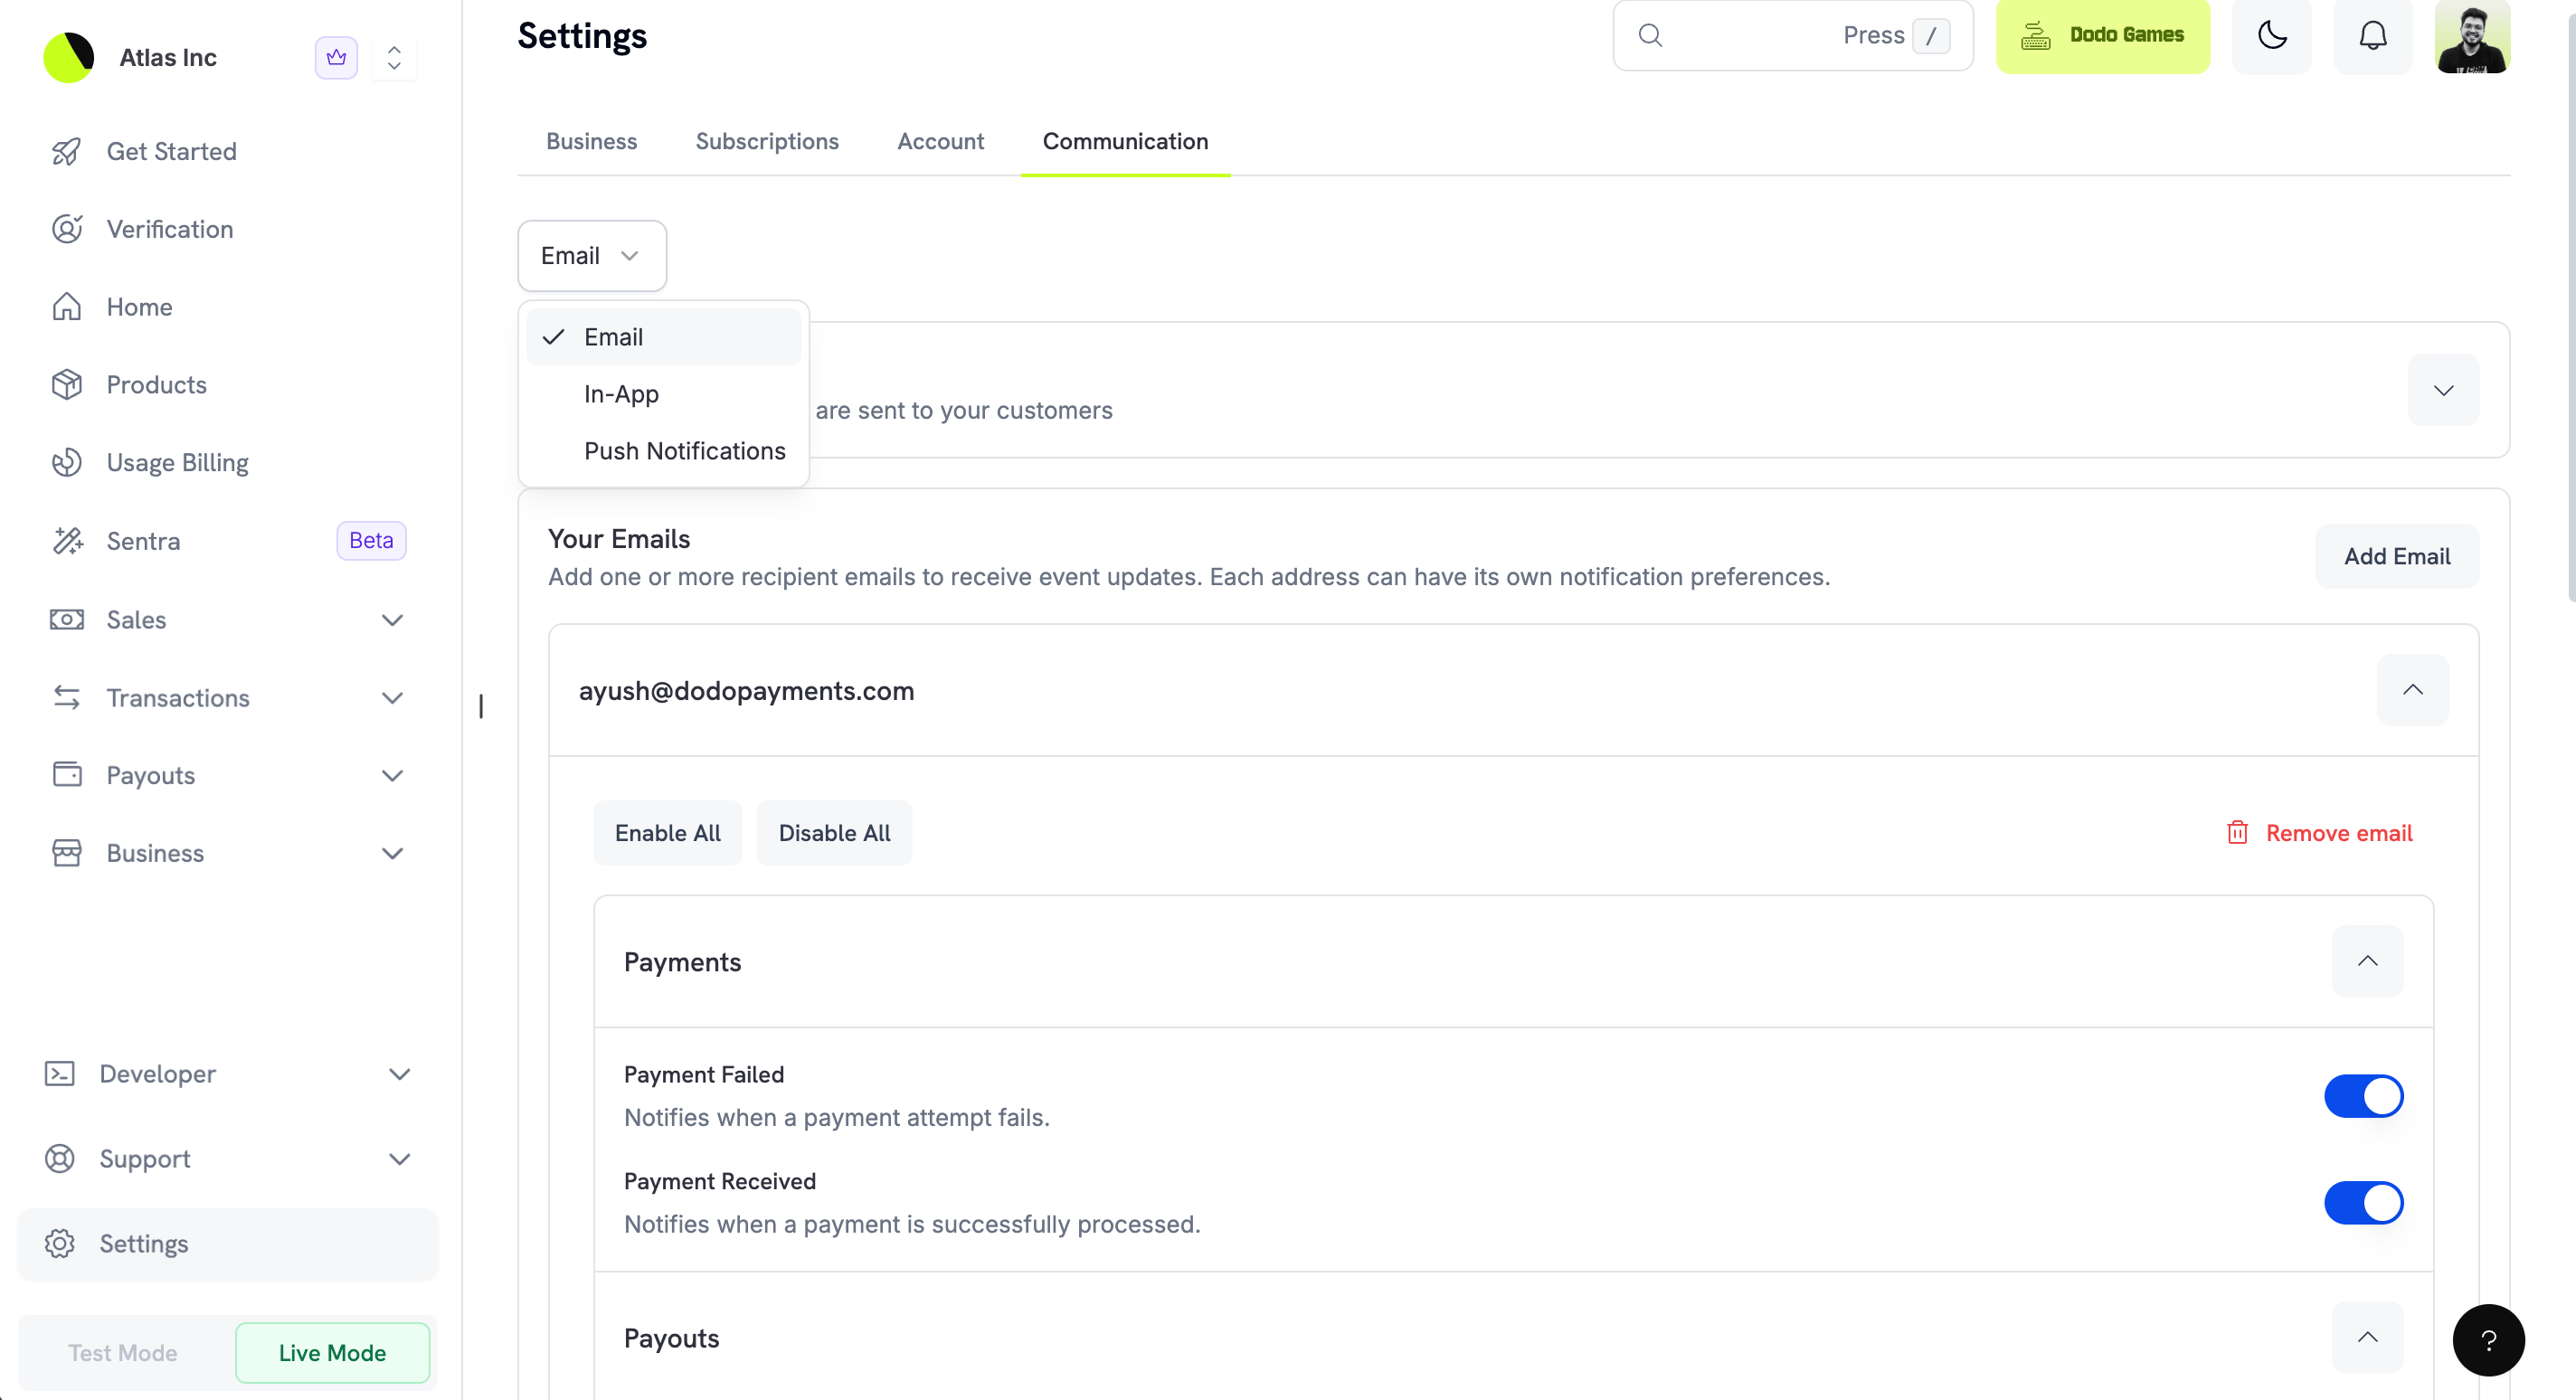
A business can have up to 10 notification channels in total across email, in-app, and push.
Email Notifications
Email is the most flexible channel. You can add several recipient addresses, and each recipient has its own notification preferences. Use this to route specific notifications to different team members. For example, your finance team receives payout notifications and your support team receives dispute notifications.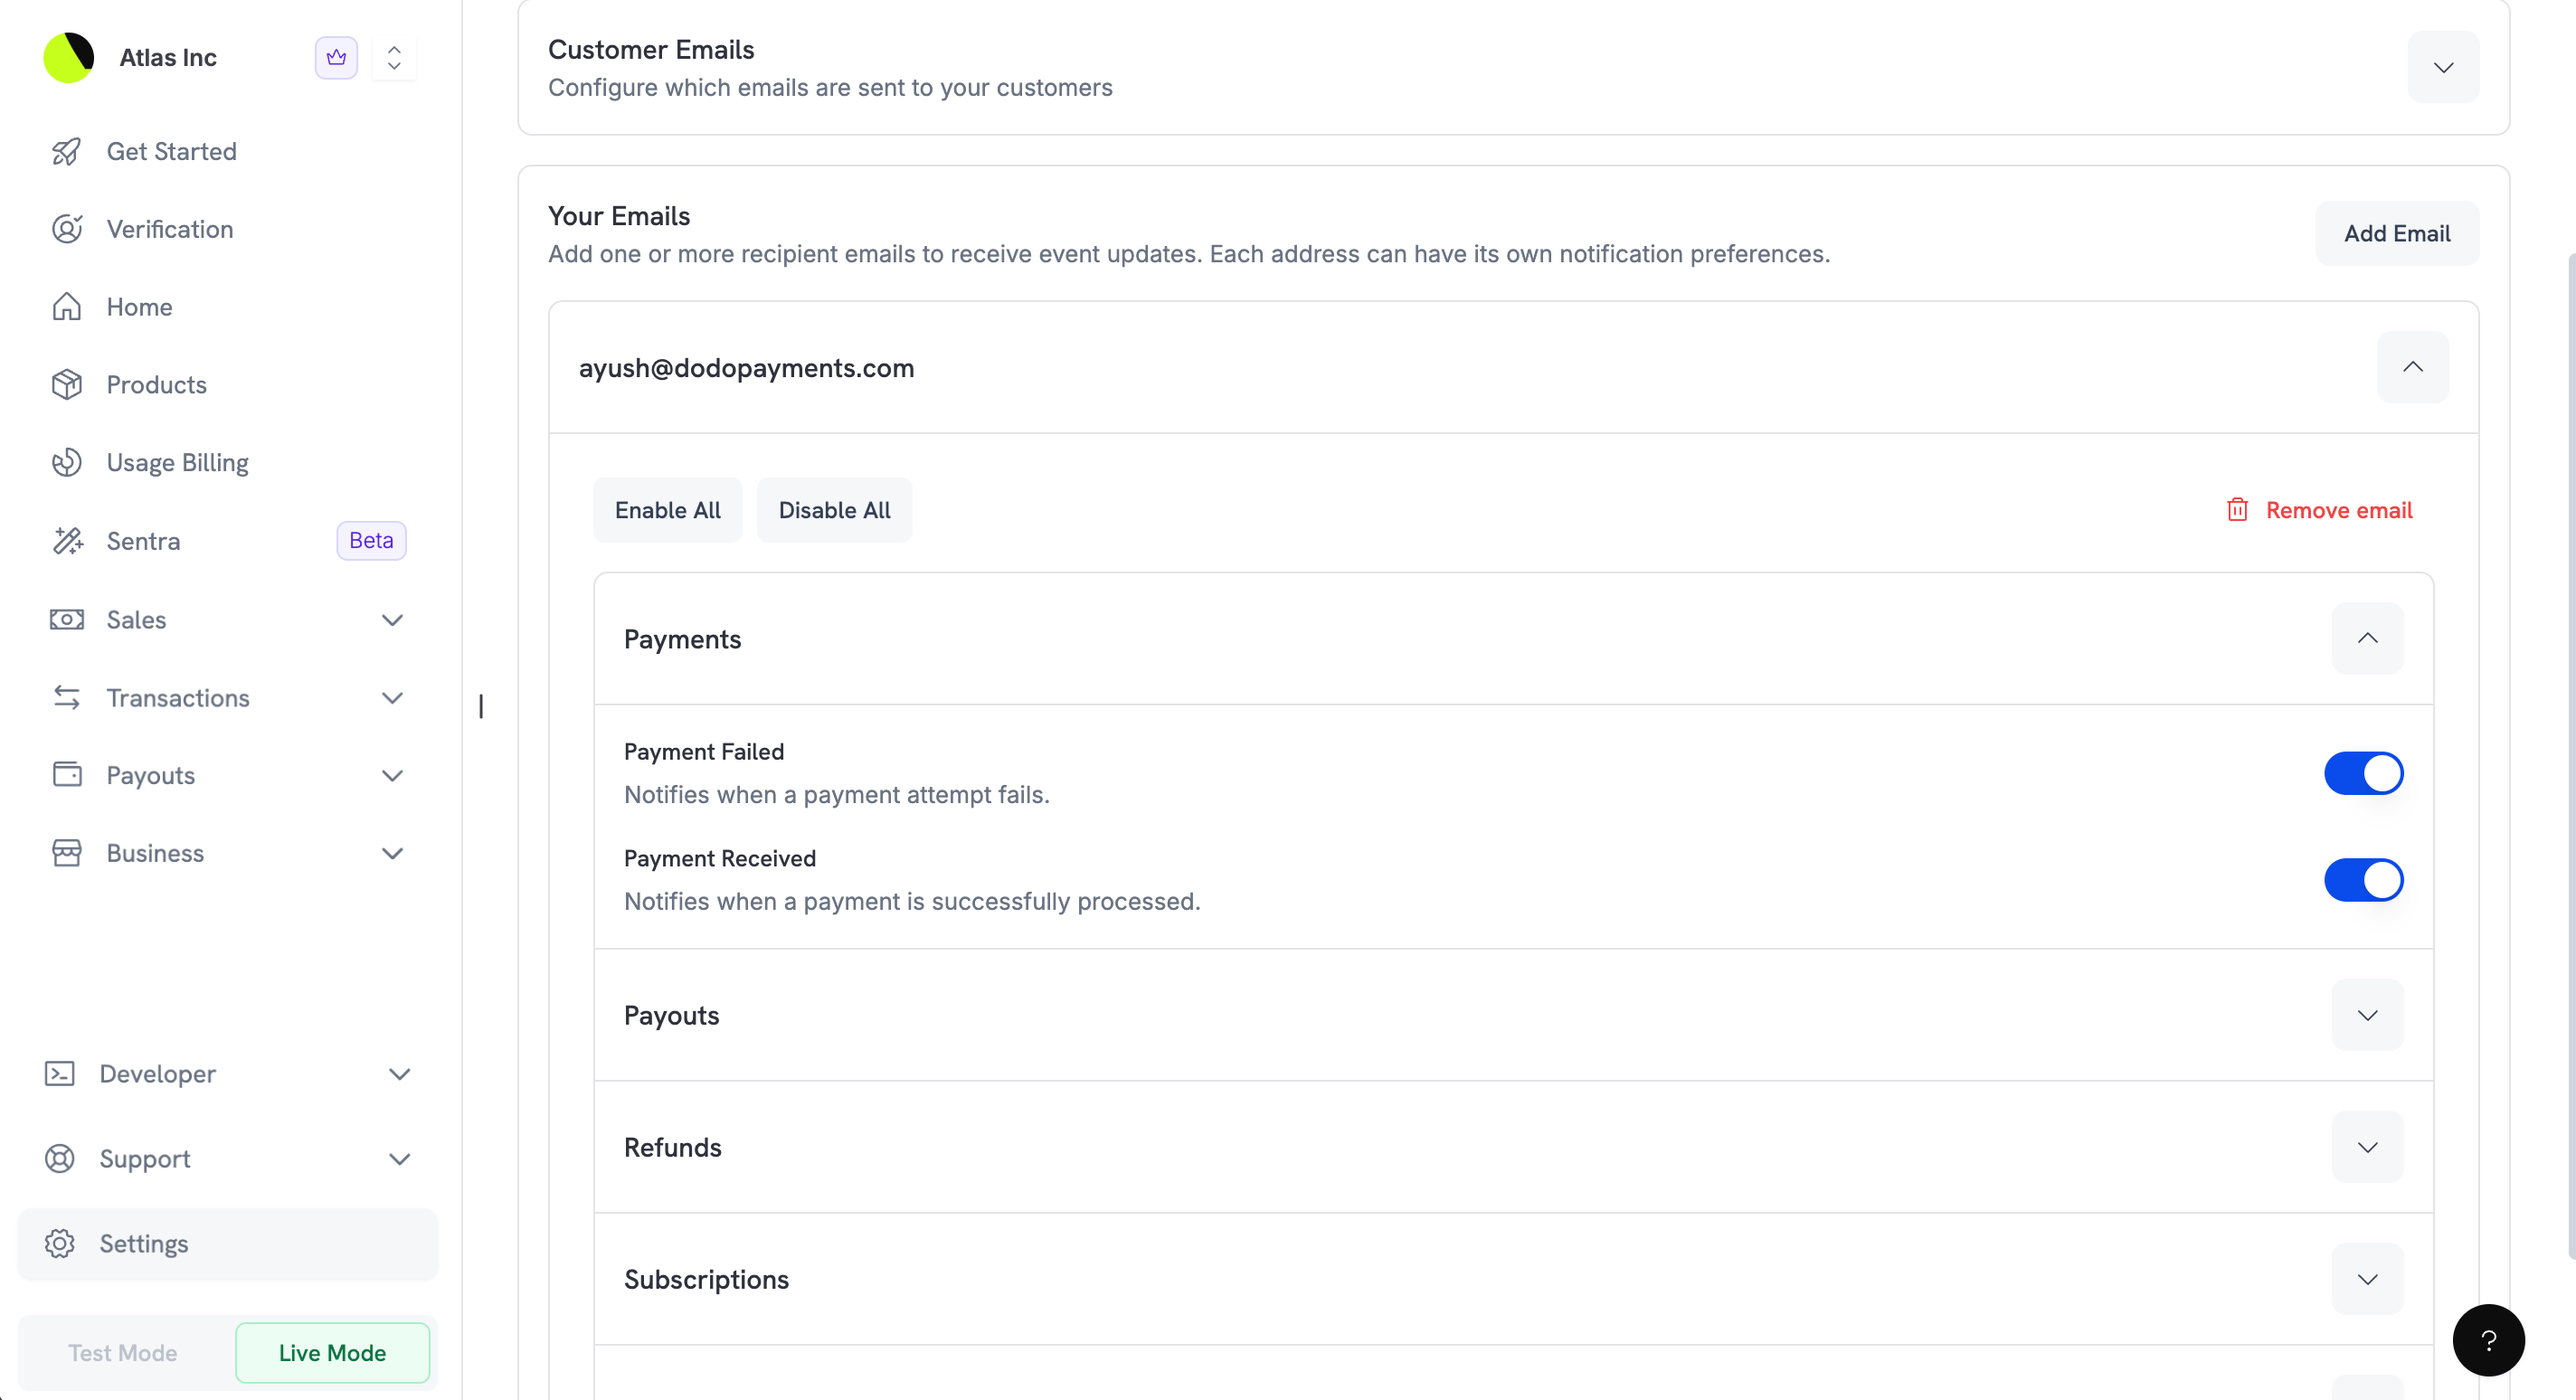
- Add email recipients, up to the 10-channel limit
- Configure notification preferences per recipient
- Turn every notification on or off at once with Enable All or Disable All
- Remove email addresses when team members change
In-App Notifications
In-app notifications appear in the notification center of your Dodo Payments dashboard. Use them to stay informed while you work in the dashboard without adding to your email inbox.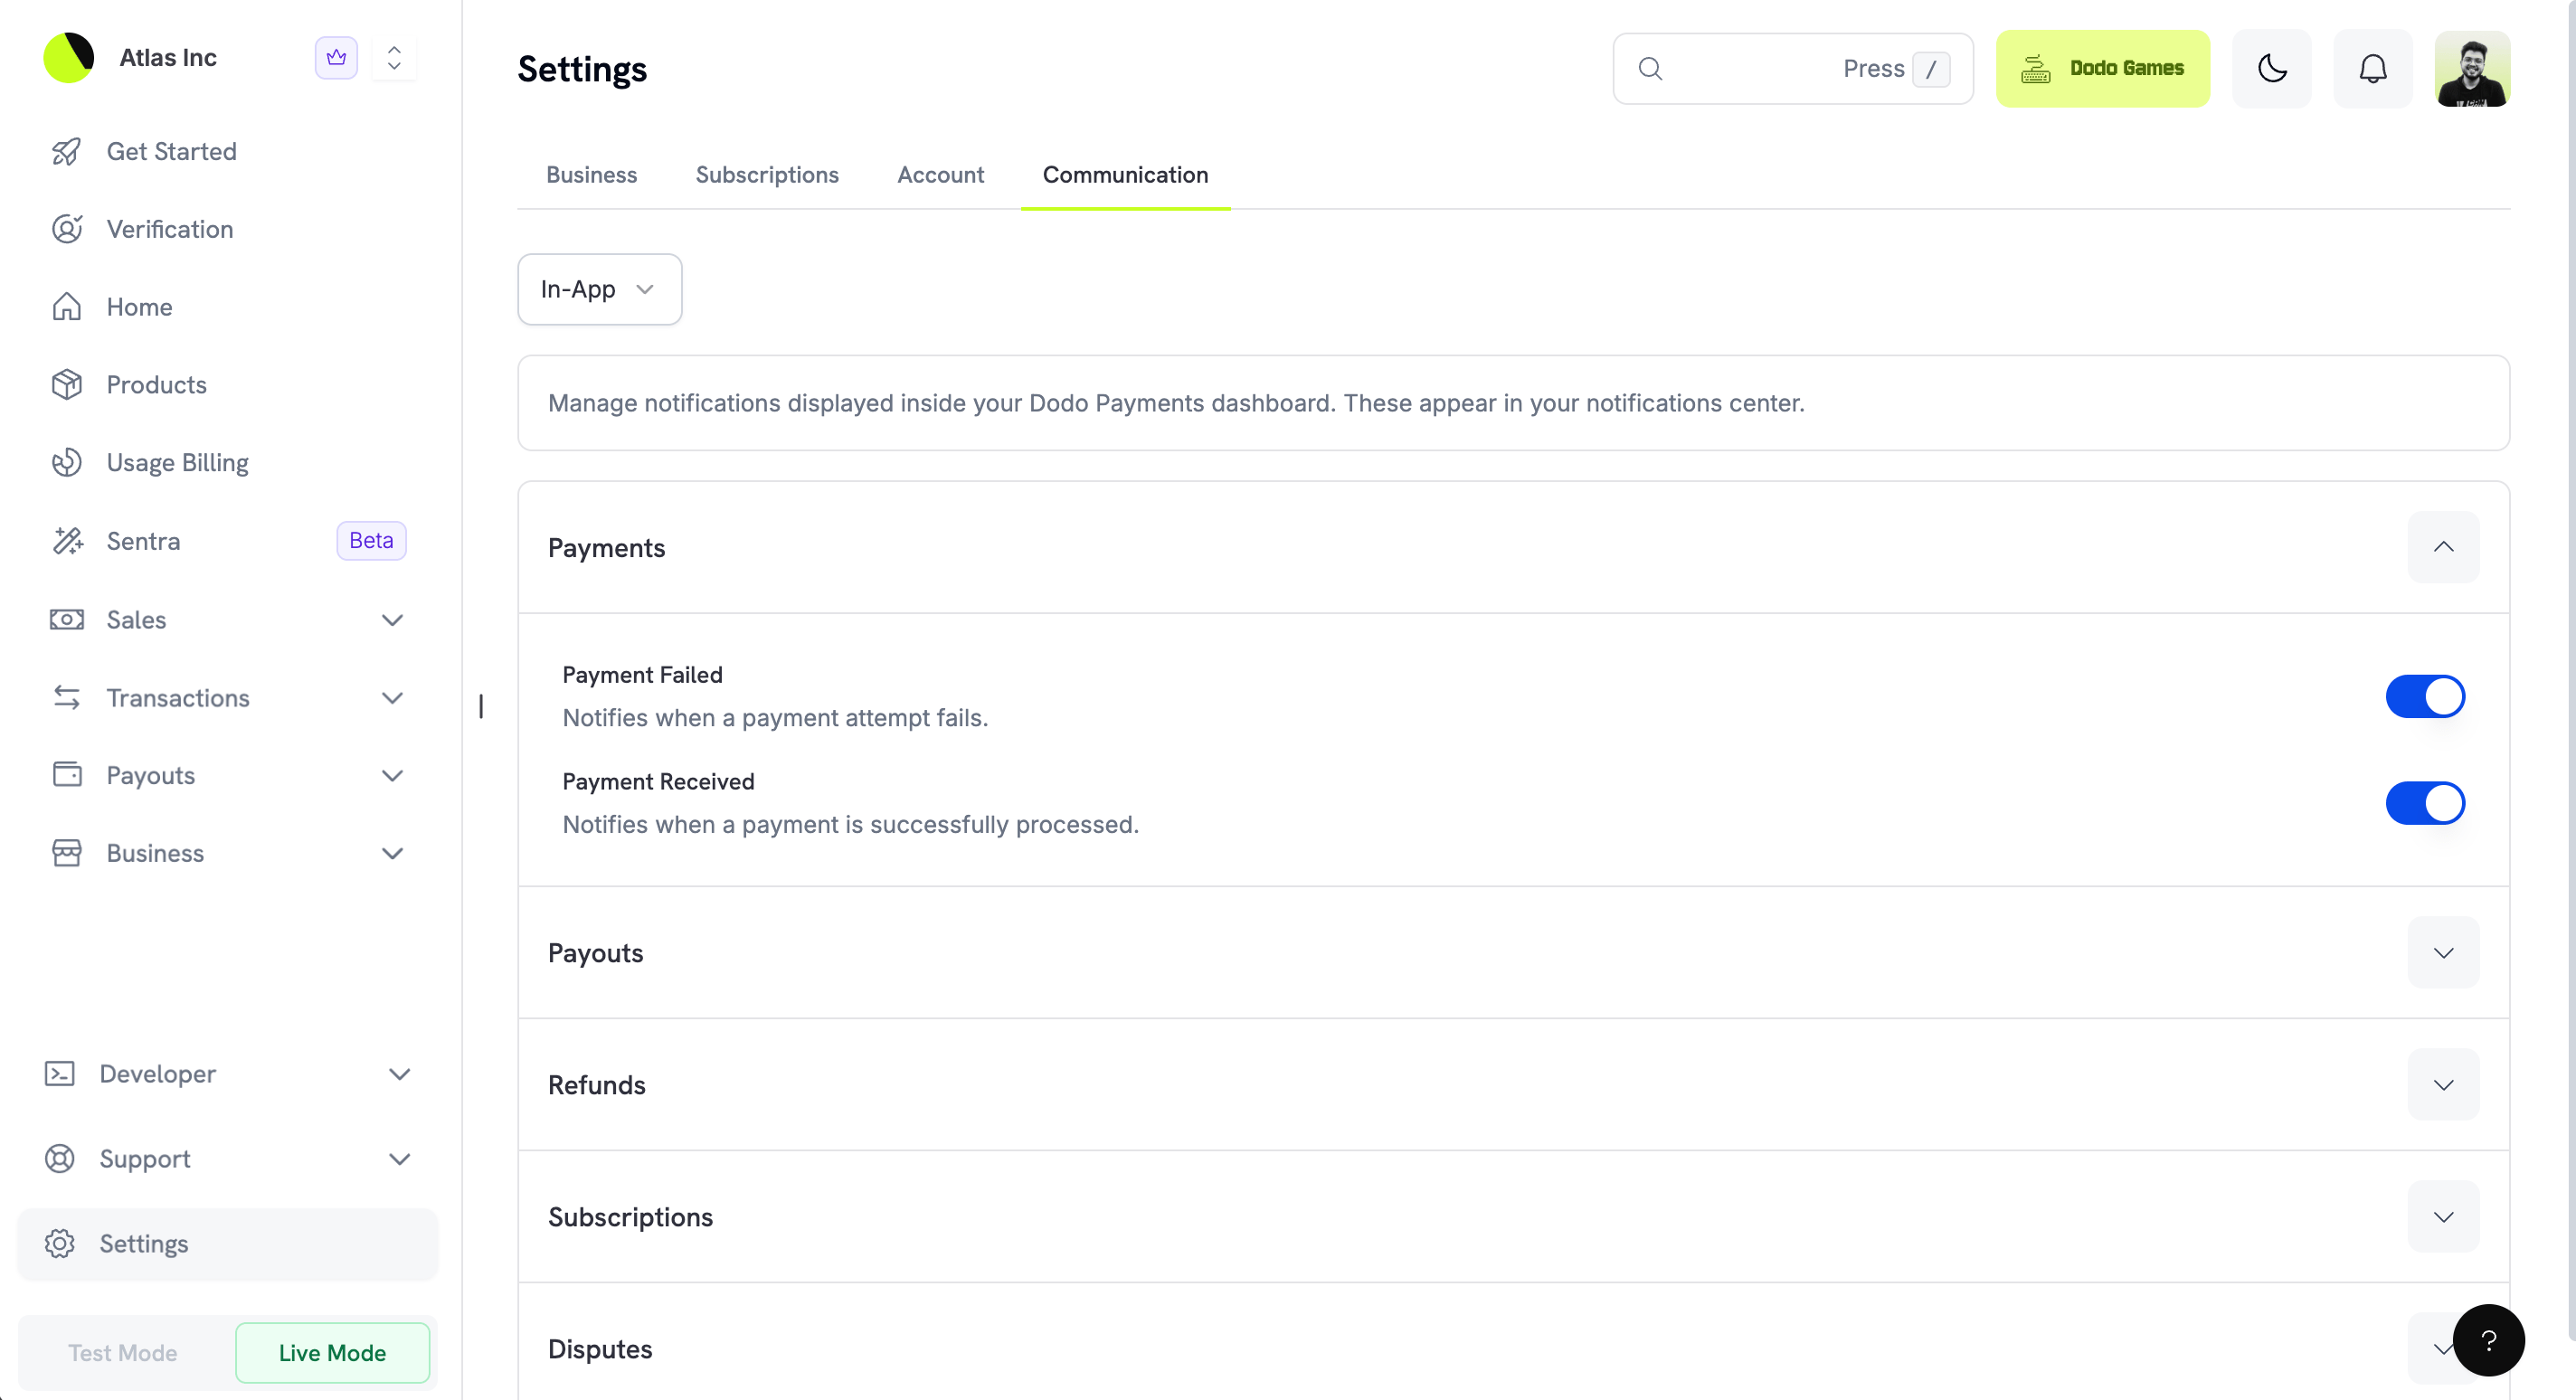
Push Notifications
Push notifications send mobile alerts to your registered devices. Use this channel for events that need immediate attention, such as payment failures or new disputes.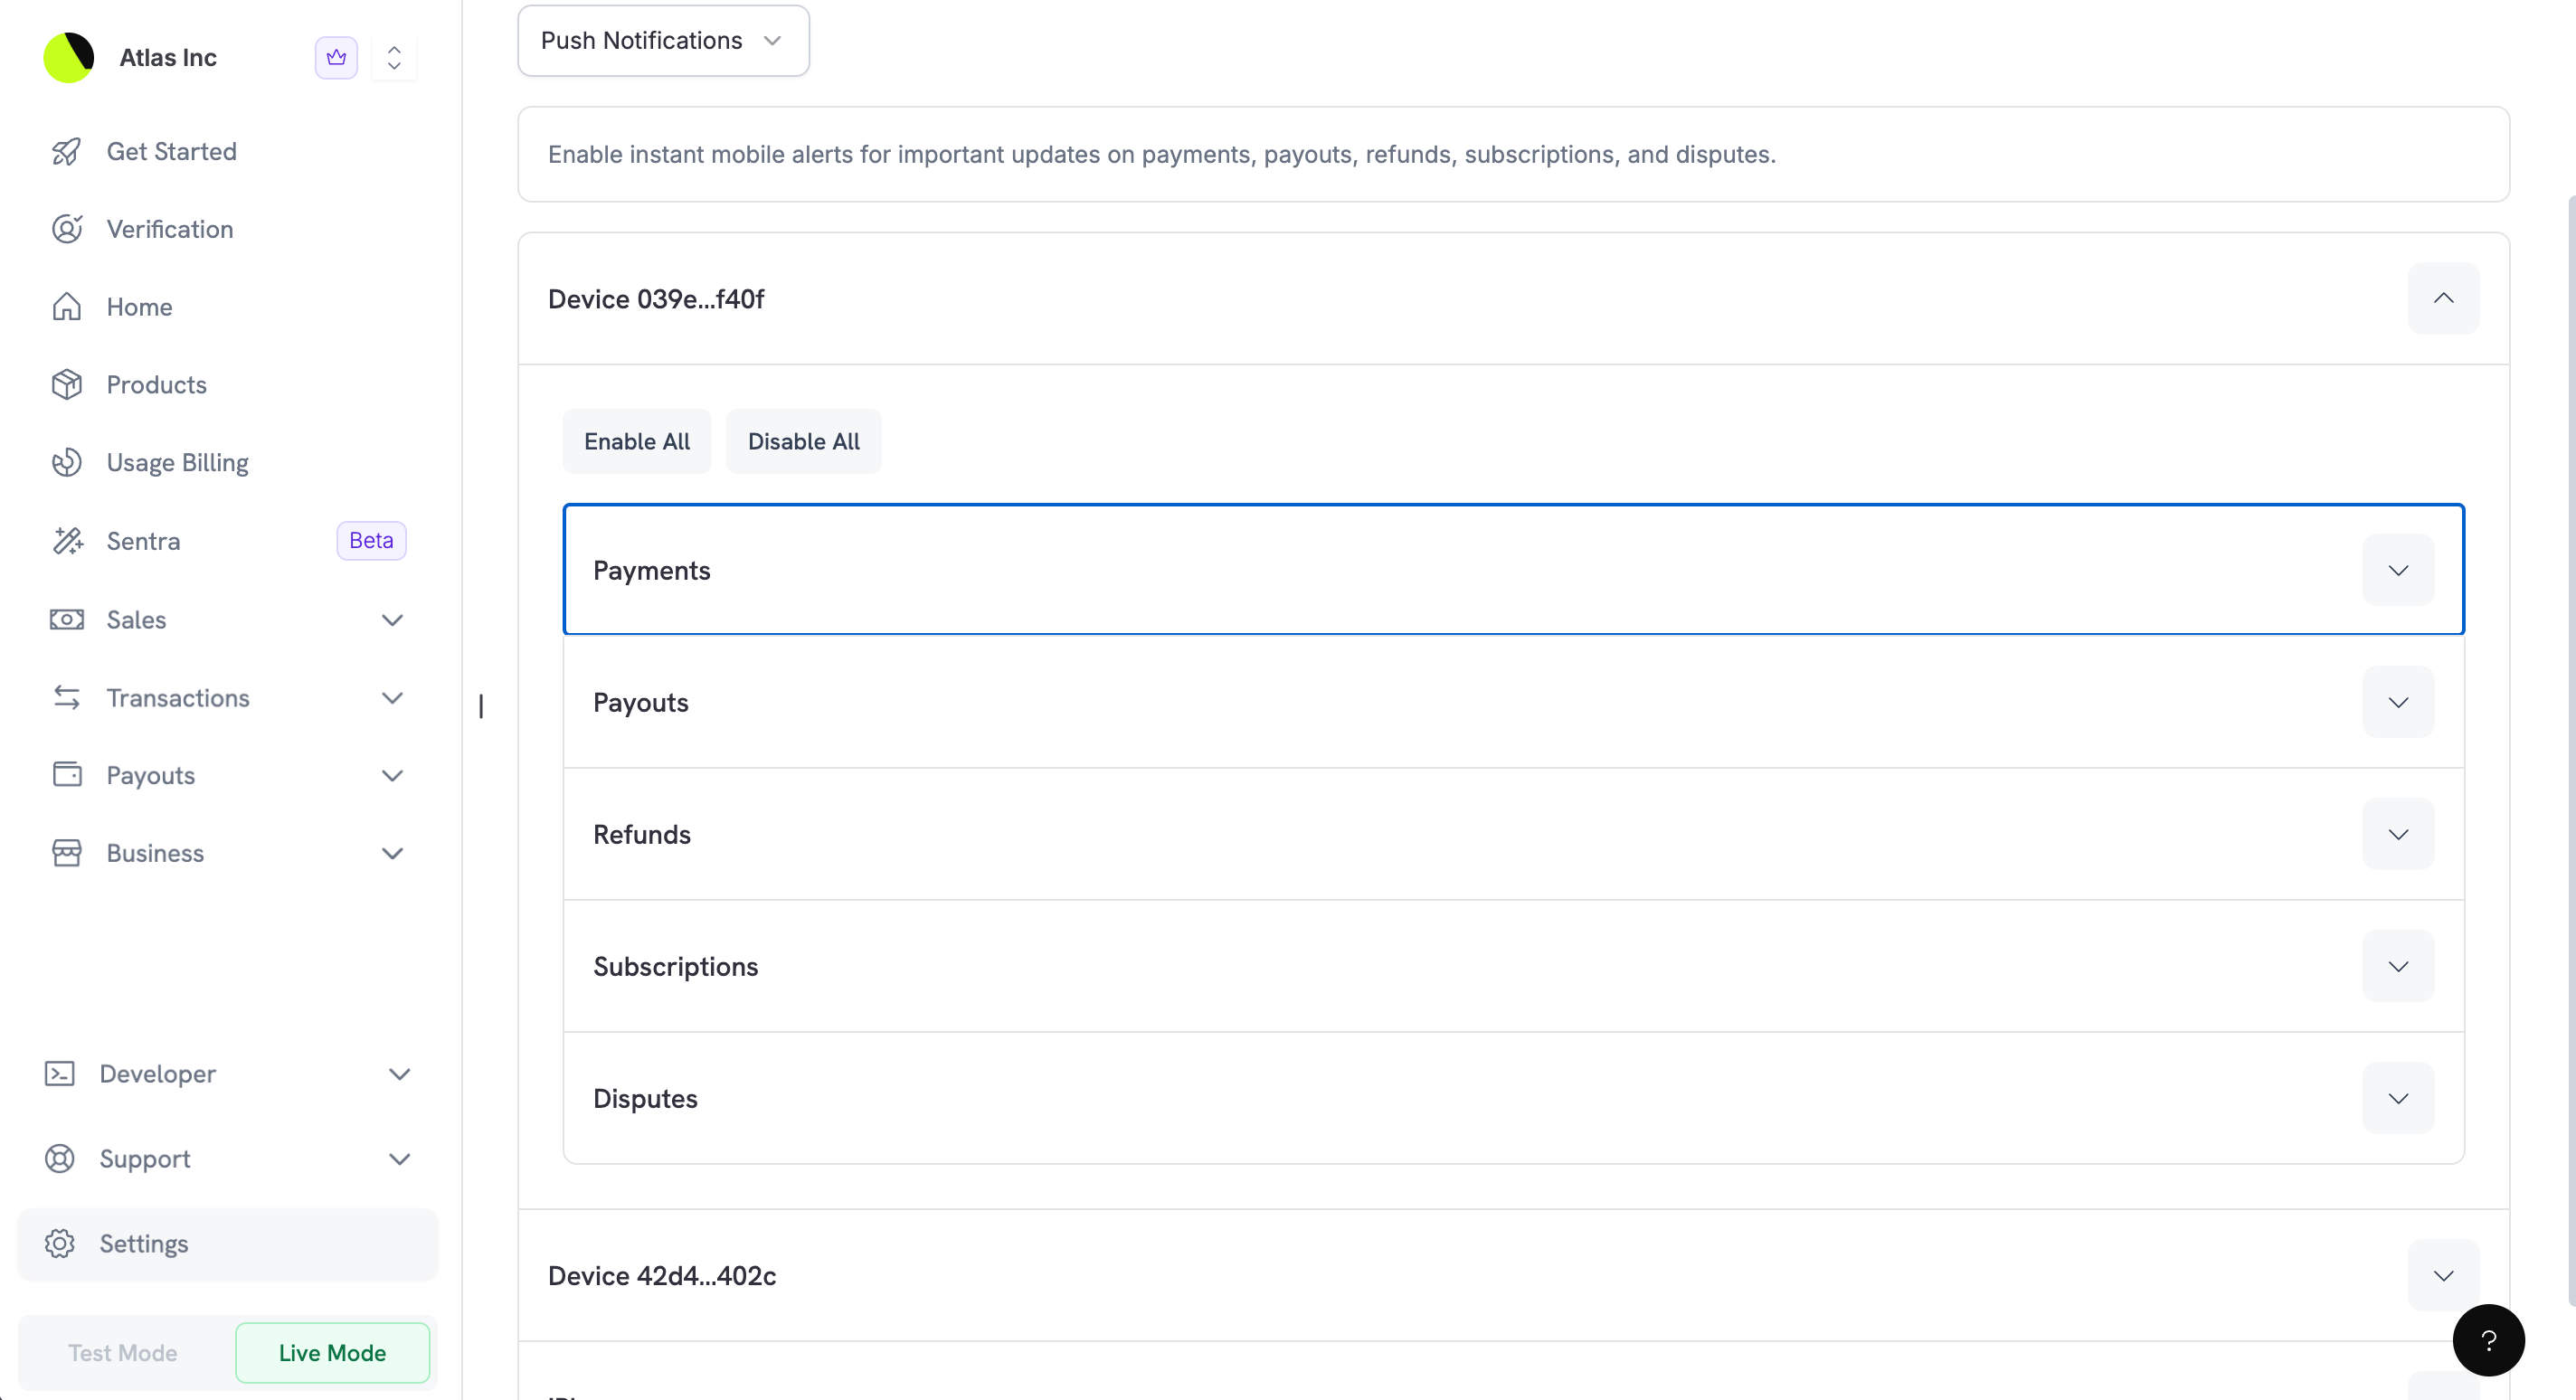
- Enable or disable notifications for a specific device
- Choose which events trigger push notifications on each device
- Manage several devices, for example a phone and a tablet
Managing Email Recipients
The email channel accepts several recipient addresses, so you can keep your whole team informed about the events that concern them.Adding a New Email Recipient
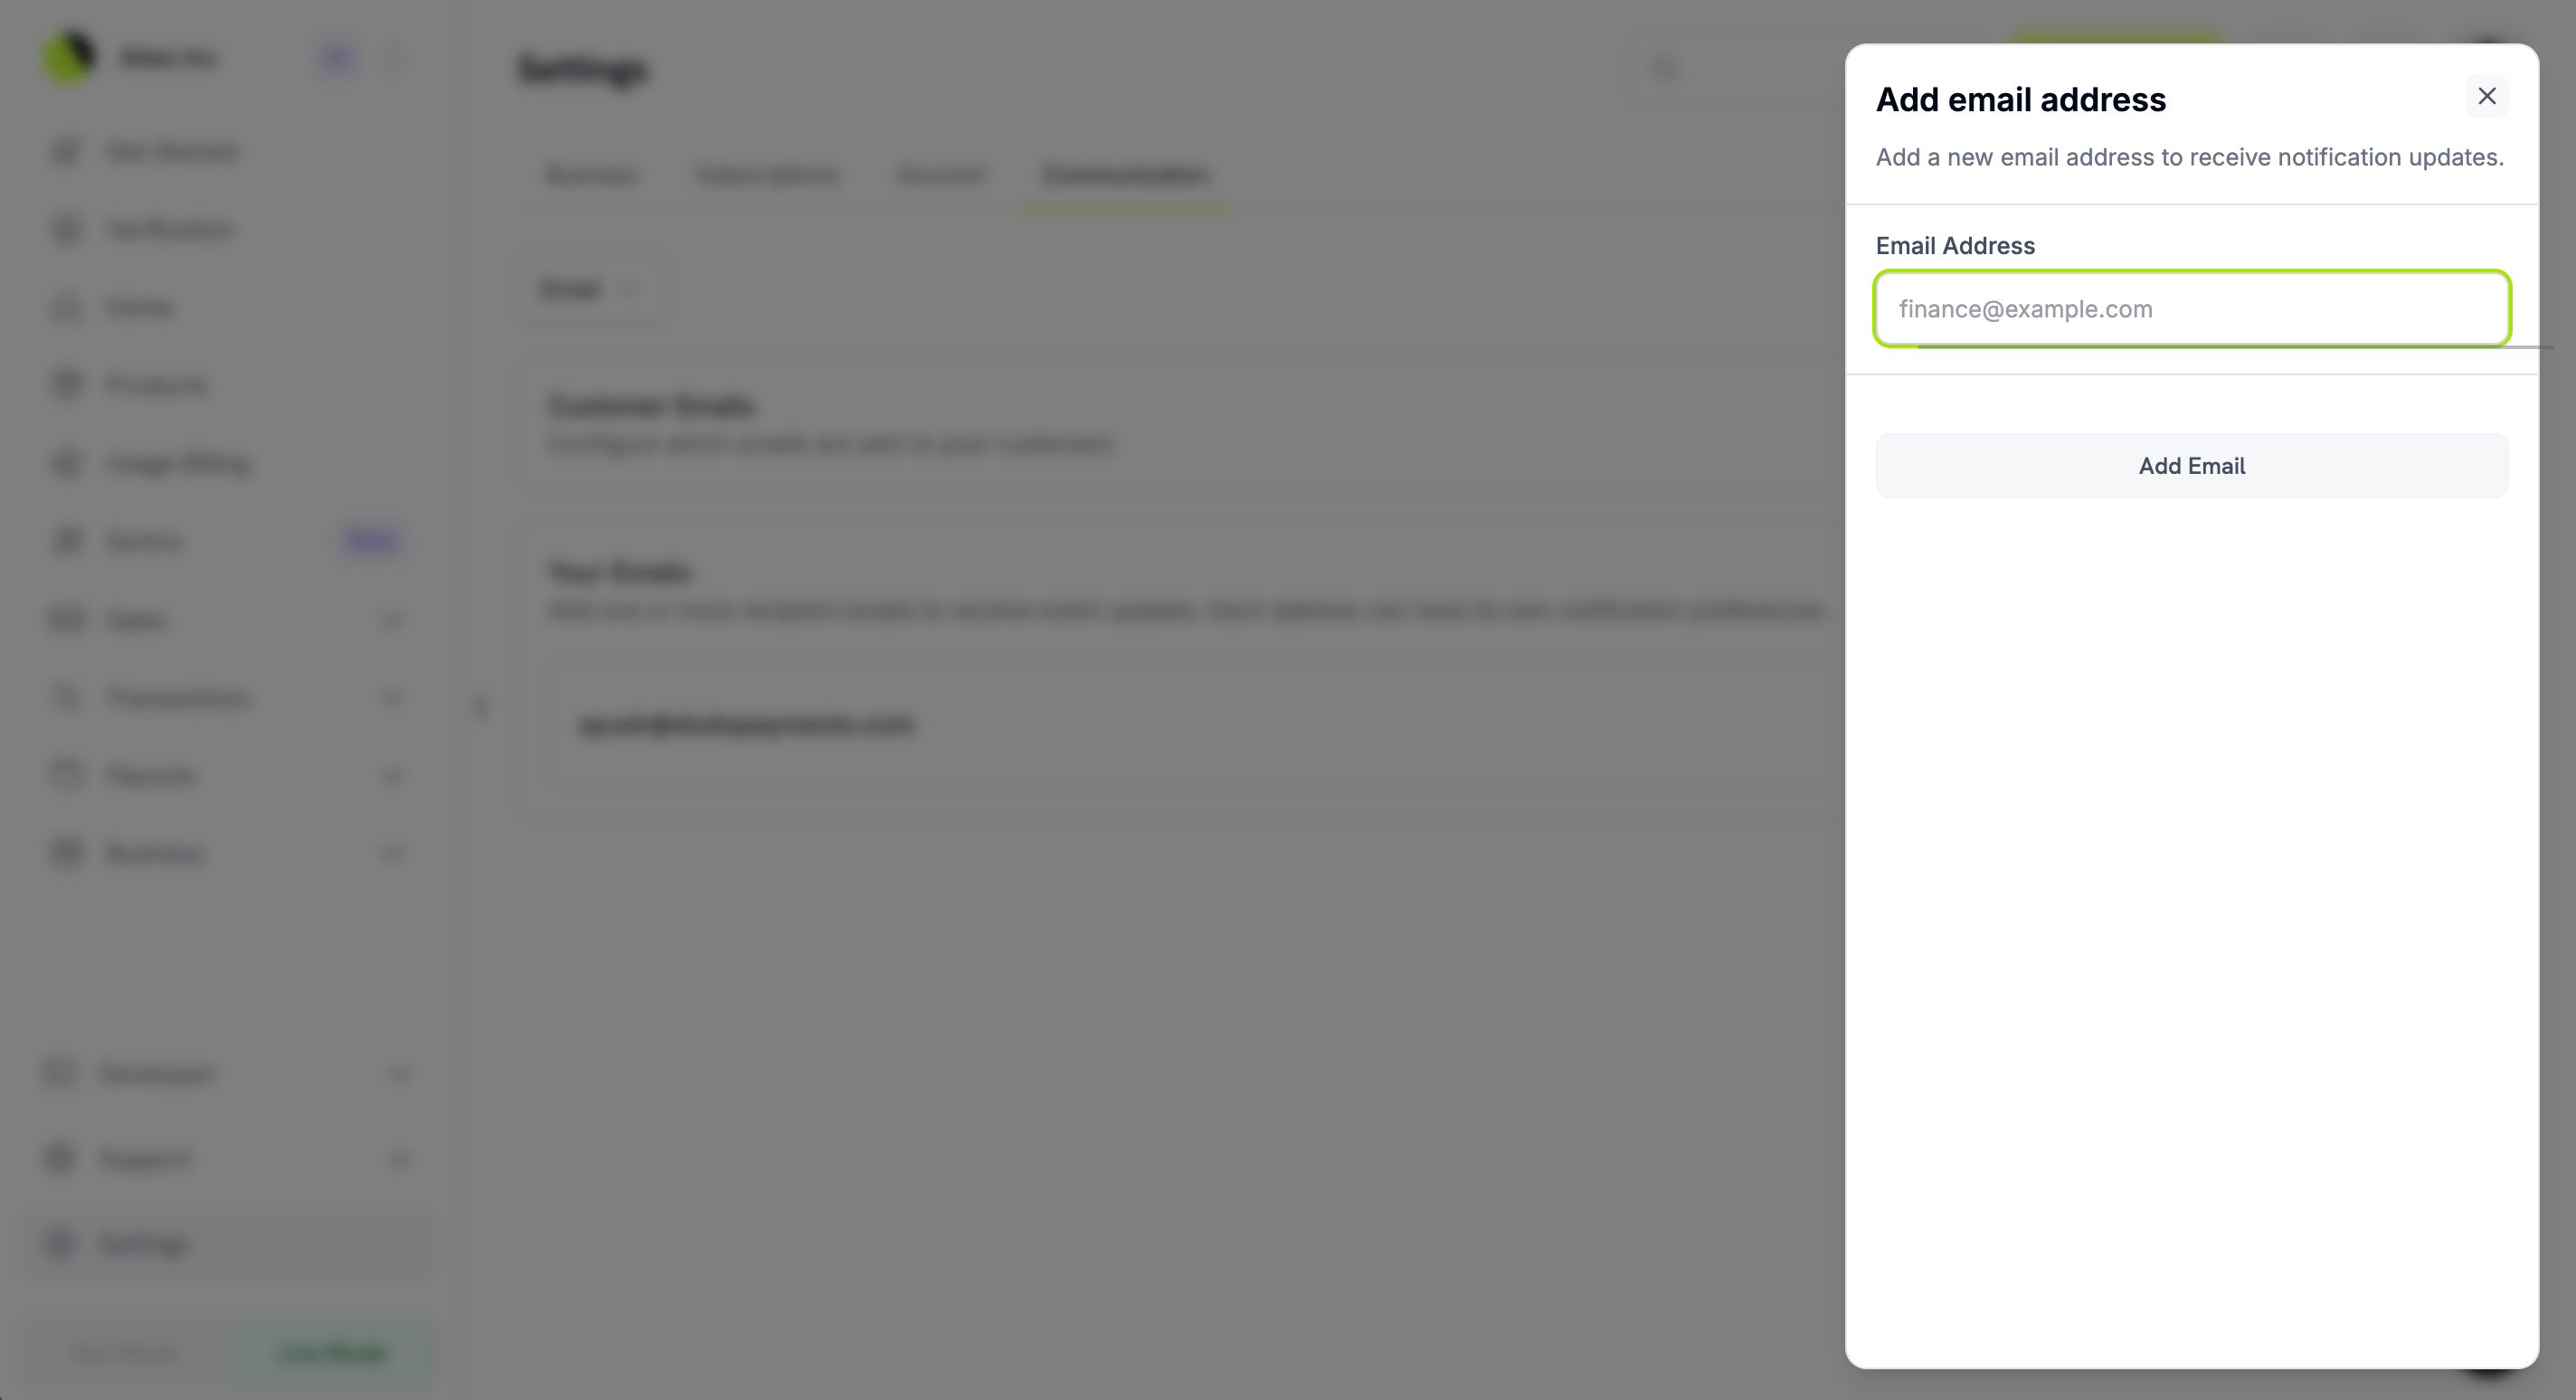
- In the Your Emails section, click Add Email.
- Enter the address in the Email Address field of the dialog that opens.
- Click Add Email to confirm.
Configuring Email Preferences
- Click an email address to expand its notification options.
- Use the toggle next to each event to turn its notification on or off.
- Enable All: Turns on every notification for this email address.
- Disable All: Turns off every notification for this email address.
Removing an Email Recipient
To remove an email address, expand the email entry and click Remove email. Notifications to that address stop immediately.Your Notification Events
These notifications keep you and your team informed about events that affect your business. You configure each event separately for each notification channel.Payments
Payment notifications cover the payment activity for your products.Payouts
Payout notifications track the movement of funds from your Dodo Payments account to your bank account.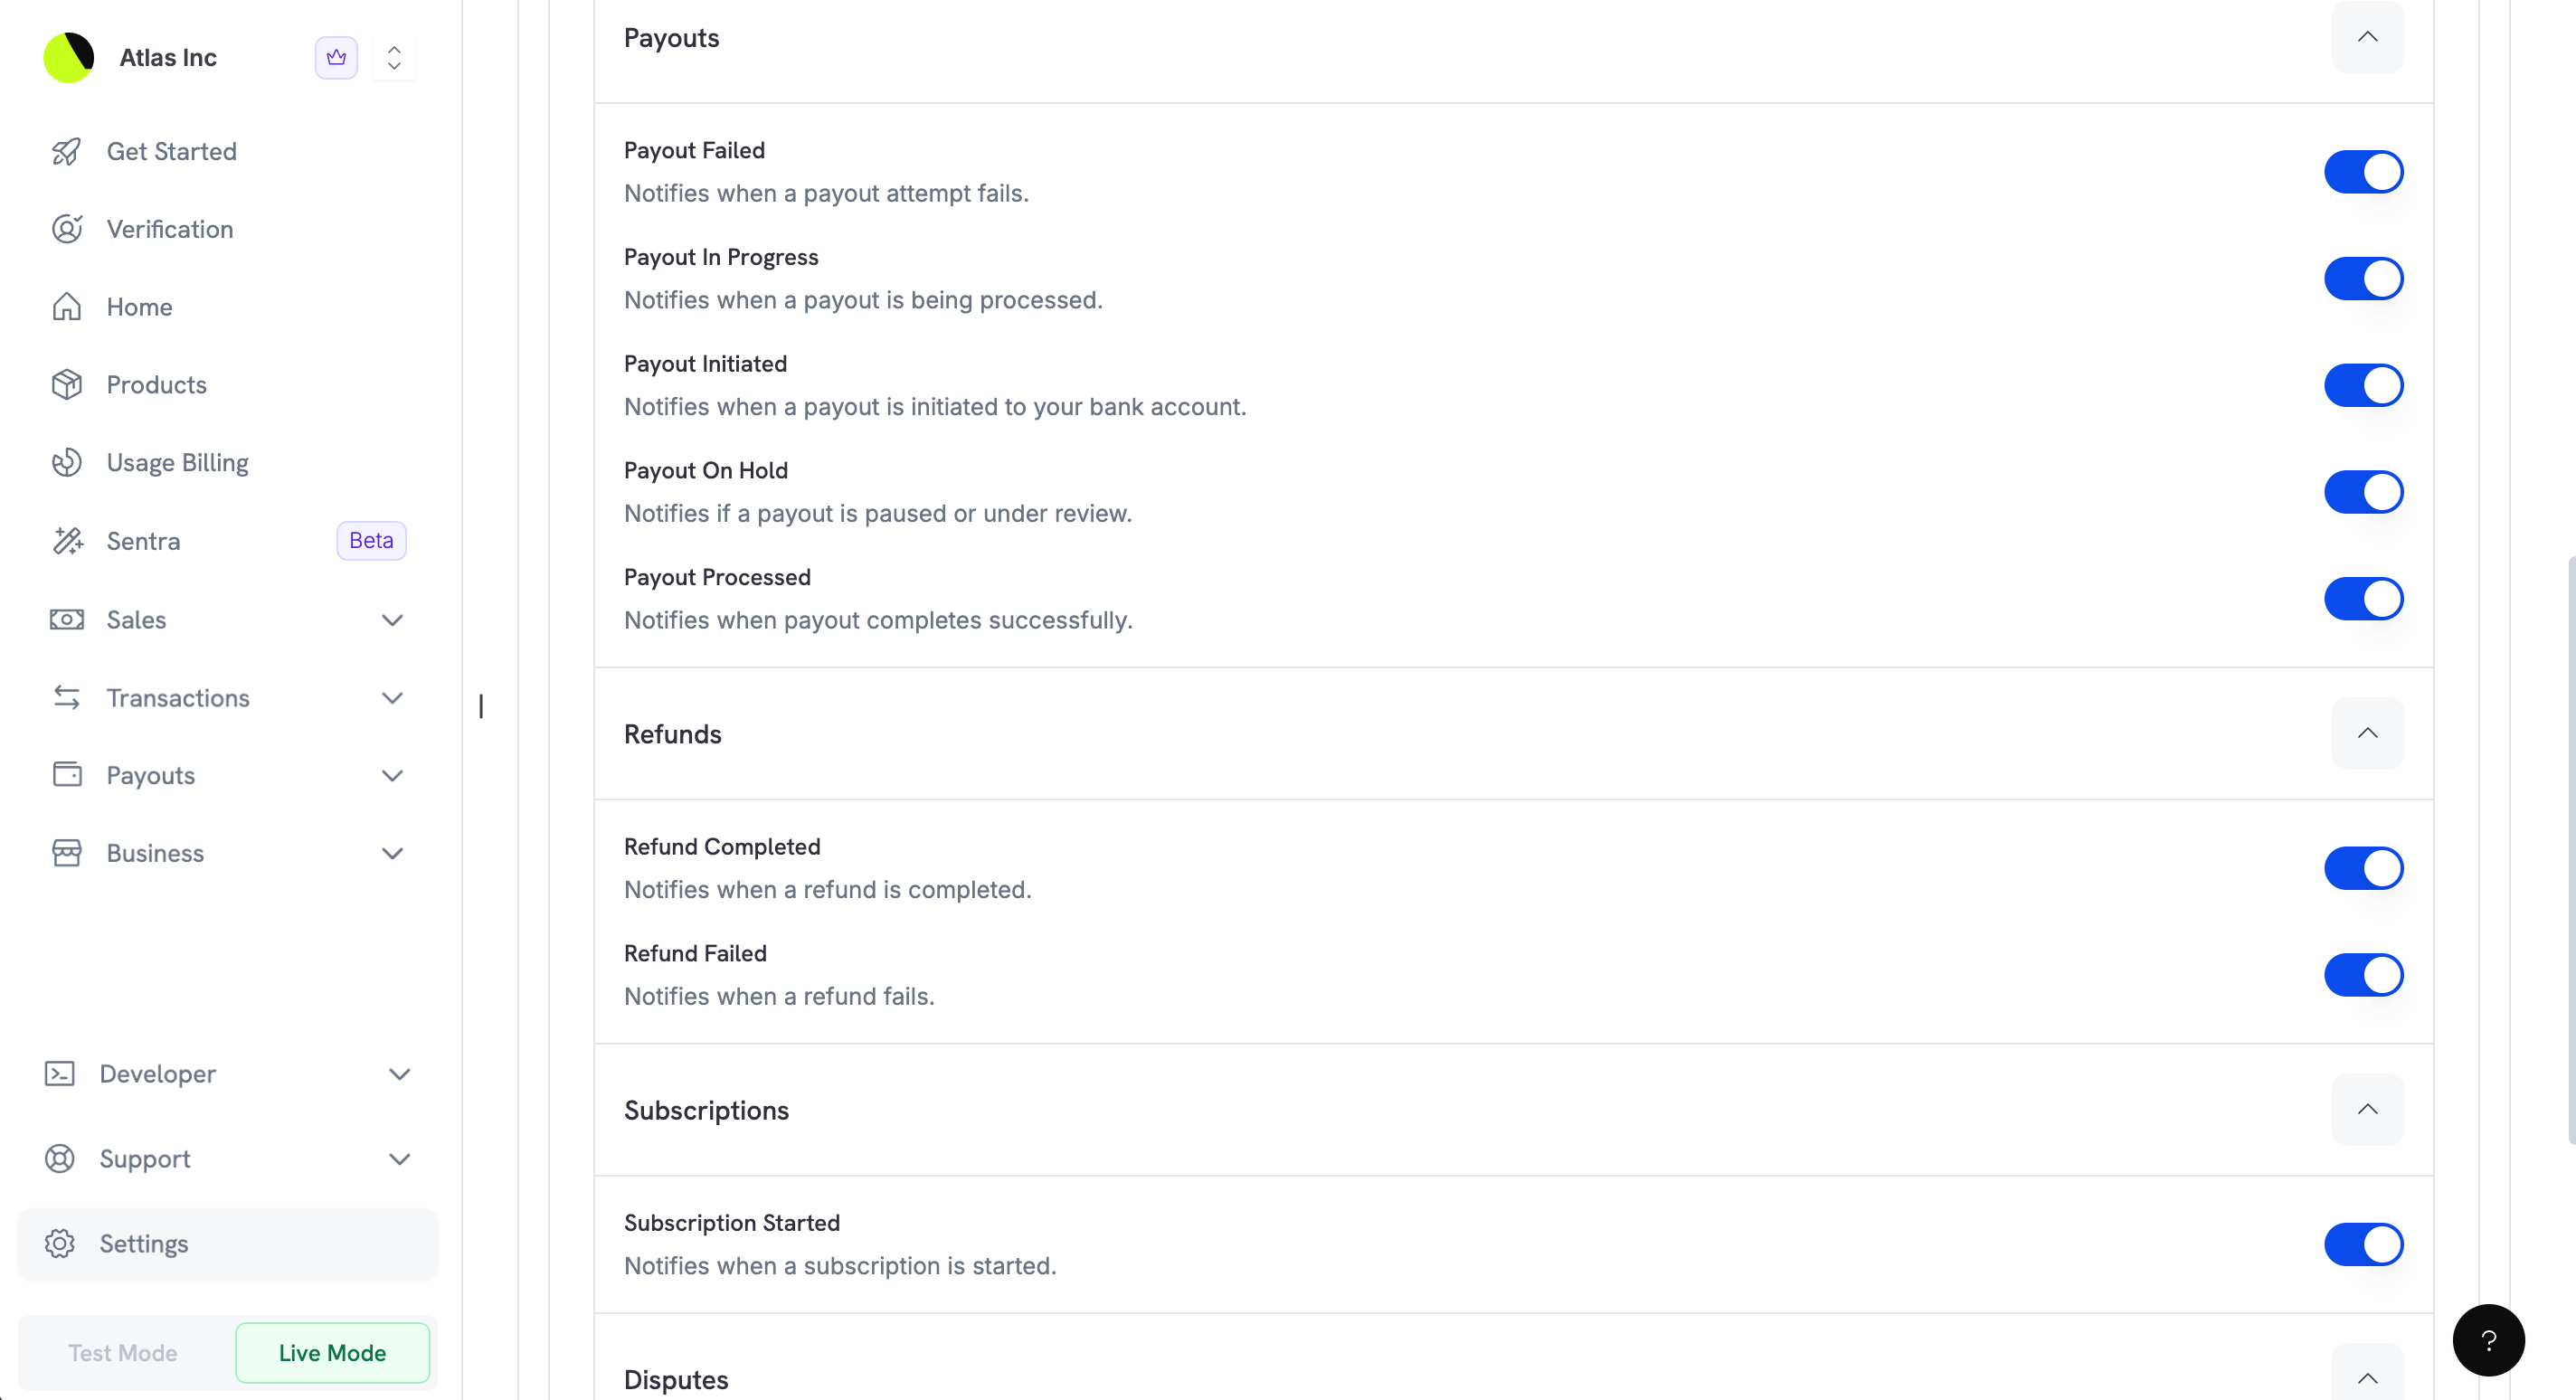
When a bank holiday moves your next payout date, every team member with in-app notifications also receives a Payout date moved notice that names the old and new dates. See When Your Payout Date Moves.
Refunds
Refund notifications cover refund activity across your transactions.Subscriptions
Subscription notifications track the subscription lifecycle. The Default column shows whether each notification is on before you change it.
All other team notifications on this page are enabled by default.
Disputes
Disputes need a prompt response to protect your business, and these notifications tell you about each change in a dispute.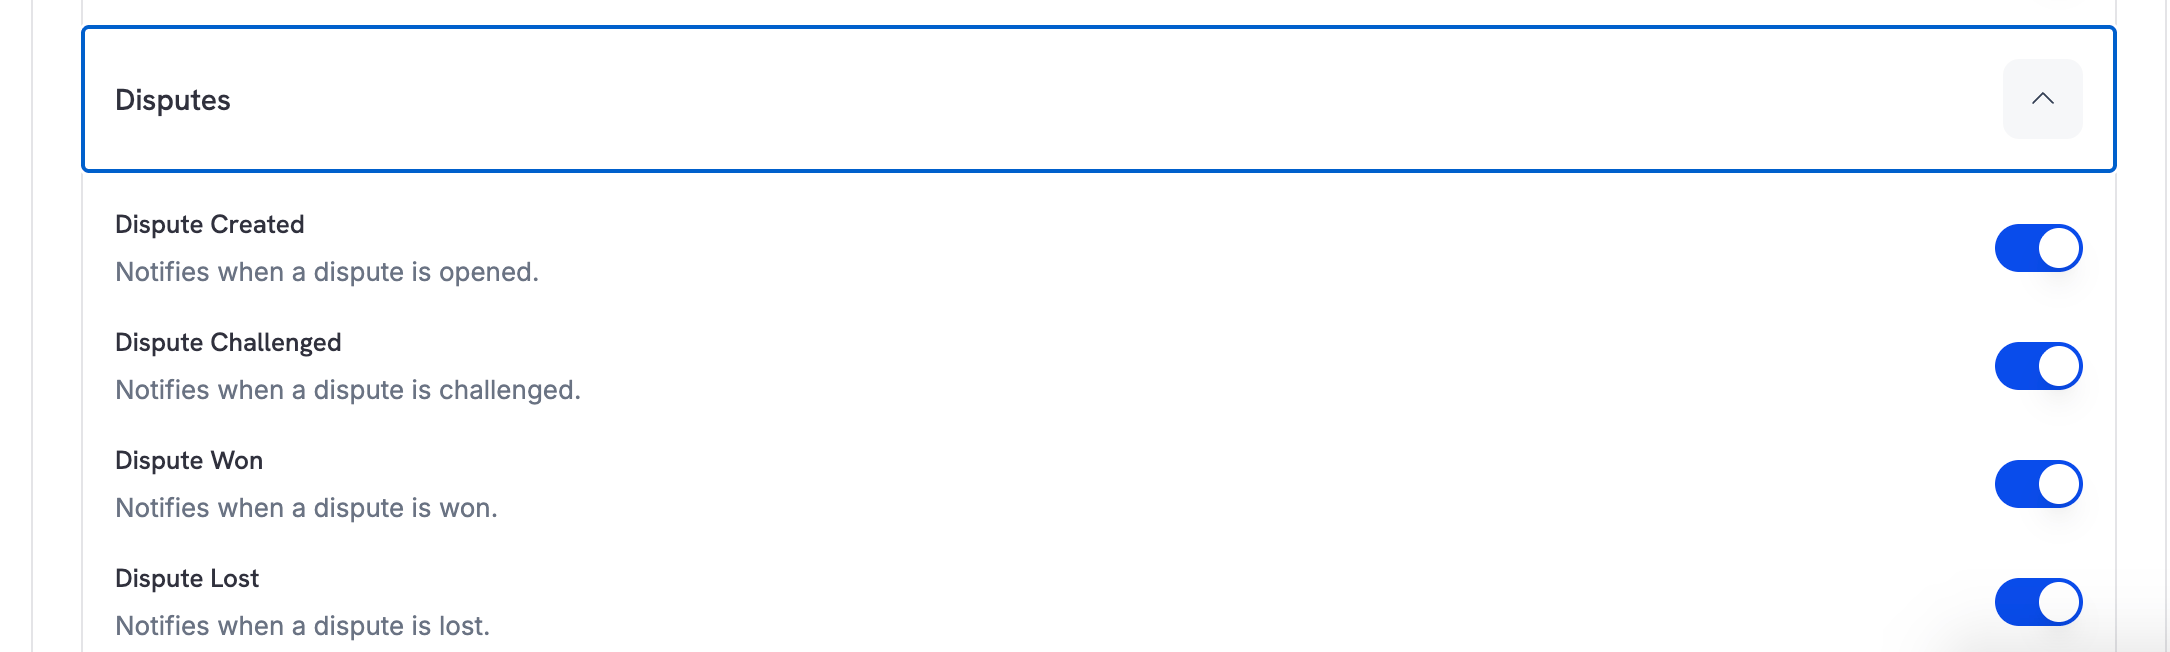
Customer Emails
Besides notifications for your team, you choose which transactional emails Dodo Payments sends to your customers automatically. Dodo Payments sends these emails on your behalf to keep customers informed about their purchases.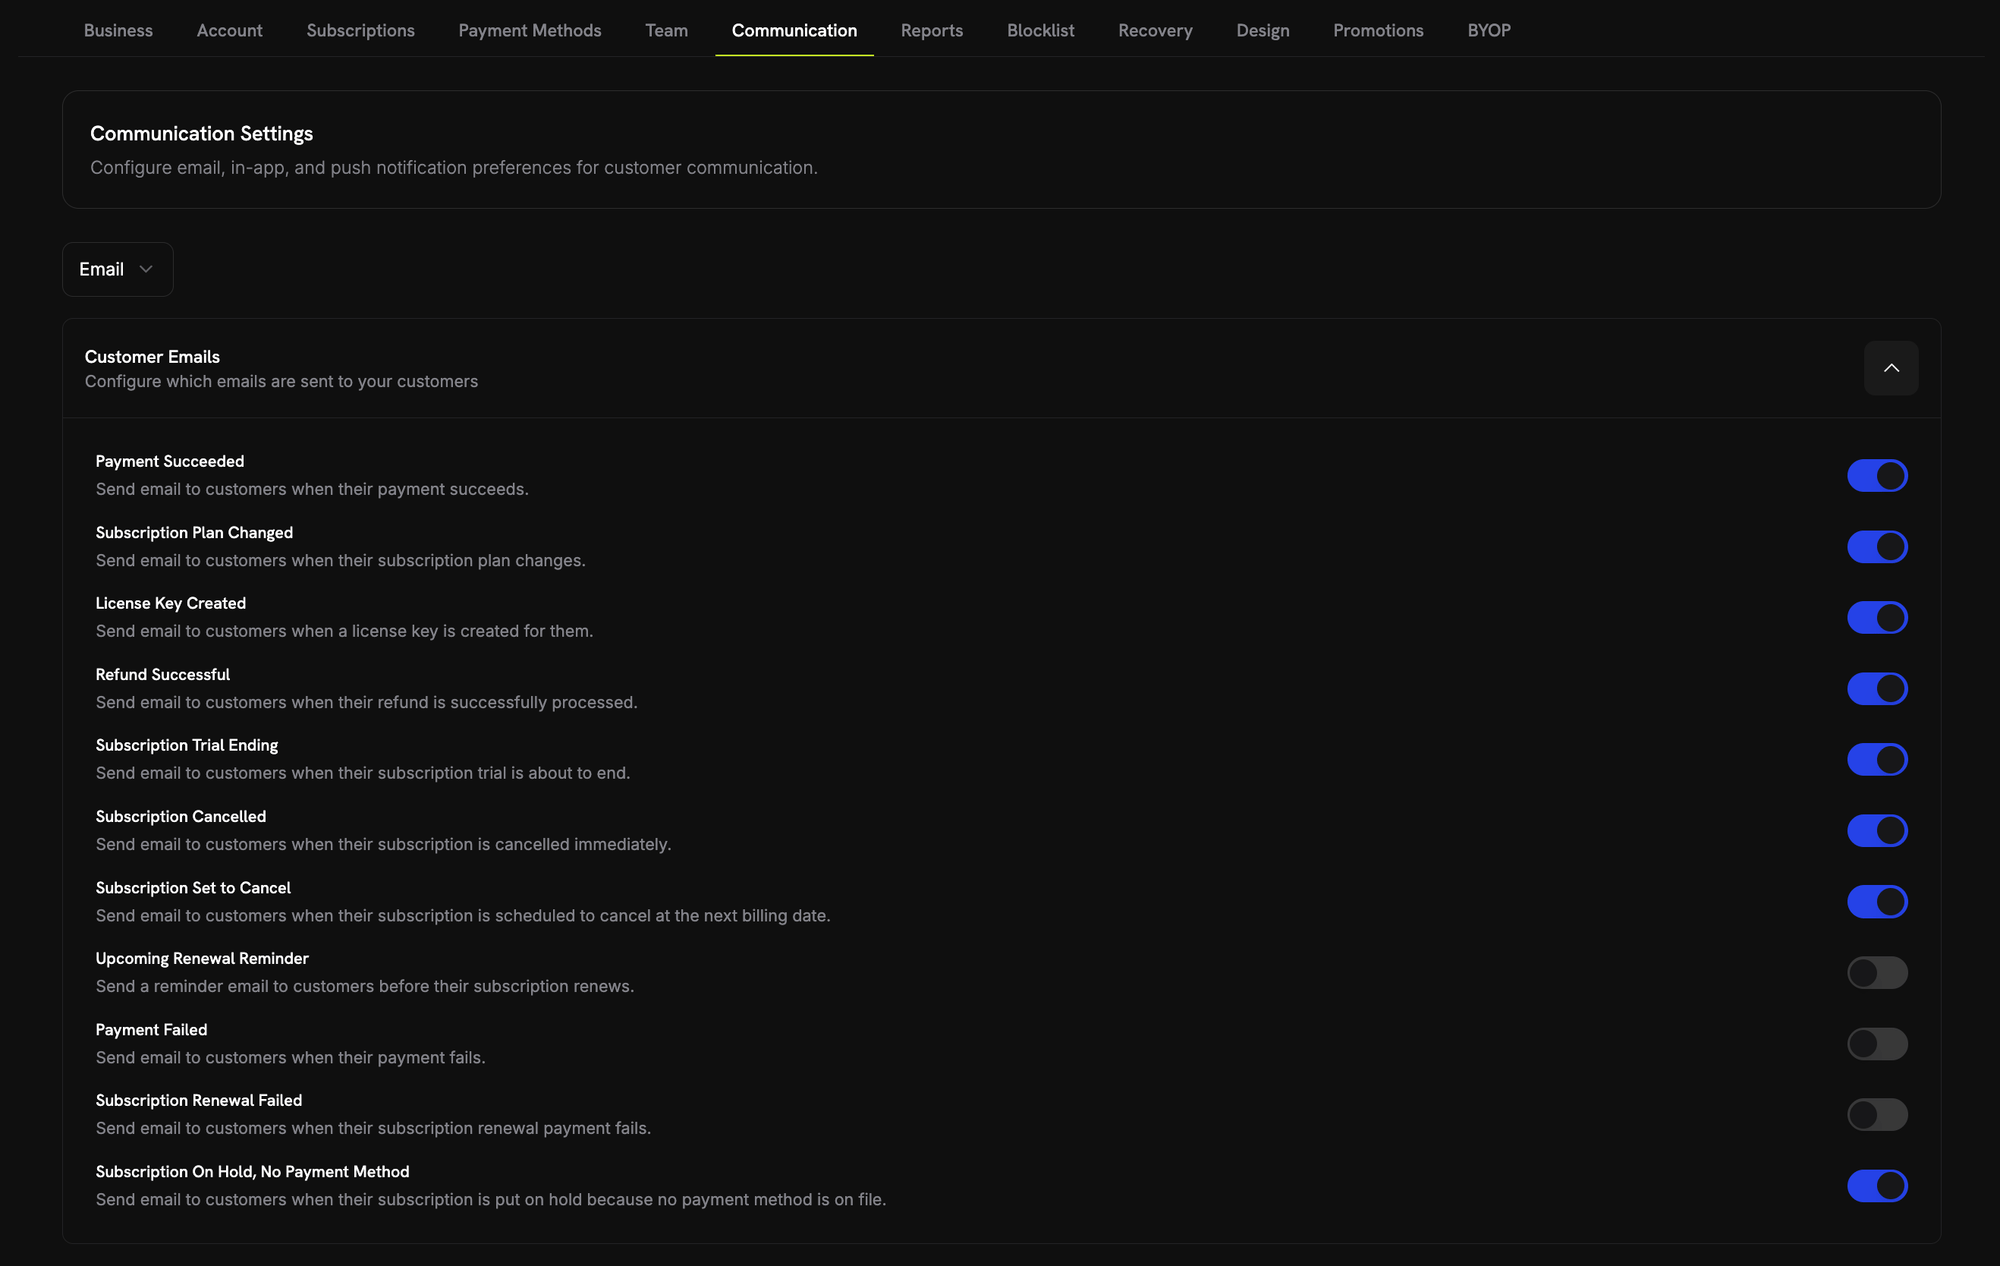
Customer emails are separate from the notification emails sent to your team. Turning off a customer email doesn’t affect your team’s notifications about the same event.
Test Mode Emails
The Test Mode Emails switch, below the Customer Emails list on the Email tab, controls whether customer emails are sent in test mode. It is on by default.- On: Customer emails are sent in test mode to the real recipient, with
[TEST MODE]at the start of each subject. A business can send up to 100 test mode emails per week. - Off: No customer emails are sent in test mode. Emails that are not sent don’t count toward the weekly allowance, and the dashboard refuses a resend from a customer’s Sent Emails tab.
Best Practices
These recommendations help you configure communication preferences effectively:-
Route notifications by role: Add team addresses for different notification types. For example:
finance@yourcompany.comfor payout notificationssupport@yourcompany.comfor dispute notificationssales@yourcompany.comfor payment notifications
- Enable critical notifications on several channels: For time-sensitive events such as disputes, turn on both email and push notifications so you don’t miss them.
- Review preferences regularly: When your team grows or changes, check that the right people receive the right notifications.
- Keep customer emails enabled: Unless you have a specific reason to turn them off, customer emails give customers a better experience and reduce support requests.