Overview
The Dodo Payments Checkout SDK provides a seamless way to integrate our payment overlay into your web application. Built with TypeScript and modern web standards, it offers a robust solution for handling payments with real-time event handling and customizable themes.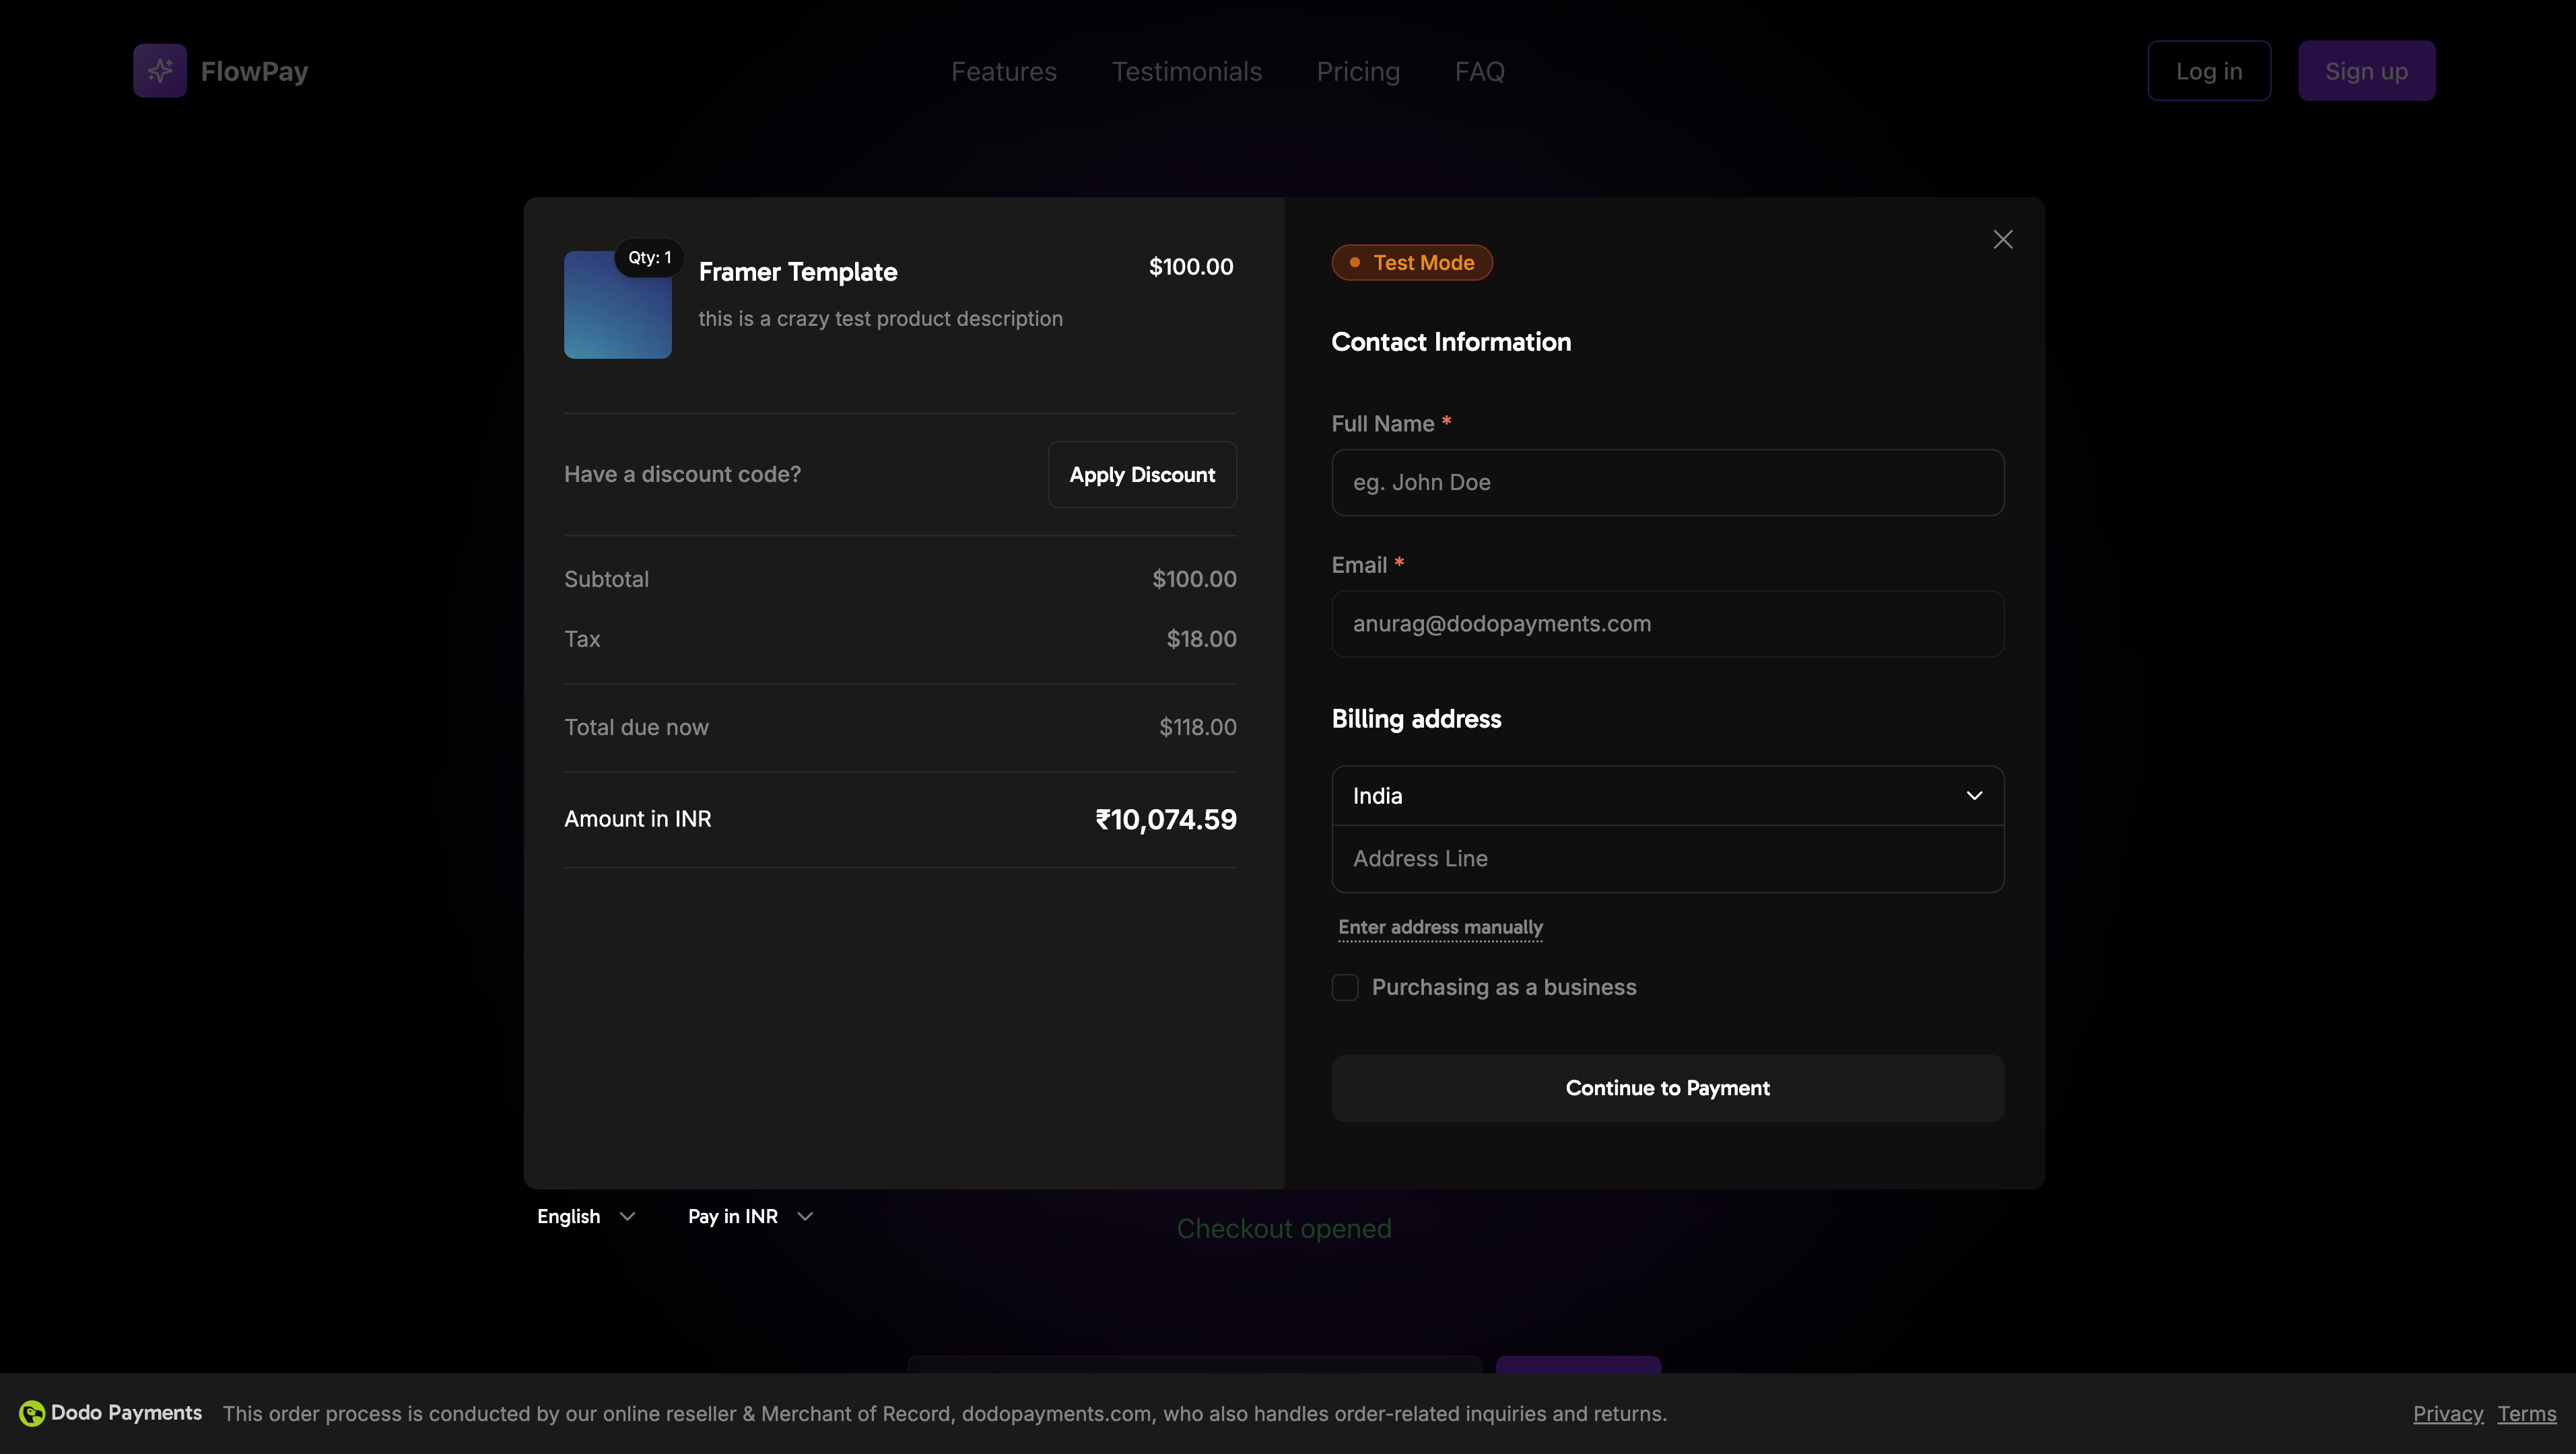
Demo
Interactive Demo
See the overlay checkout in action with our live demo.
Quick Start
Get started with the Dodo Payments Checkout SDK in just a few lines of code:Step-by-Step Integration Guide
1
Install the SDK
Install the Dodo Payments Checkout SDK using your preferred package manager:
2
Initialize the SDK
Initialize the SDK in your application, typically in your main component or app entry point:
3
Create a Checkout Button Component
Create a component that opens the checkout overlay:
4
Add Checkout to Your Page
Use the checkout button component in your application:
5
Handle Success and Failure Pages
Create pages to handle checkout redirects:
6
Test Your Integration
- Start your development server:
- Test the checkout flow:
- Click the checkout button
- Verify the overlay appears
- Test the payment flow using test credentials
- Confirm redirects work correctly
You should see checkout events logged in your browser console.
7
Go Live
When you’re ready for production:
- Change the mode to
'live':
- Update your checkout URLs to use live checkout sessions from your backend
- Test the complete flow in production
- Monitor events and errors
API Reference
Configuration
Initialize Options
Checkout Options
Methods
Open Checkout
Opens the checkout overlay with the specified checkout session URL.Close Checkout
Programmatically closes the checkout overlay.Check Status
Returns whether the checkout overlay is currently open.Events
The SDK provides real-time events that you can listen to through theonEvent callback:
Implementation Options
Package Manager Installation
Install via npm, yarn, or pnpm as shown in the Step-by-Step Integration Guide.CDN Implementation
For quick integration without a build step, you can use our CDN:Theme Customization
You can customize the checkout appearance by passing athemeConfig object in the options parameter when opening checkout. The theme configuration supports both light and dark modes, allowing you to customize colors, borders, text, buttons, and border radius.
This section covers the deprecated client-side theme configuration using the Checkout SDK. The recommended approach is to configure themes server-side when creating a checkout session via the API using the
theme_config parameter. See Checkout Theme Customization for API-level configuration, or use the Design page in the dashboard to configure themes visually with live preview.Basic Theme Configuration
Complete Theme Configuration
All available theme properties:Light Mode Only
If you only want to customize the light theme:Dark Mode Only
If you only want to customize the dark theme:Partial Theme Override
You can override only specific properties. The checkout will use default values for properties you don’t specify:Theme Configuration with Other Options
You can combine theme configuration with other checkout options:TypeScript Types
For TypeScript users, all theme configuration types are exported:Error Handling
The SDK provides detailed error information through the event system. Always implement proper error handling in youronEvent callback:
Best Practices
- Initialize once: Initialize the SDK once when your application loads, not on every checkout attempt
- Error handling: Always implement proper error handling in your event callback
- Test mode: Use
testmode during development and switch toliveonly when ready for production - Event handling: Handle all relevant events for a complete user experience
- Valid URLs: Always use valid checkout URLs from the create checkout session API
- TypeScript: Use TypeScript for better type safety and developer experience
- Loading states: Show loading states while the checkout is opening to improve UX
- Timer management: Disable the timer (
showTimer: false) if you want to handle session expiration manually
Troubleshooting
Checkout not opening
Checkout not opening
Possible causes:
- SDK not initialized before calling
open() - Invalid checkout URL
- JavaScript errors in console
- Network connectivity issues
- Verify SDK initialization happens before opening checkout
- Check for console errors
- Ensure checkout URL is valid and from the create checkout session API
- Verify network connectivity
Events not firing
Events not firing
Possible causes:
- Event handler not properly set up
- JavaScript errors preventing event propagation
- SDK not initialized correctly
- Confirm event handler is properly configured in
Initialize() - Check browser console for JavaScript errors
- Verify SDK initialization completed successfully
- Test with a simple event handler first
Styling issues
Styling issues
Possible causes:
- CSS conflicts with your application styles
- Theme settings not applied correctly
- Responsive design issues
- Check for CSS conflicts in browser DevTools
- Verify theme settings are correct
- Test on different screen sizes
- Ensure no z-index conflicts with overlay
Enabling Digital Wallets
For detailed information about setting up Google Pay and other digital wallets, see the Digital Wallets page.Apple Pay is not yet supported in overlay checkout. Support for Apple Pay is coming soon.
Browser Support
The Dodo Payments Checkout SDK supports the following browsers:- Chrome (latest)
- Firefox (latest)
- Safari (latest)
- Edge (latest)
- IE11+
Overlay vs Inline Checkout
Choose the right checkout type for your use case:Related Resources
Inline Checkout
Embed checkout directly into your page for fully integrated experiences.
Checkout Sessions API
Create checkout sessions to power your checkout experiences.
Webhooks
Handle payment events server-side with webhooks.
Integration Guide
Complete guide to integrating Dodo Payments.