Overview
Inline checkout lets you create fully integrated checkout experiences that blend seamlessly with your website or application. Unlike the overlay checkout, which opens as a modal on top of your page, inline checkout embeds the payment form directly into your page layout. Using inline checkout, you can:- Create checkout experiences that are fully integrated with your app or website
- Let Dodo Payments securely capture customer and payment information in an optimized checkout frame
- Display items, totals, and other information from Dodo Payments on your page
- Use SDK methods and events to build advanced checkout experiences

How It Works
Inline checkout works by embedding a secure Dodo Payments frame into your website or app. The checkout frame handles collecting customer information and capturing payment details. Your page displays the items list, totals, and options for changing what’s on the checkout. The SDK lets your page and the checkout frame interact with each other. Dodo Payments automatically creates a subscription when a checkout completes, ready for you to provision.The inline checkout frame securely handles all sensitive payment information, ensuring PCI compliance without additional certification on your end.
What Makes a Good Inline Checkout?
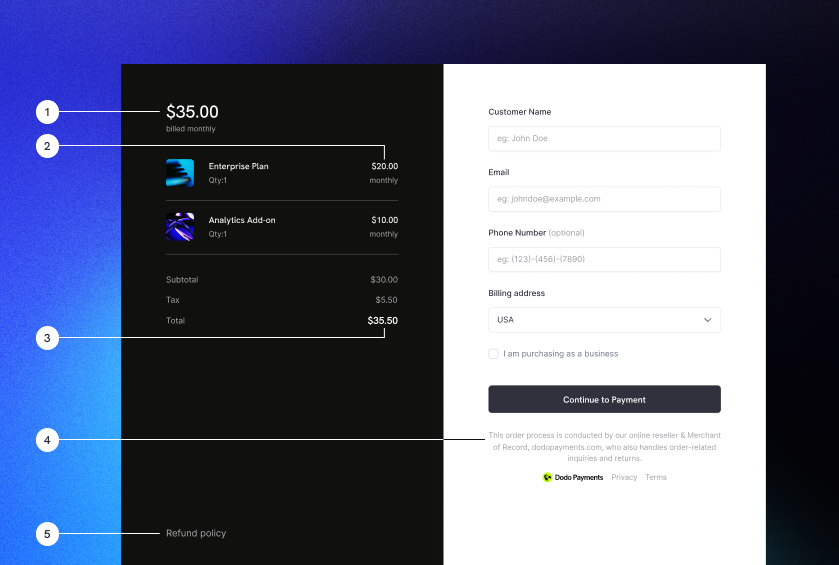
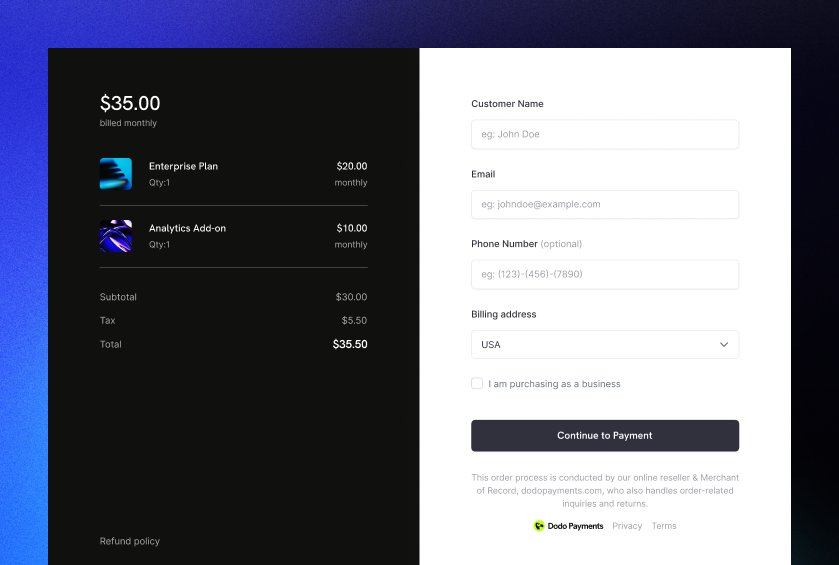
It’s important that customers know who they’re buying from, what they’re buying, and how much they’re paying. To build an inline checkout that’s compliant and optimized for conversion, your implementation must include:
- Recurring information: If recurring, how often it recurs and the total to pay on renewal. If a trial, how long the trial lasts.
- Item descriptions: A description of what’s being purchased.
- Transaction totals: Transaction totals, including subtotal, total tax, and grand total. Be sure to include the currency too.
- Dodo Payments footer: The full inline checkout frame, including the checkout footer that has information about Dodo Payments, our terms of sale, and our privacy policy.
- Refund policy: A link to your refund policy, if it differs from the Dodo Payments standard refund policy.
Customer Journey
The checkout flow is determined by your checkout session configuration. Depending on how you configure the checkout session, customers will experience a checkout that may present all information on a single page or across multiple steps.1
Customer opens checkout
You can open inline checkout by passing items or an existing transaction. Use the SDK to show and update on-page information, and SDK methods to update items based on customer interaction.

2
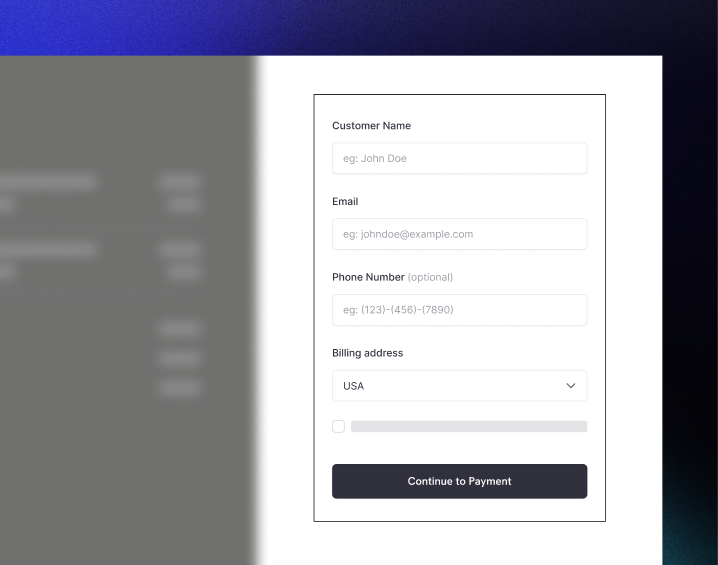
Customer enters their details
Inline checkout first asks customers to enter their email address, select their country, and (where required) enter their ZIP or postal code. This step gathers all necessary information to determine taxes and available payment options.You can prefill customer details and present saved addresses to streamline the experience.
3
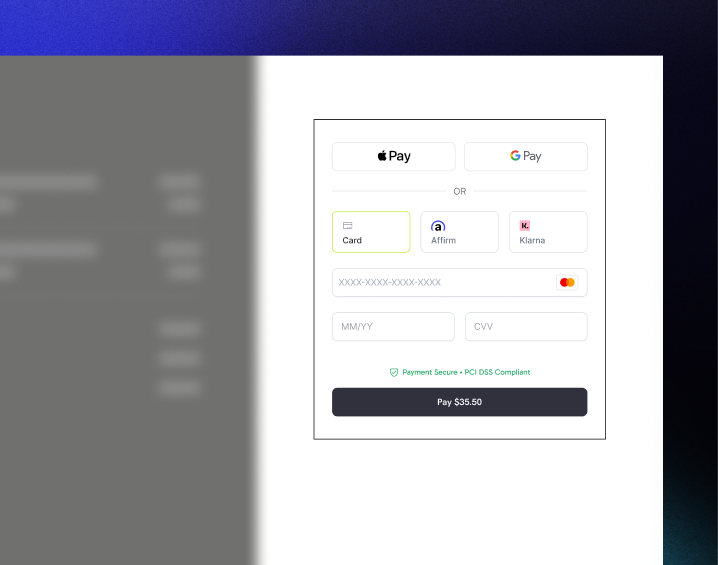
Customer selects payment method
After entering their details, customers are presented with available payment methods and the payment form. Options may include credit or debit card, PayPal, Apple Pay, Google Pay, and other local payment methods based on their location.Display saved payment methods if available to speed up checkout.

4
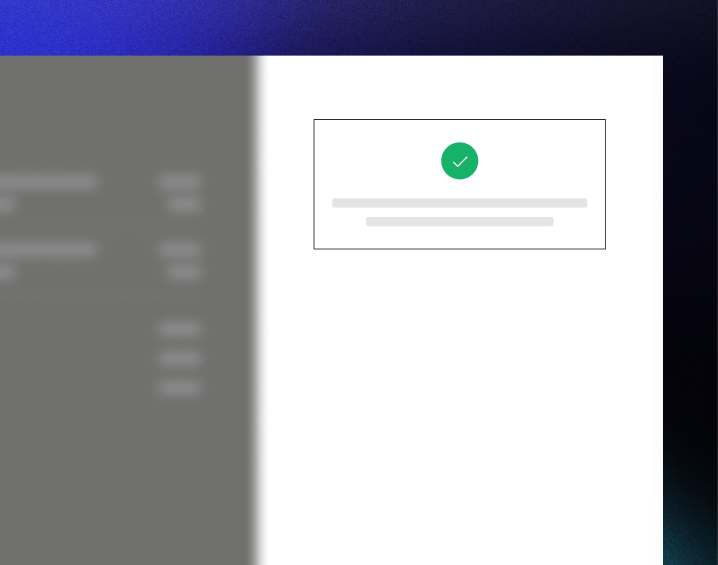
Checkout completed
Dodo Payments routes every payment to the best acquirer for that sale to get the best possible chance of success. Customers enter a success workflow that you can build.

5
Dodo Payments creates subscription
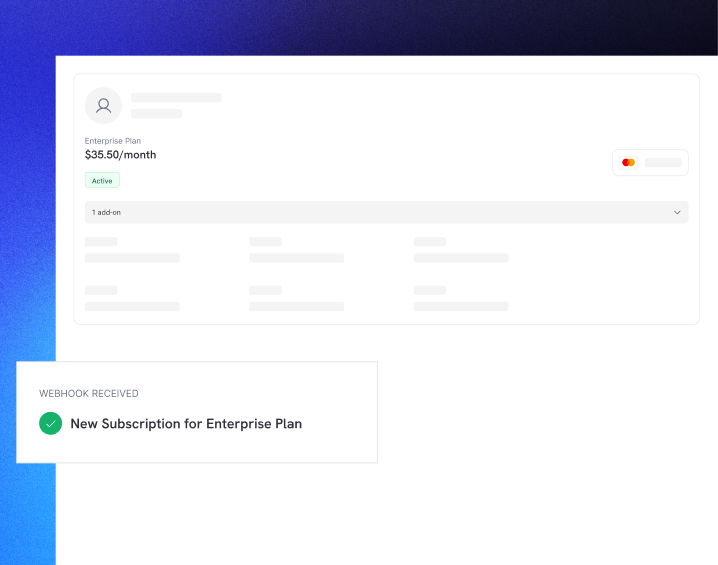
Dodo Payments automatically creates a subscription for the customer, ready for you to provision. The payment method the customer used is held on file for renewals or subscription changes.

Quick Start
Get started with the Dodo Payments Inline Checkout in just a few lines of code:Step-by-Step Integration Guide
1
Install the SDK
Install the Dodo Payments Checkout SDK:
2
Initialize the SDK for Inline Display
Initialize the SDK and specify
displayType: 'inline'. You should also listen for the checkout.breakdown event to update your UI with real-time tax and total calculations.3
Create a Container Element
Add an element to your HTML where the checkout frame will be injected:
4
Open the Checkout
Call
DodoPayments.Checkout.open() with the checkoutUrl and the elementId of your container:5
Test Your Integration
- Start your development server:
- Test the checkout flow:
- Enter your email and address details in the inline frame.
- Verify that your custom order summary updates in real-time.
- Test the payment flow using test credentials.
- Confirm redirects work correctly.
You should see
checkout.breakdown events logged in your browser console if you added a console log in the onEvent callback.6
Go Live
When you’re ready for production:
- Change the mode to
'live':
- Update your checkout URLs to use live checkout sessions from your backend.
- Test the complete flow in production.
Complete React Example
This example demonstrates how to implement a custom order summary alongside the inline checkout, keeping them in sync using thecheckout.breakdown event.
API Reference
Configuration
Initialize Options
Checkout Options
Methods
Open Checkout
Opens the checkout frame in the specified container.Close Checkout
Programmatically removes the checkout frame and cleans up event listeners.Check Status
Returns whether the checkout frame is currently injected.Events
The SDK provides real-time events through theonEvent callback. For inline checkout, checkout.breakdown is particularly useful for syncing your UI.
Checkout Breakdown Data
Thecheckout.breakdown event provides the following data:
Understanding the Breakdown Event
Thecheckout.breakdown event is the primary way to keep your application’s UI in sync with the Dodo Payments checkout state.
When it fires:
- On initialization: Immediately after the checkout frame is loaded and ready.
- On address change: Whenever the customer selects a country or enters a postal code that results in a tax recalculation.
Key Integration Tips:
- Currency Formatting: Prices are always returned as integers in the smallest currency unit (e.g., cents for USD, yen for JPY). To display them, divide by 100 (or the appropriate power of 10) or use a formatting library like
Intl.NumberFormat. - Handling Initial States: When the checkout first loads,
taxanddiscountmay be0ornulluntil the user provides their billing information or applies a code. Your UI should handle these states gracefully (e.g., showing a dash—or hiding the row). - The “Final Total” vs “Total”: While
totalgives you the standard price calculation,finalTotalis the source of truth for the transaction. IffinalTotalis present, it reflects exactly what will be charged to the customer’s card, including any dynamic adjustments. - Real-time Feedback: Use the
taxfield to show users that taxes are being calculated in real-time. This provides a “live” feel to your checkout page and reduces friction during the address entry step.
Implementation Options
Package Manager Installation
Install via npm, yarn, or pnpm as shown in the Step-by-Step Integration Guide.CDN Implementation
For quick integration without a build step, you can use our CDN:Update Payment Method
Inline checkout supports payment method updates for subscriptions. When a customer needs to update their payment method — whether for an active subscription or to reactivate an on-hold subscription — you can render the update flow directly within your page layout.How It Works
- Call the Update Payment Method API to get a
payment_link:
- Pass the returned
payment_linkas thecheckoutUrlto open inline checkout:
For On-Hold Subscriptions
When updating the payment method for a subscription inon_hold status, Dodo Payments automatically creates a charge for any remaining dues. Monitor the payment.succeeded and subscription.active webhooks to confirm reactivation.
Error Handling
The SDK provides detailed error information through the event system. Always implement proper error handling in youronEvent callback:
Best Practices
- Responsive Design: Ensure your container element has enough width and height. The iframe will typically expand to fill its container.
- Synchronization: Use the
checkout.breakdownevent to keep your custom order summary or pricing tables in sync with what the user sees in the checkout frame. - Skeleton States: Show a loading indicator in your container until the
checkout.openedevent fires. - Cleanup: Call
DodoPayments.Checkout.close()when your component unmounts to clean up the iframe and event listeners.
For dark mode implementations, it’s recommended to use
#0d0d0d as the background color for optimal visual integration with the inline checkout frame.Payment Status Validation
Why Server-Side Validation is Essential
While inline checkout events provide real-time feedback, they should not be your only source of truth for payment status. Network issues, browser crashes, or users closing the page can cause events to be missed. To ensure reliable payment validation:- Your server should listen to webhook events - Dodo Payments sends webhooks for payment status changes
- Implement a polling mechanism - Your frontend should poll your server for status updates
- Combine both approaches - Use webhooks as the primary source and polling as a fallback
Recommended Architecture
Implementation Steps
1. Listen for checkout events - When the user clicks pay, start preparing to verify the status:payment.succeeded or payment.failed webhooks. See our Webhooks documentation for details.
Troubleshooting
Checkout frame is not appearing
- Verify that
elementIdmatches theidof adivthat actually exists in the DOM. - Ensure
displayType: 'inline'was passed toInitialize. - Check that the
checkoutUrlis valid.
Taxes are not updating in my UI
- Ensure you are listening for the
checkout.breakdownevent. - Taxes are only calculated after the user enters a valid country and postal code in the checkout frame.
Enabling Digital Wallets
For detailed information about setting up Apple Pay, Google Pay, and other digital wallets, see the Digital Wallets page.Quick Setup for Apple Pay
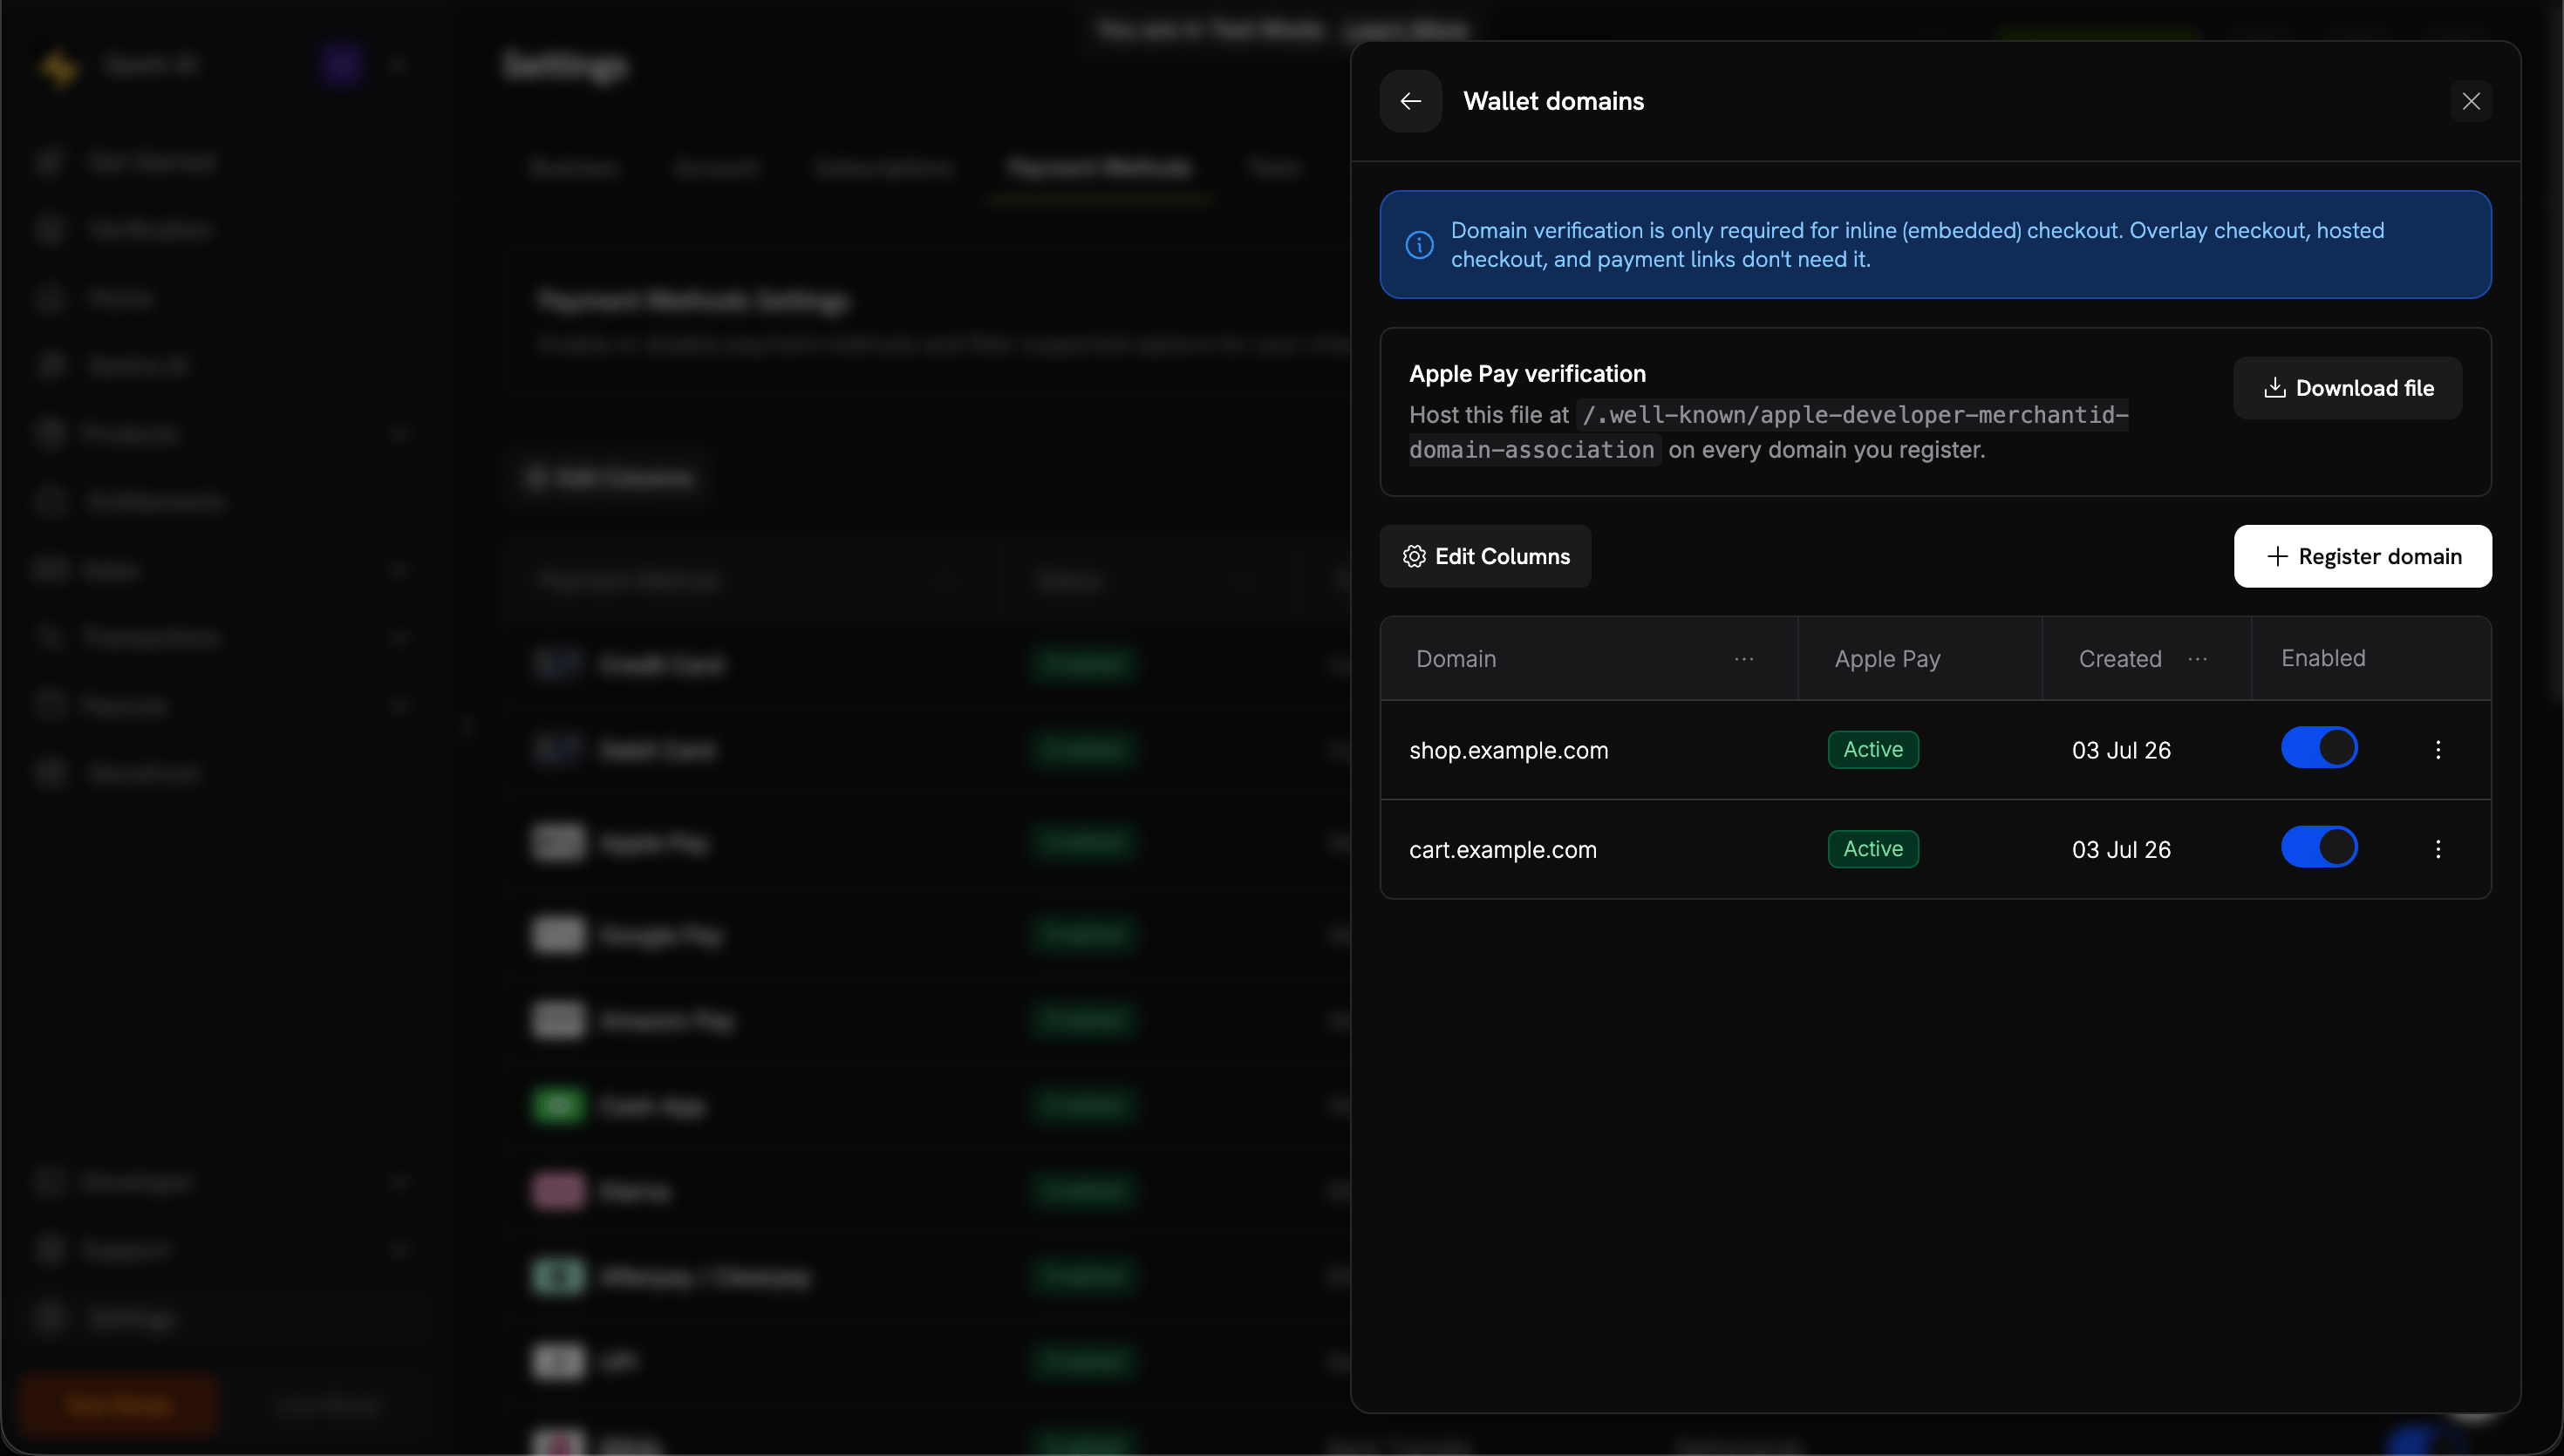
ドメインの検証はインライン(埋め込み)チェックアウトにのみ必要です。オーバーレイチェックアウト、ホスト型チェックアウト、支払いリンクには必要ありません。
1
Open Wallet domains
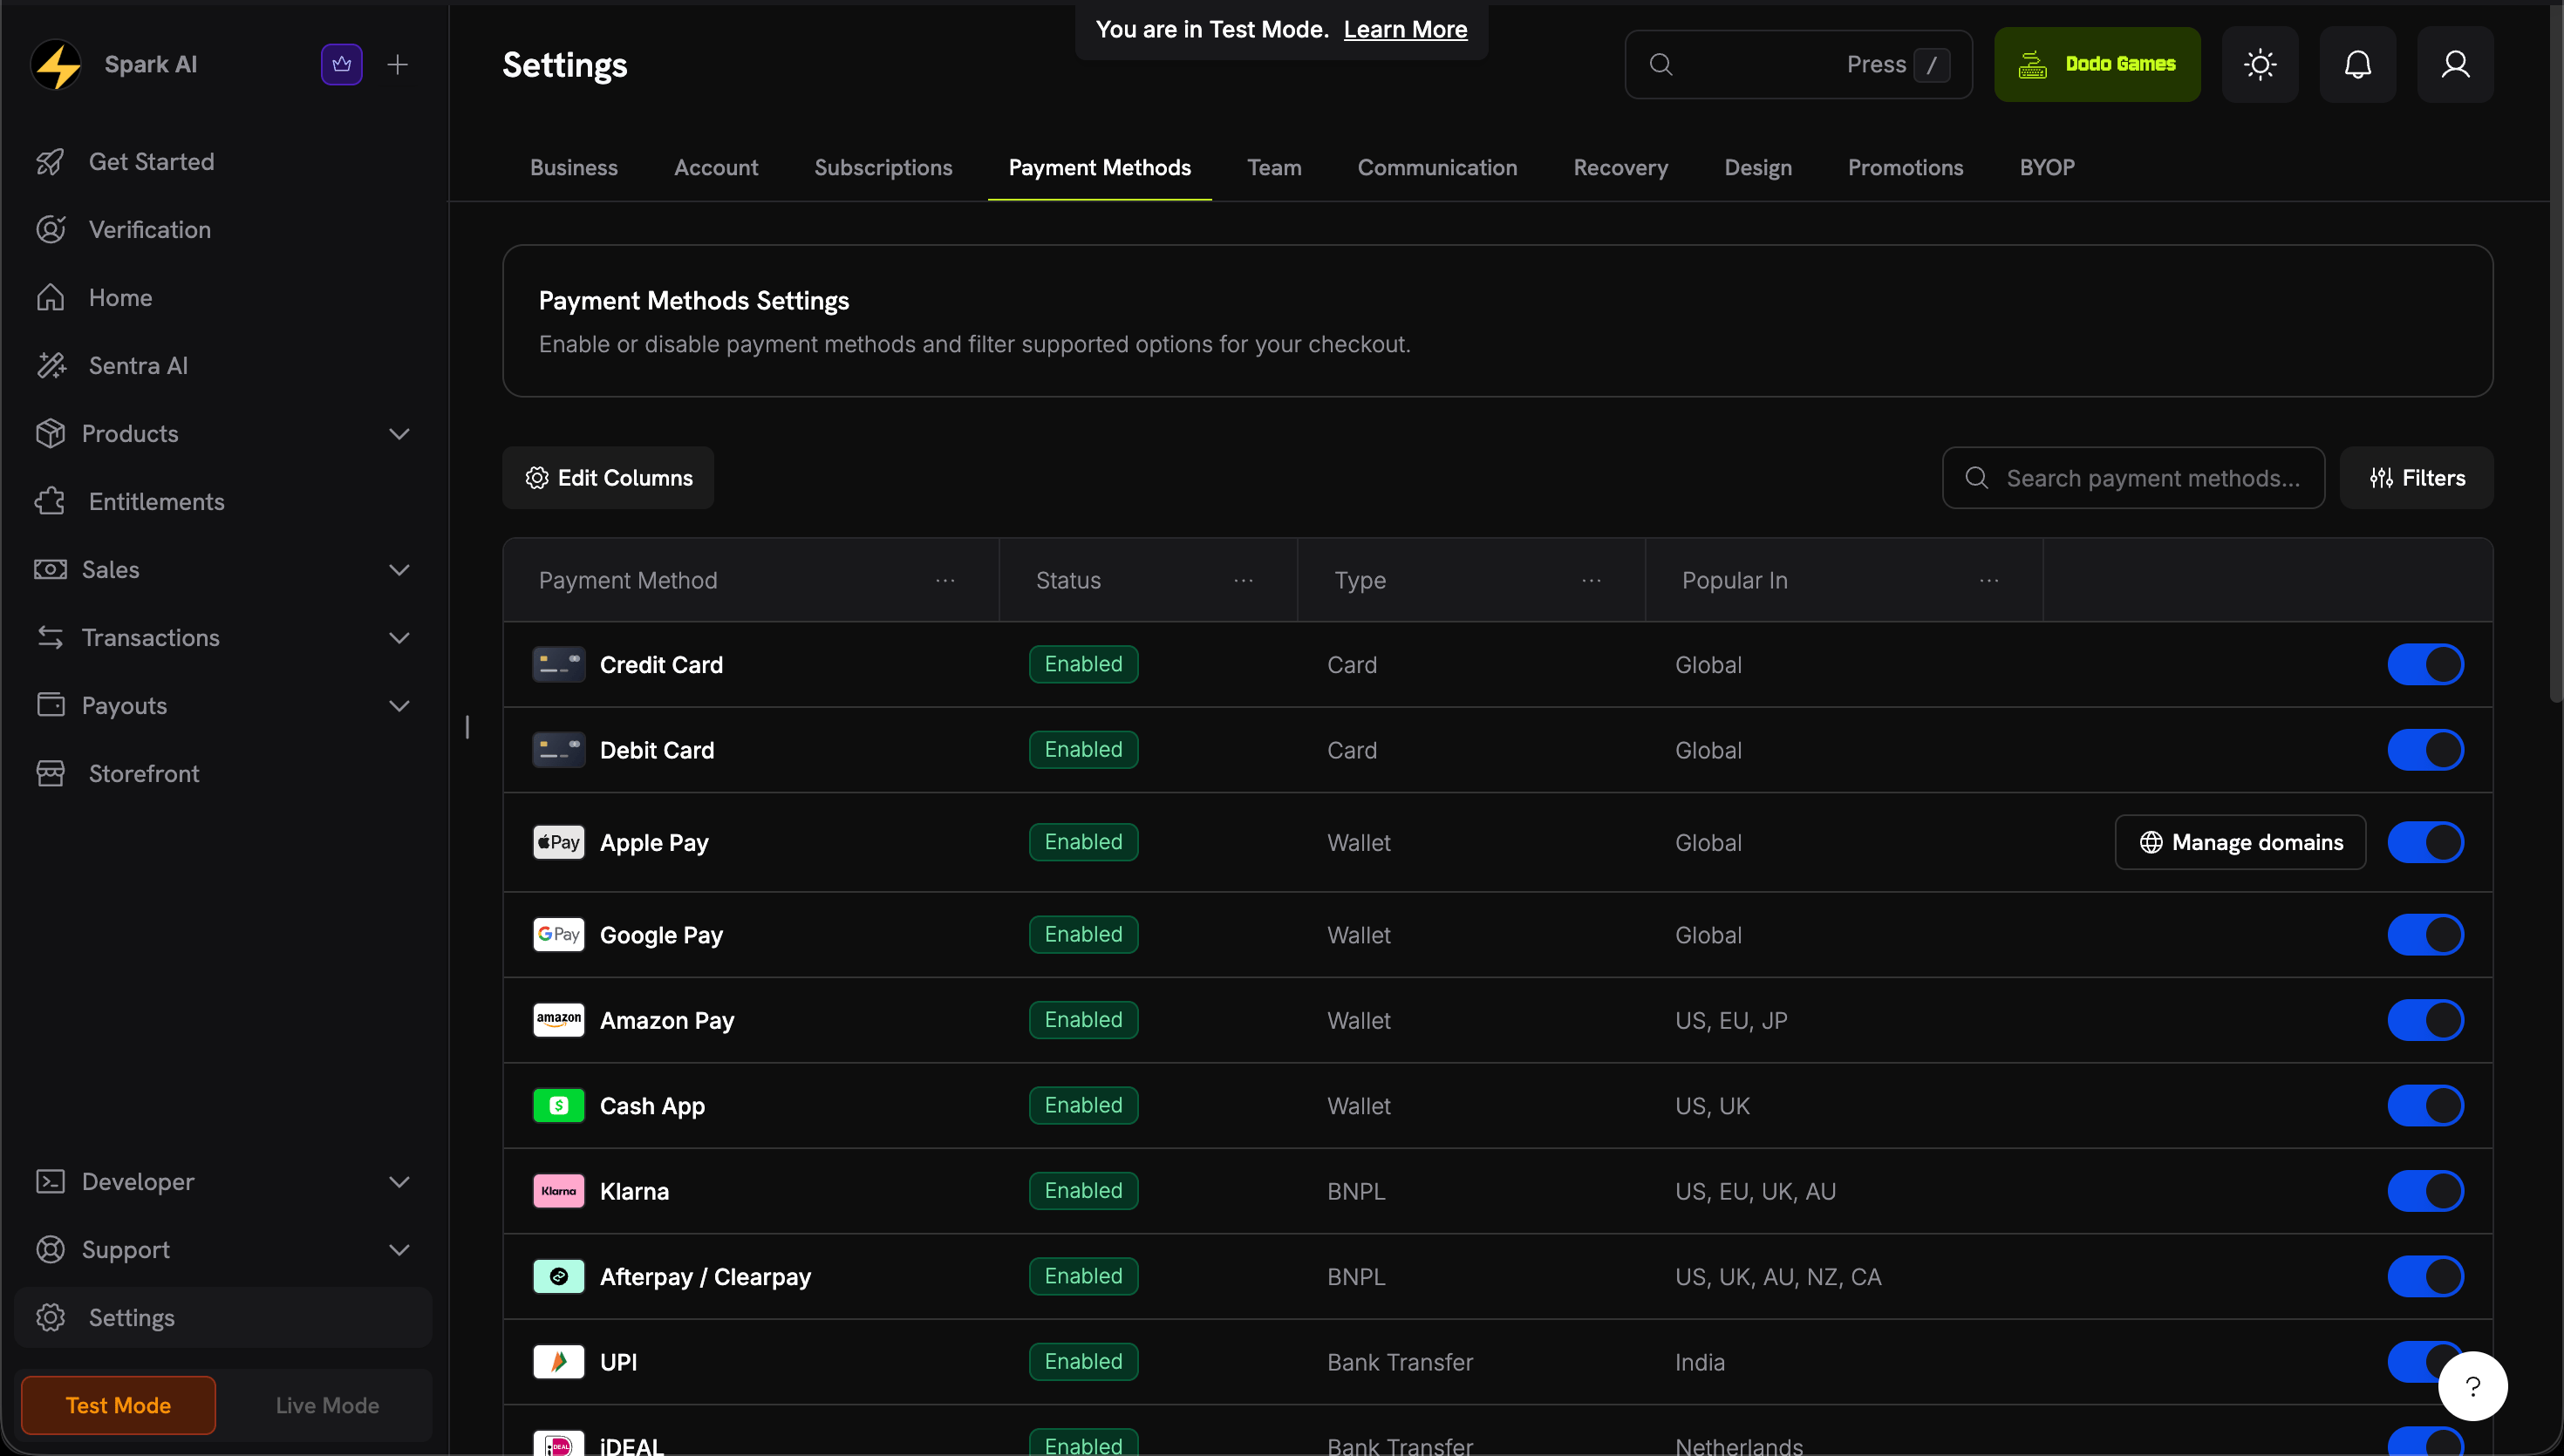
設定 → 支払い方法 に移動し、Apple Pay の行で ドメインの管理 をクリックします。

2
Download the domain association file
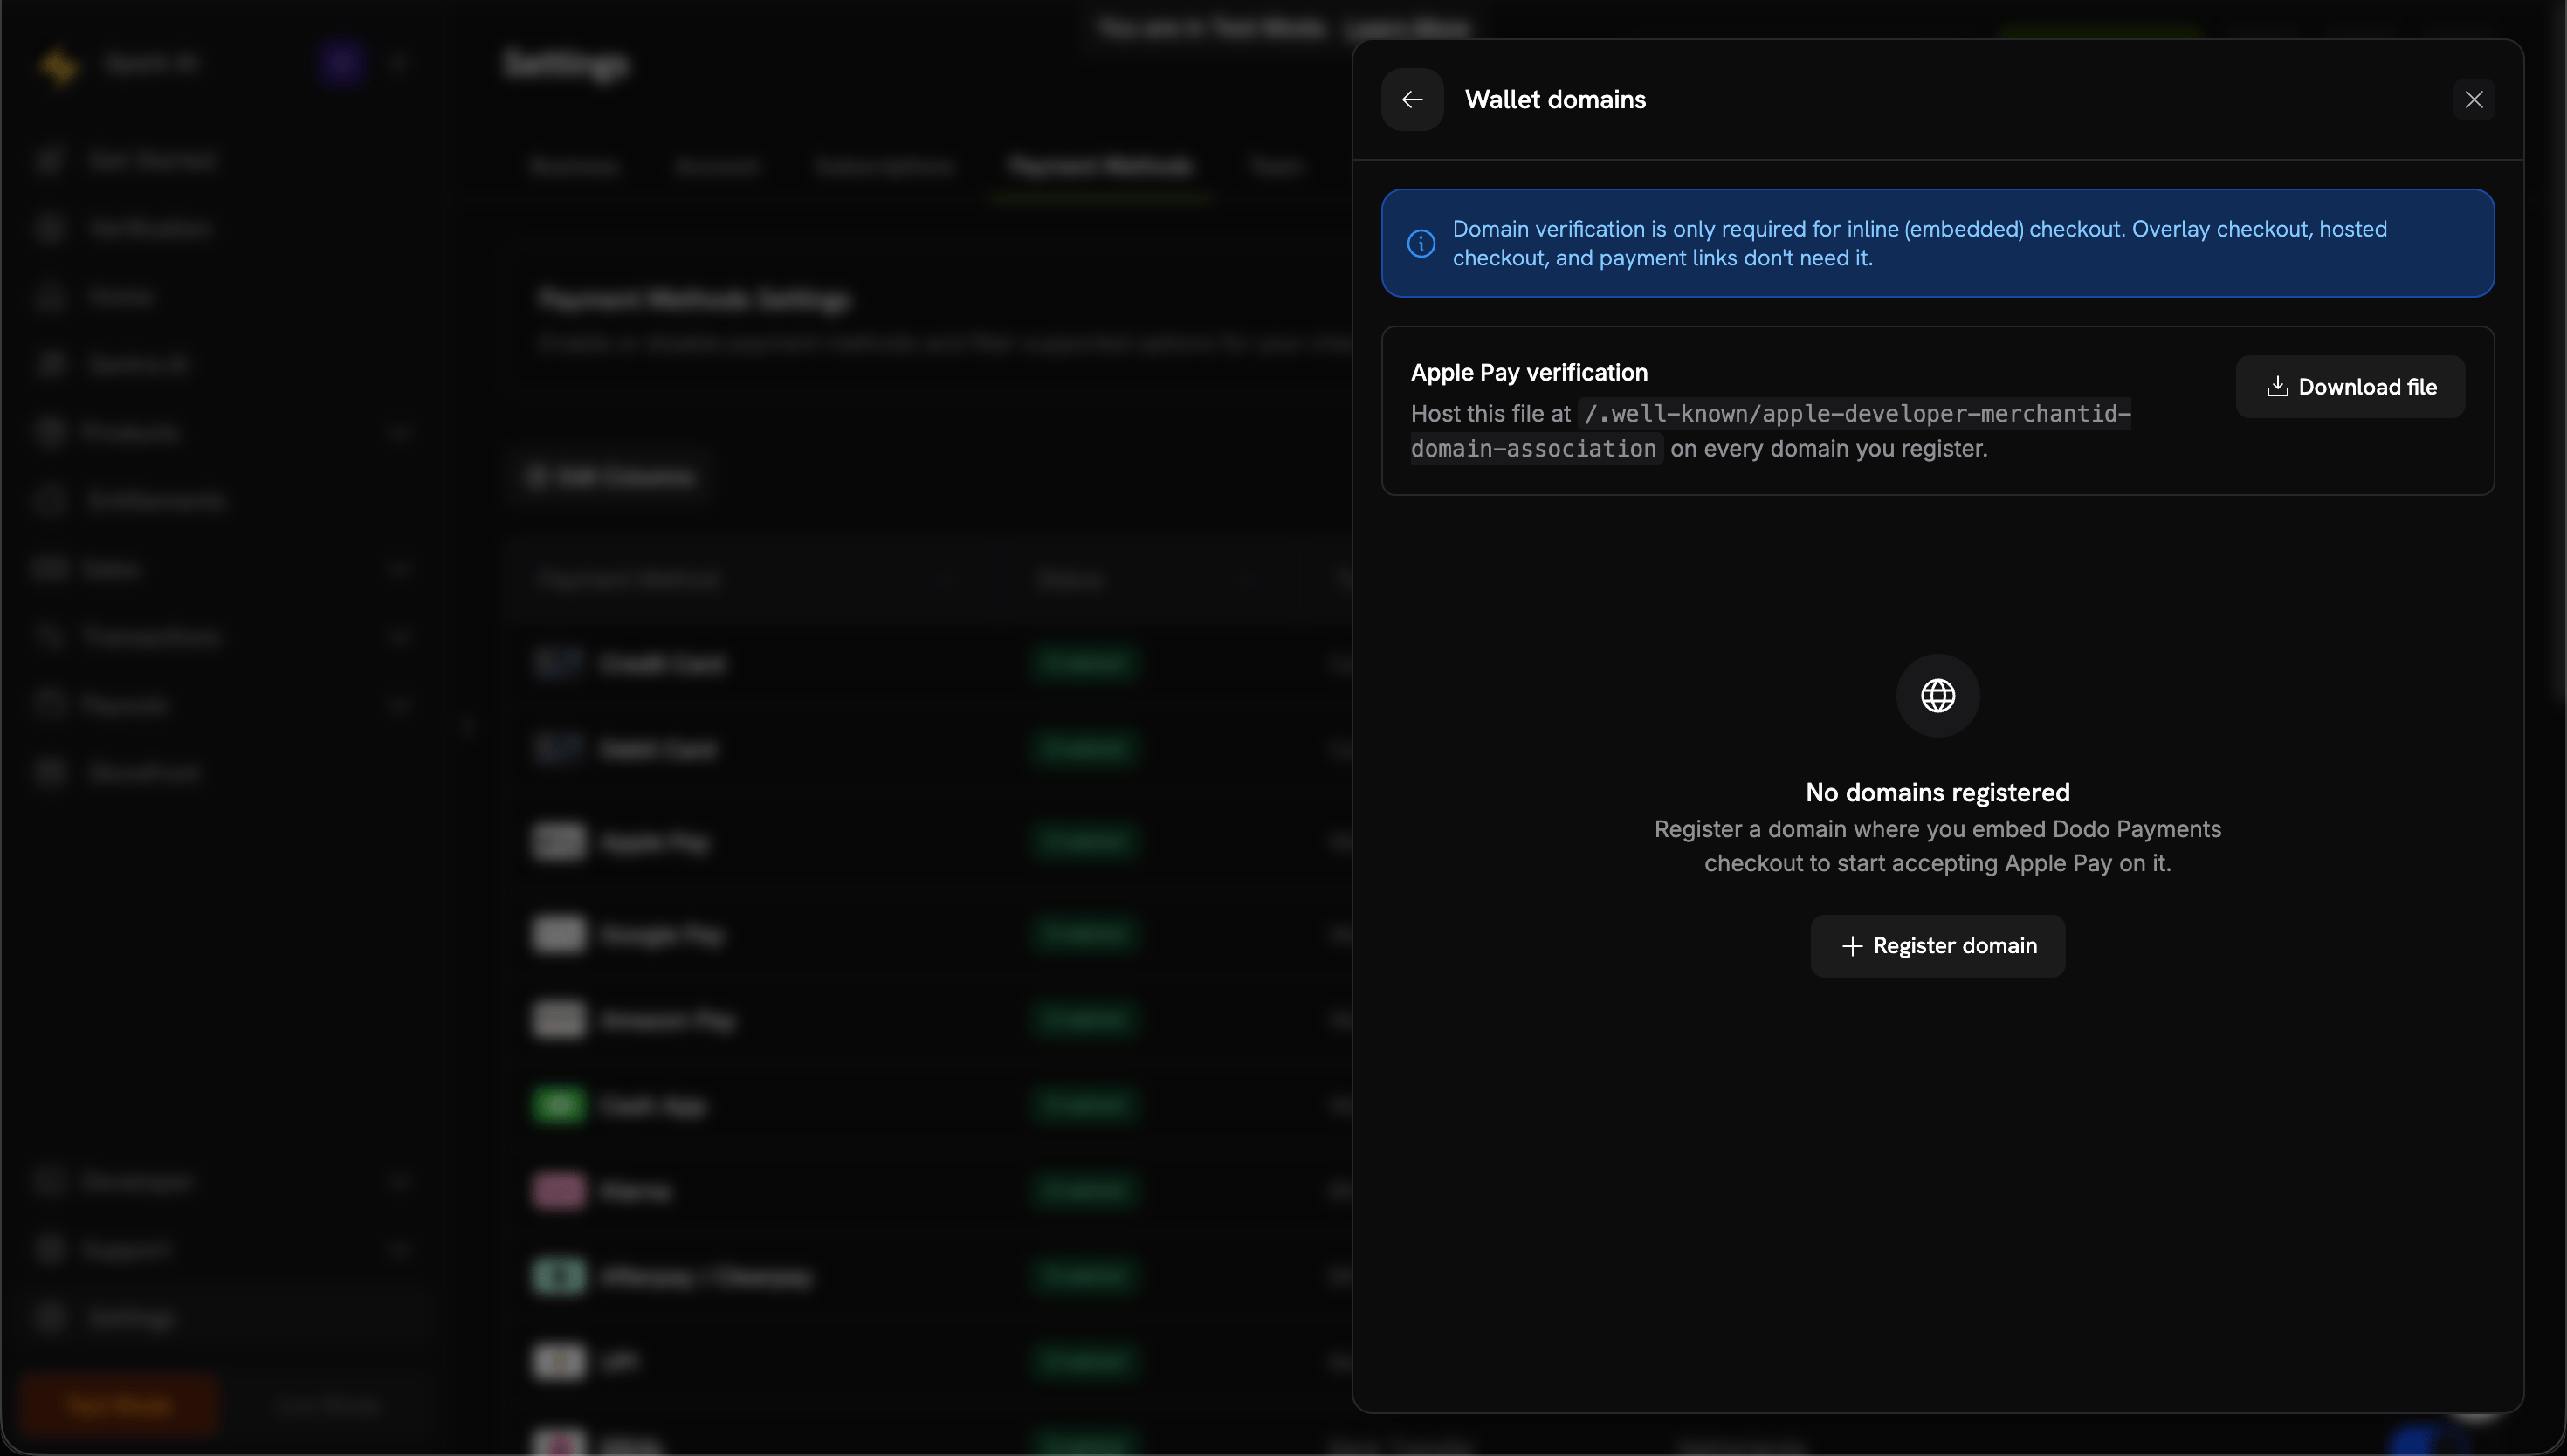
ウォレットドメインパネルから関連ファイルをダウンロードします。

3
Register your domain
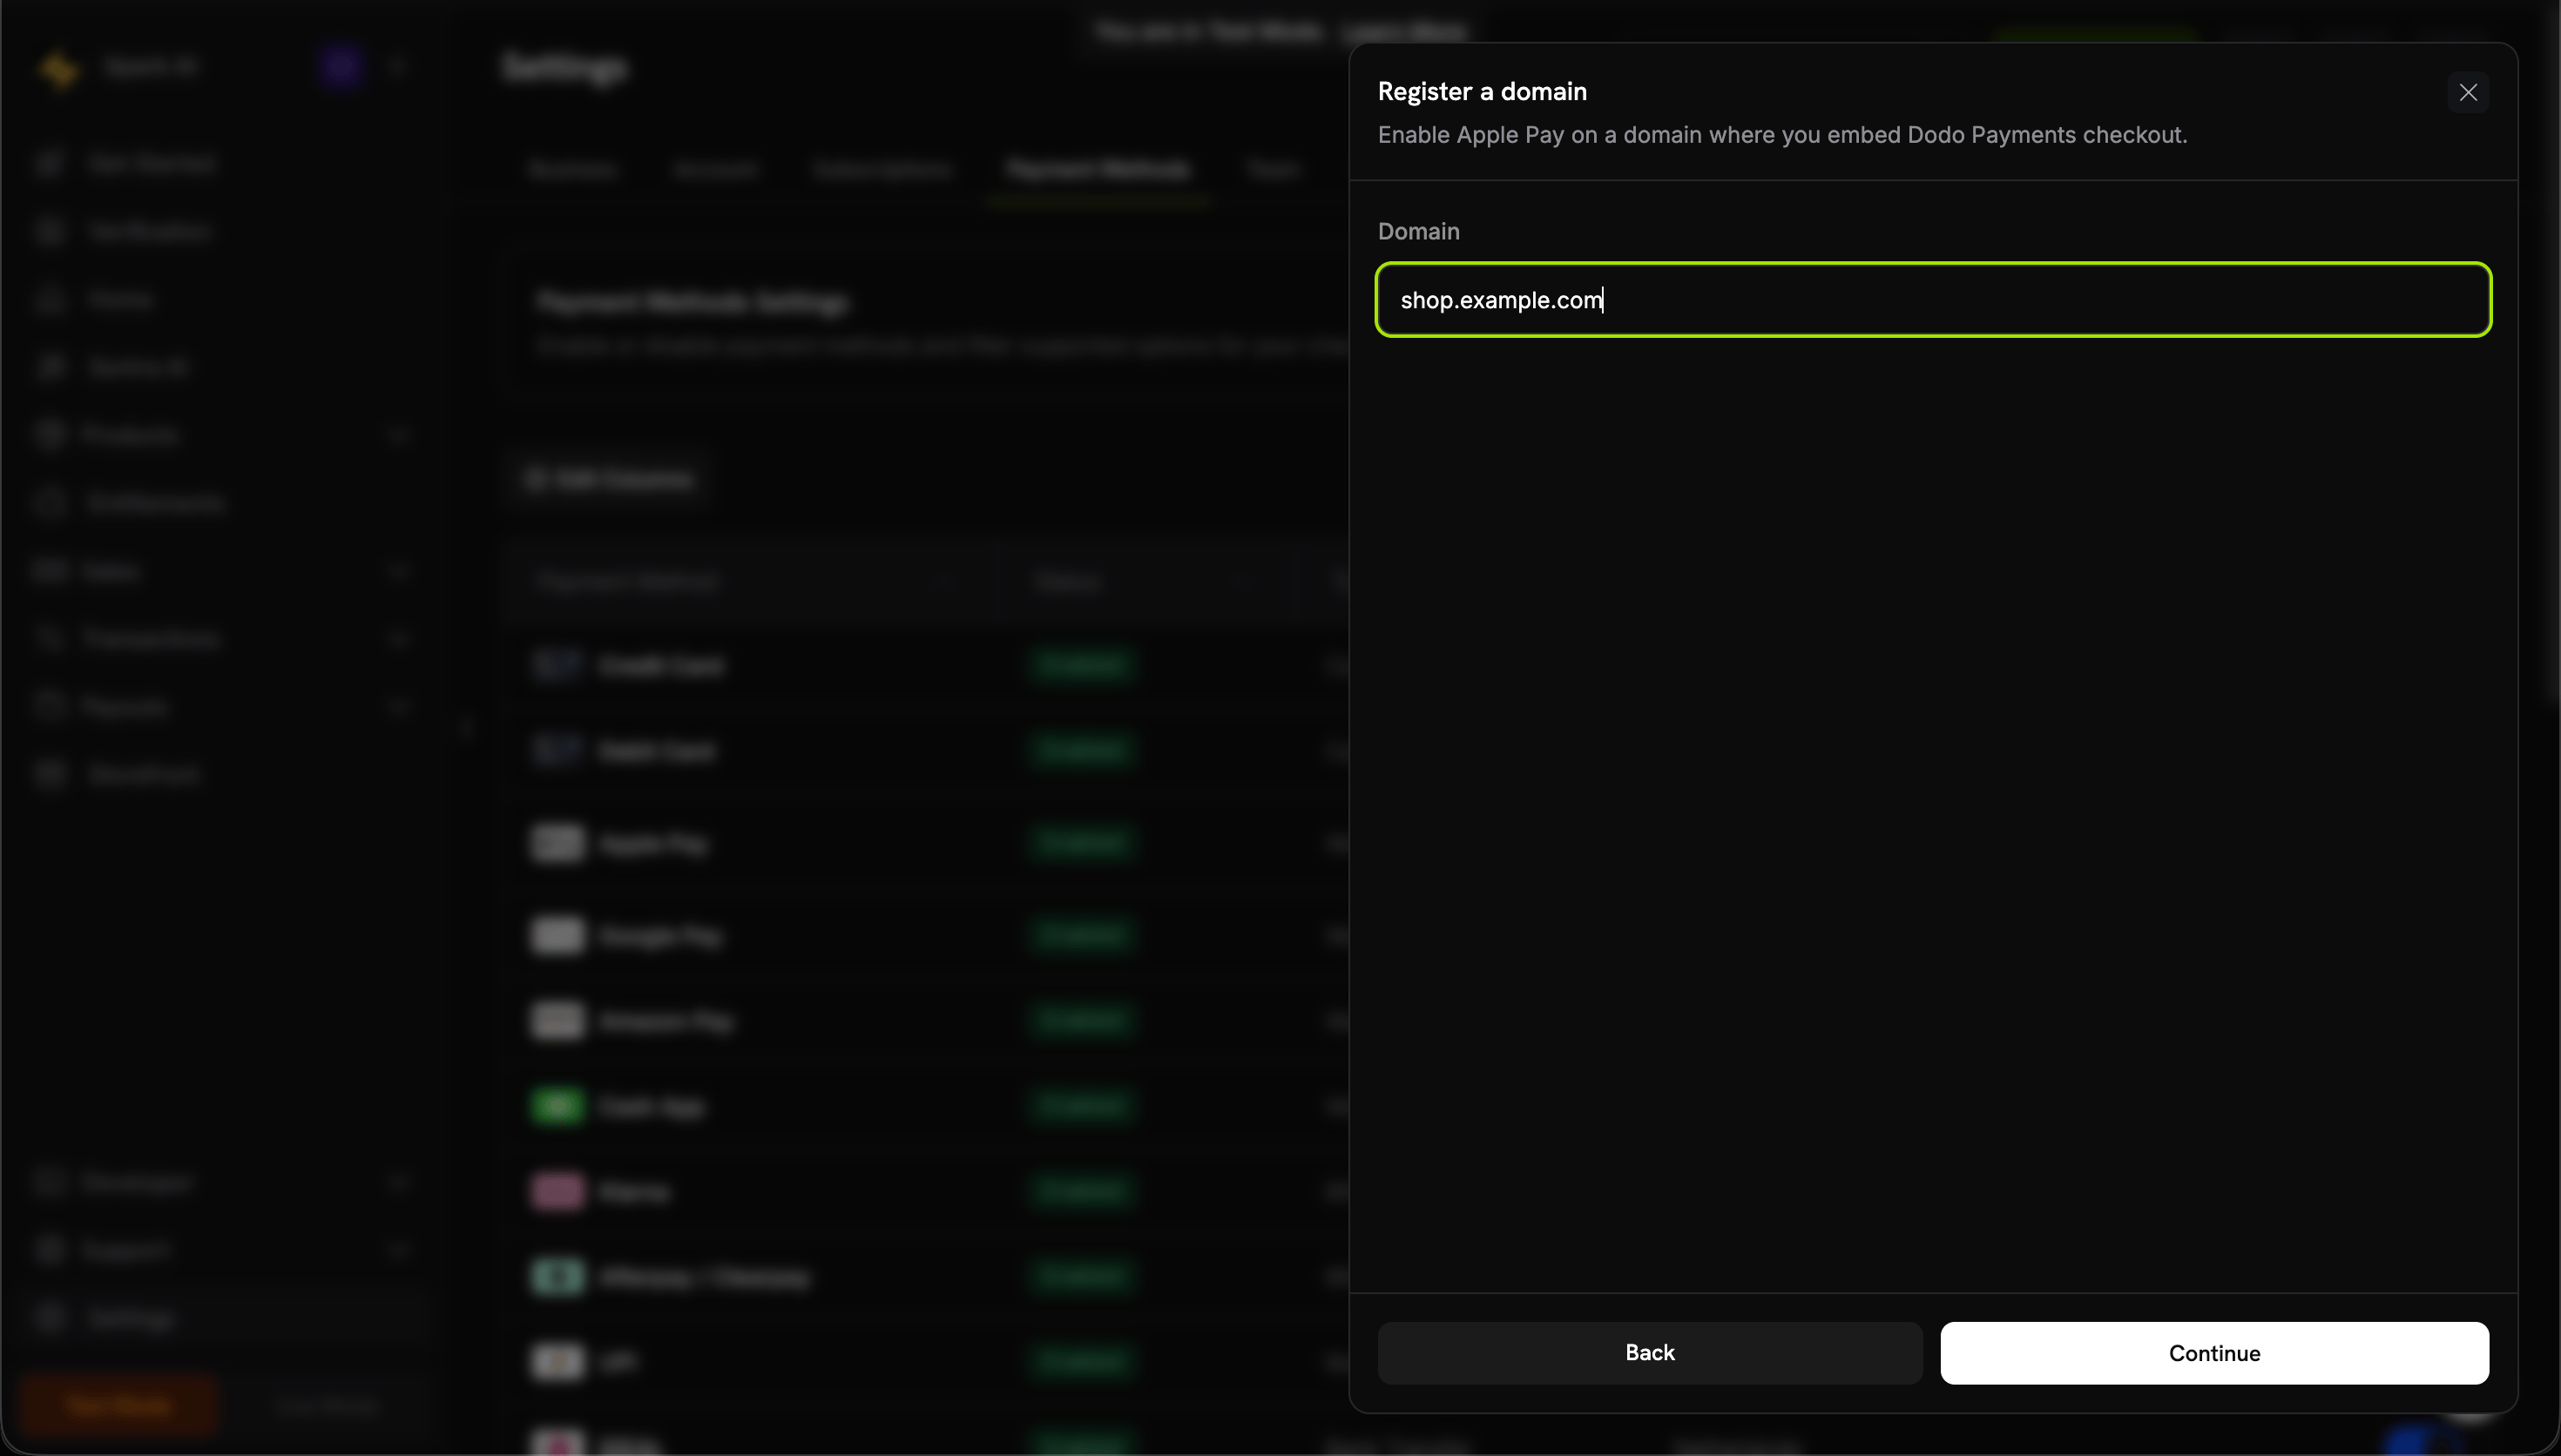
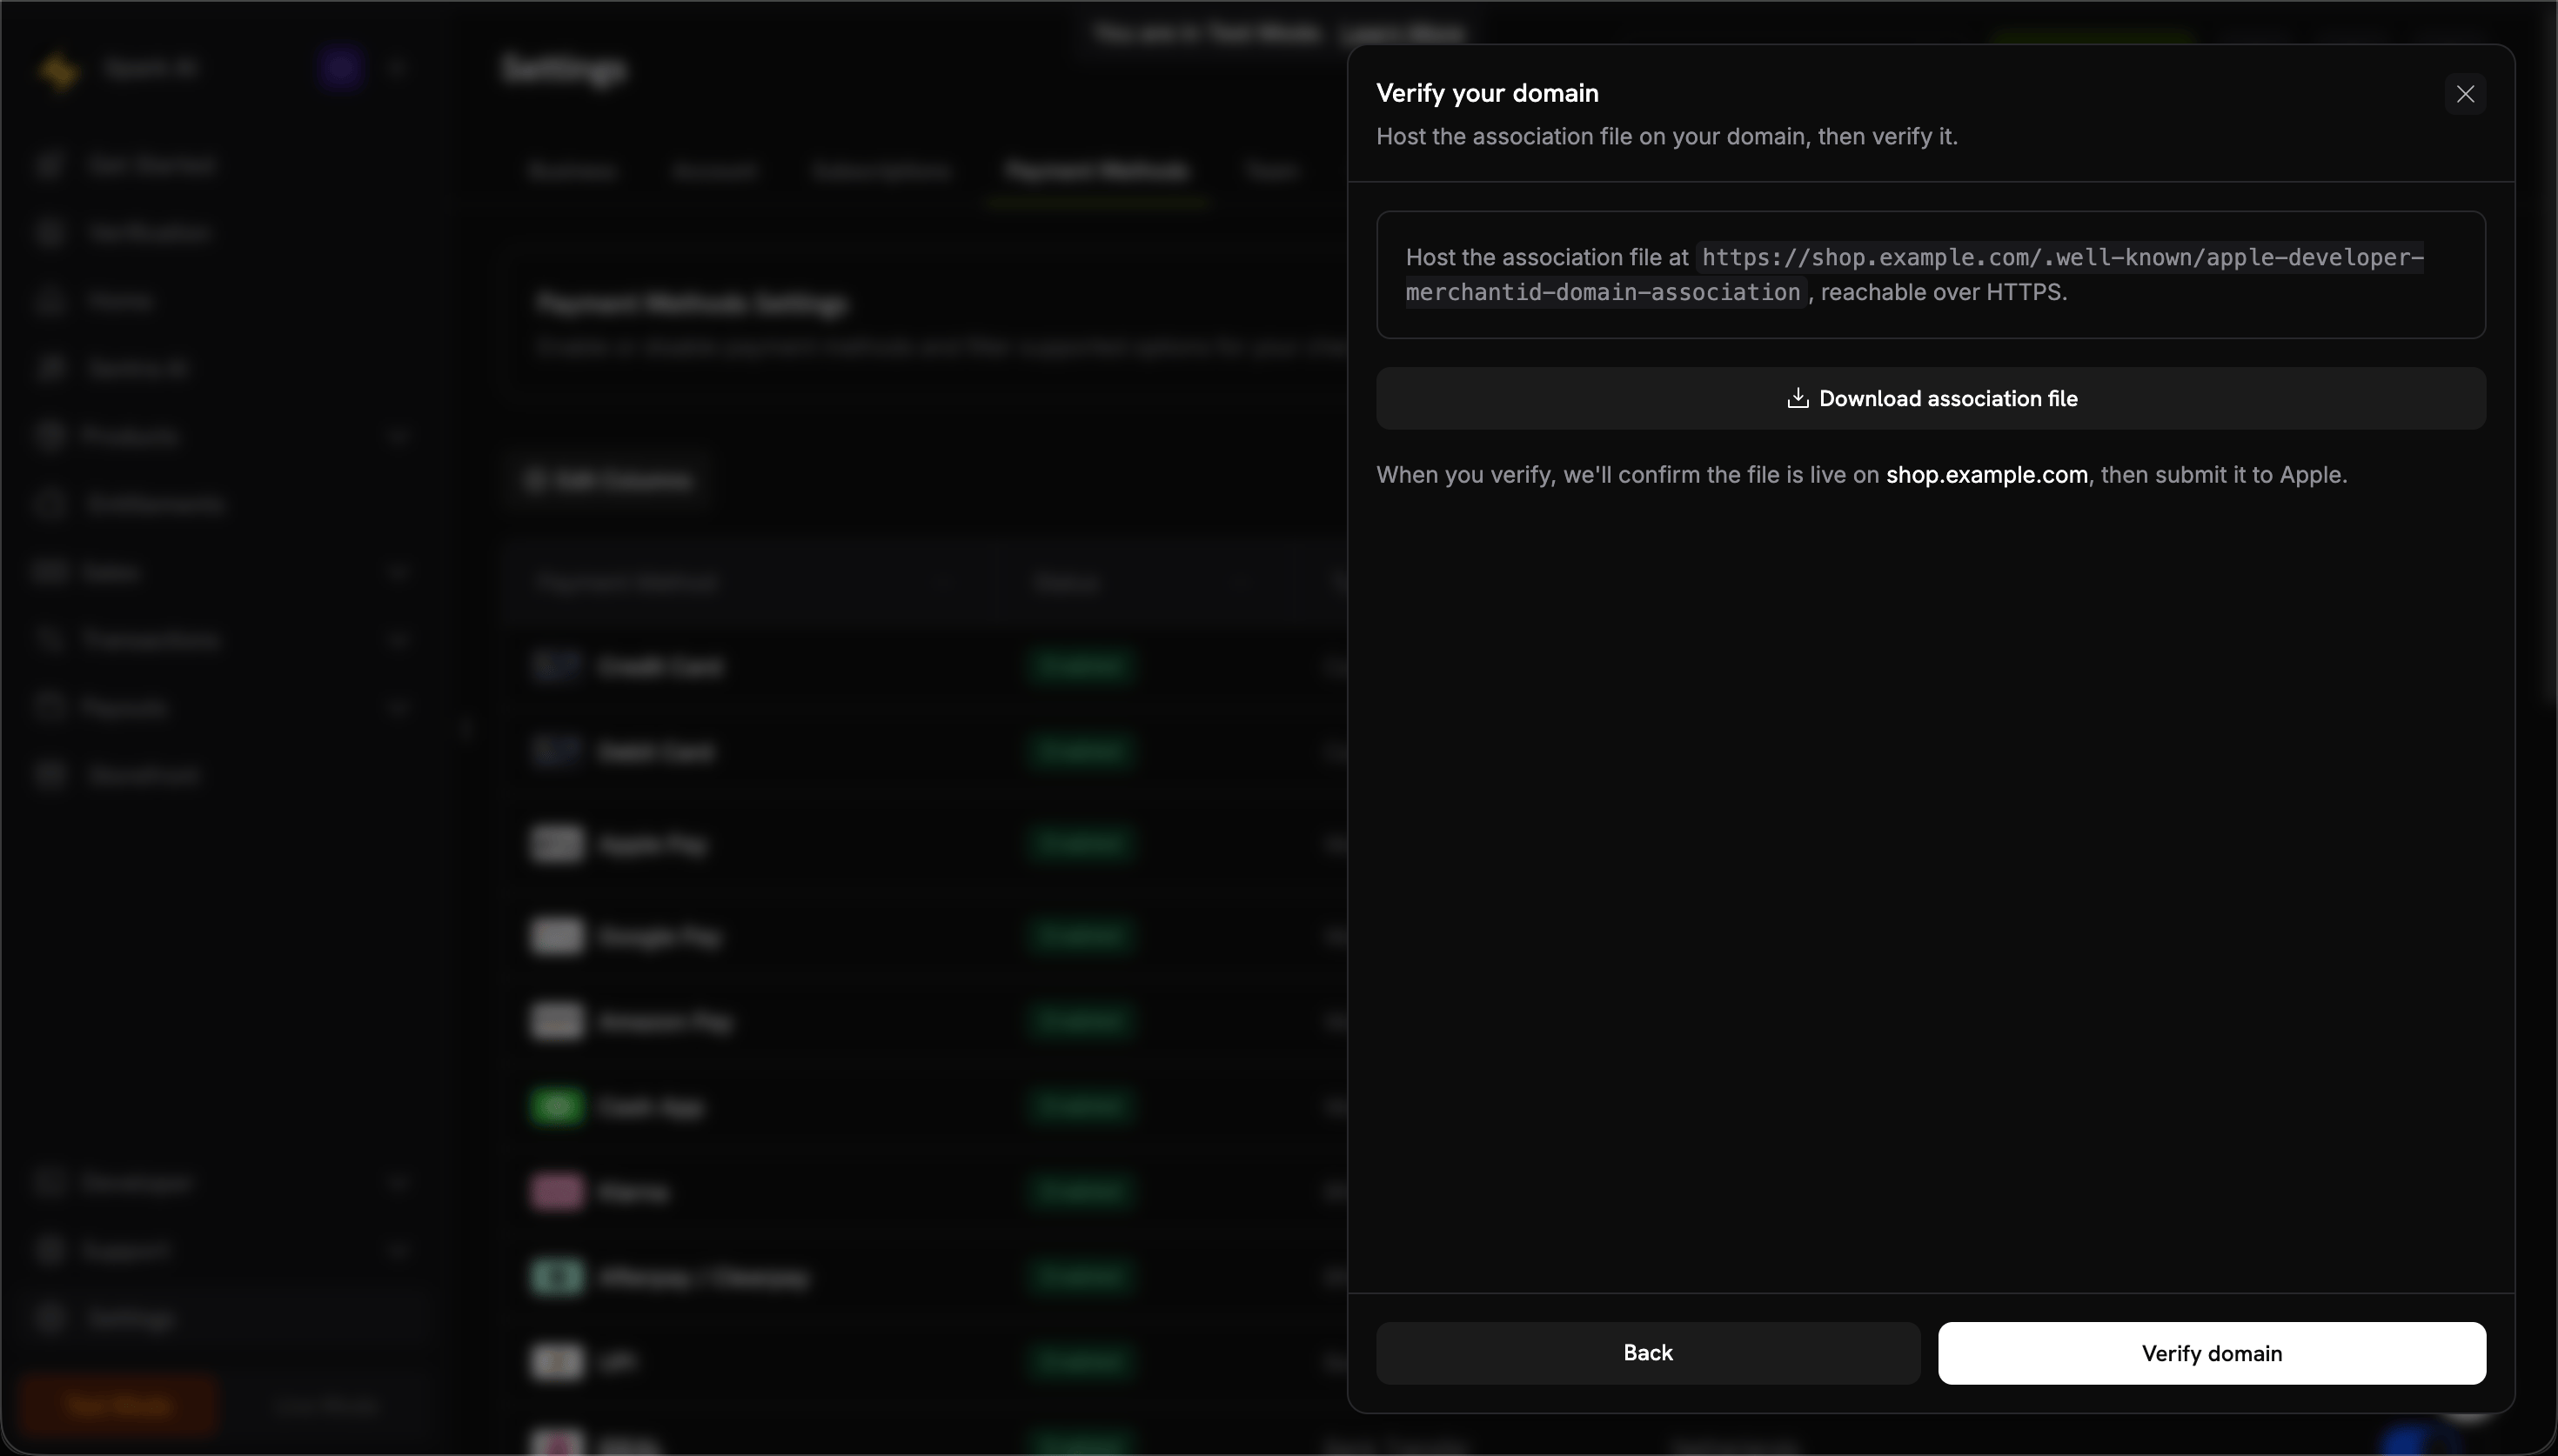
ドメインを登録 をクリックし、インラインチェックアウトを埋め込むドメインを入力します(例: 
shop.example.com)、その後 続ける をクリックします。
4
Host the file on your domain
次の場所にホストします:HTTPSで提供され、リダイレクトなしで到達でき、
Content-Type: application/octet-stream または text/plain で提供される必要があります。5
Verify the domain
ドメインを確認 をクリックします。Dodo Paymentsはファイルがライブであることを確認し、Appleにドメインを提出します。

6
Confirm it's active
ステータスがアクティブと表示されたら、そのドメインでApple Payが有効になります。有効 トグルを使用して、ドメインごとにオンまたはオフにできます。

7
Test the integration
- Appleデバイスでチェックアウトを開く
- Apple Payボタンが表示されることを確認
- テストトランザクションを完了
ブラウザサポート
Dodo Payments Checkout SDKは以下のブラウザをサポートしています:- Chrome(最新版)
- Firefox(最新版)
- Safari(最新版)
- Edge(最新版)
- IE11+
インライン vs オーバーレイチェックアウト
ユースケースに適したチェックアウトタイプを選択してください:関連リソース
Overlay Checkout
モーダルベースの迅速な統合にはオーバーレイチェックアウトを使用します。
Checkout Sessions API
チェックアウト体験を実現するためにチェックアウトセッションを作成します。
Webhooks
サーバーサイドでの支払いイベントをWebhookで処理します。
Integration Guide
Dodo Paymentsの統合に関する完全ガイド。