

परिचय
भुगतान events होने पर MailerLite integration आपके भुगतान करने वाले ग्राहकों को MailerLite में जोड़ता है। यह ग्राहकों को groups में जोड़ सकता है, payment data को subscriber fields में store कर सकता है और automation workflows शुरू कर सकता है, ताकि आपकी email lists वास्तविक payment activity को दर्शाएँ। MailerLite newsletters, campaigns और automations के लिए एक email marketing platform है। इस integration का उपयोग payment activity के आधार पर subscribers को manage करने, onboarding sequences, customer segmentation और targeted campaigns के लिए करें।यह integration MailerLite API key से authenticate होता है। इसे बनाने के लिए अपना MailerLite Integrations page खोलें और Generate new token पर क्लिक करें।
प्रारंभ करना
1
Open the Webhook Section
Dodo Payments डैशबोर्ड में, Developer → Webhooks पर जाएँ और Add endpoint पर क्लिक करें।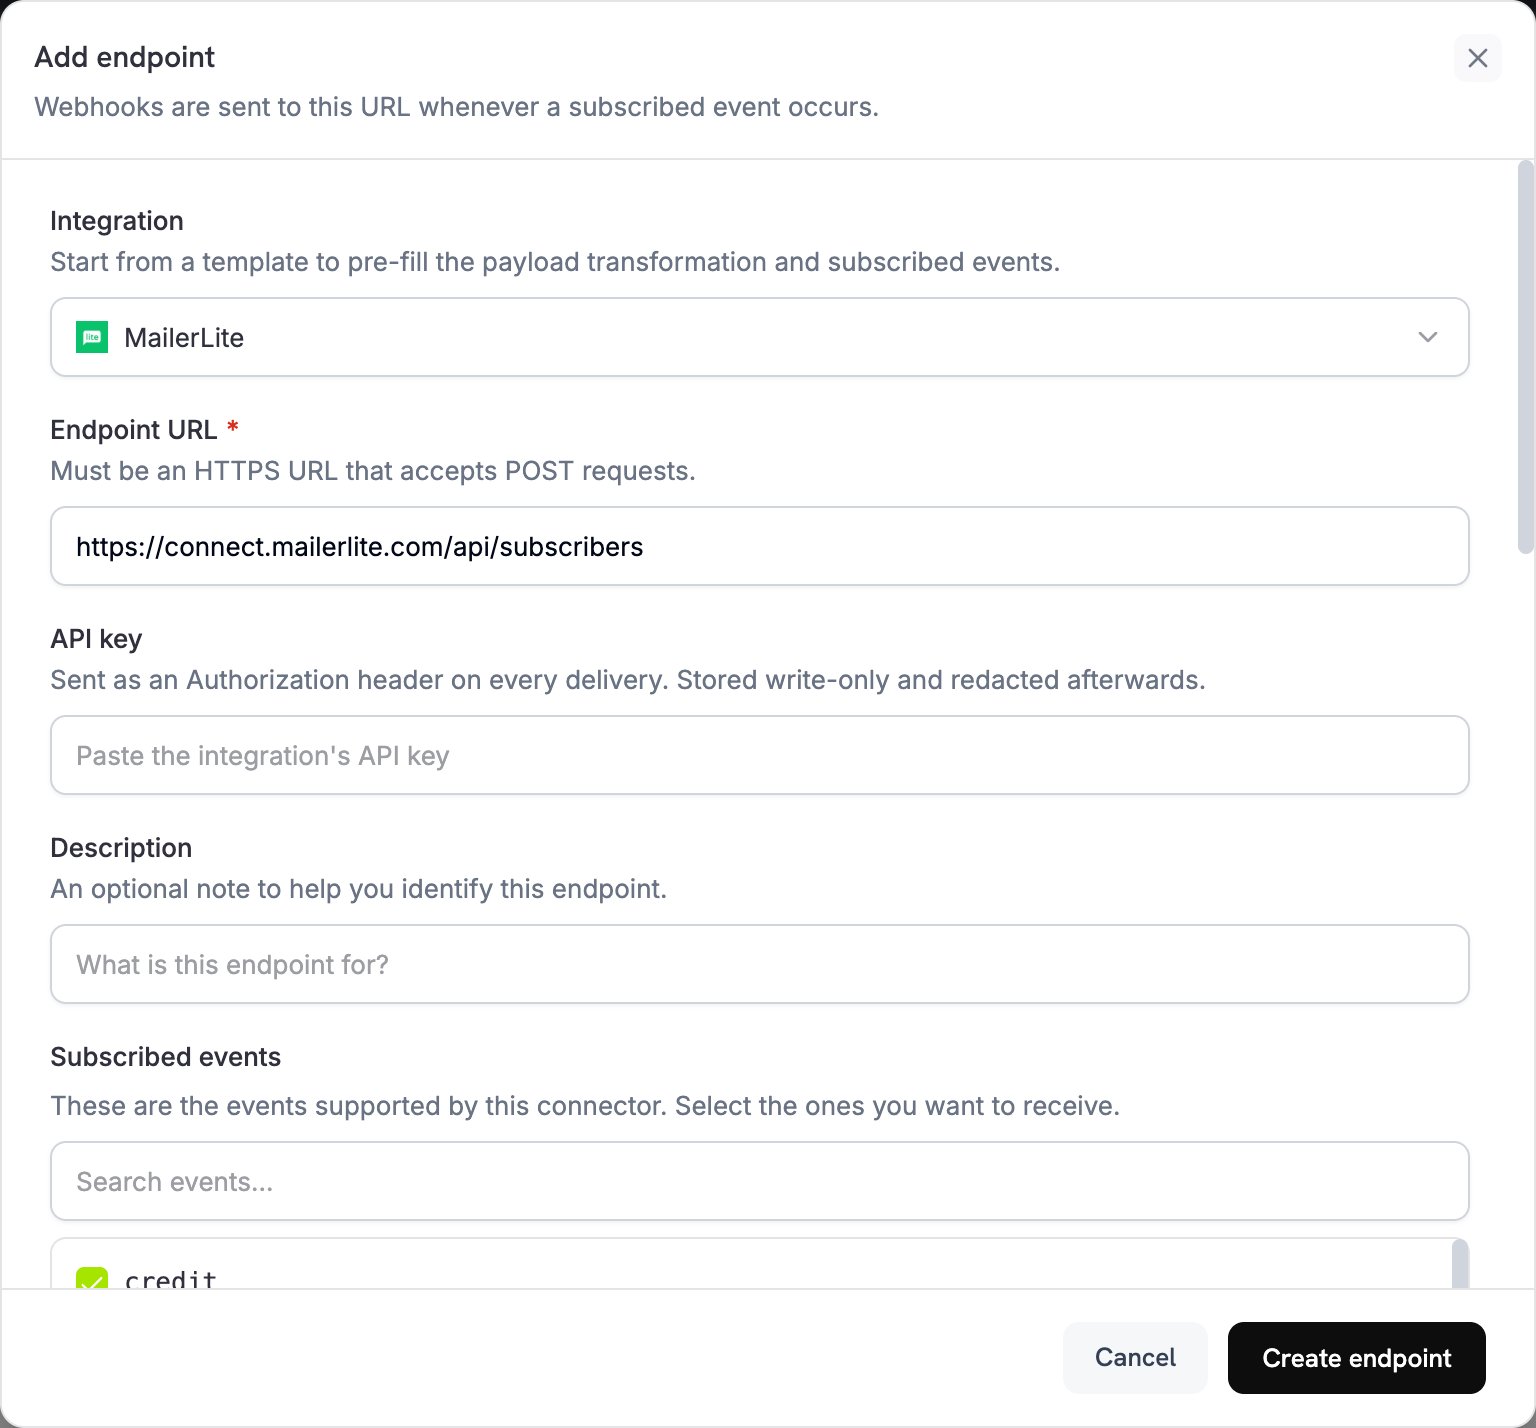
2
Select MailerLite
Integration list में MailerLite चुनें।
3
Enter API Key
अपनी MailerLite API key को API key field में paste करें। Dodo Payments इसे हर delivery पर
Authorization header के रूप में भेजता है।4
Configure Transformation
Transformation code के अंतर्गत दिए गए code को edit करें, ताकि प्रत्येक event MailerLite subscriber request में बदल जाए। नीचे दिए गए examples से शुरुआत करें।
5
Test & Create
Test this code के अंतर्गत किसी sample payload पर transformation चलाएँ, फिर Create endpoint पर क्लिक करें।
6
Done
अब payment events आपके MailerLite groups में subscribers को जोड़ते और update करते हैं।
रूपांतरण कोड उदाहरण
अधिकांश examples MailerLite subscribers API को एकPOST request भेजते हैं। MailerLite subscriber बनाता है या उसी email address वाले मौजूदा subscriber को update करता है। यह upsert उन fields या groups को कभी नहीं हटाता जिन्हें आप request में शामिल नहीं करते।
Successful Payment पर Customer जोड़ें
यह example payment सफल होने पर customer को एक group में जोड़ता है।your-group-id-here को MailerLite group ID से बदलें।
add_customer.js
Product के आधार पर Subscriber को Multiple Groups में जोड़ें
यह example प्रत्येक भुगतान करने वाले customer को customers group में जोड़ता है और $100 या उससे अधिक भुगतान करने वाले customers को premium group में भी जोड़ता है।product_segmentation.js
Subscription Activation पर New Subscriber जोड़ें
यह example subscription active होने पर customer को दो subscriber groups में जोड़ता है और plan details store करता है।subscription_subscriber.js
Subscription Cancellation पर Subscriber को Update करें
यह उदाहरण subscription रद्द होने पर किसी मौजूदा subscriber को अपडेट करता है। यह email address के आधार पर एकPOST upsert भेजता है, क्योंकि MailerLite का PUT update endpoint, MailerLite subscriber ID लेता है, जो Dodo Payments payload में मौजूद नहीं होती। upsert subscriber को churned group में जोड़ता है और उसके अन्य groups को बनाए रखता है।
subscription_cancelled.js
Custom Fields के साथ Customer जोड़ें
यह उदाहरण subscriber fields में location, contact और payment details संग्रहीत करता है। पहले MailerLite में custom fields बनाएँ, जैसा कि Custom Fields Setup में बताया गया है।custom_fields.js
Event के ज़रिए Automation ट्रिगर करें
यह उदाहरण हर सफल payment पर एक trigger field को अपडेट करता है। MailerLite में ऐसी automation बनाएँ जोlast_payment_trigger के बदलने पर शुरू हो।
trigger_automation.js
सुझाव
- Transformation में उपयोग करने से पहले MailerLite में custom fields बनाएँ।
- Customers को product, plan tier या purchase behavior के आधार पर segment करने के लिए groups का उपयोग करें।
- MailerLite में ऐसे automation workflows सेट अप करें जो किसी field के अपडेट होने पर शुरू हों।
- Upsert करने के लिए
/subscribersको एकPOSTrequest भेजें, जिससे duplicate subscriber errors से बचा जा सके। - अपने customers के बारे में अधिक जानने के लिए payment metadata को custom fields में संग्रहीत करें।
- सभी payments के लिए integration सक्षम करने से पहले एक छोटे group के साथ परीक्षण करें।
Custom Fields Setup
Transformation द्वारा किसी custom field में data लिखने से पहले MailerLite में प्रत्येक custom field बनाएँ:- अपना MailerLite डैशबोर्ड खोलें।
- Subscribers → Fields पर जाएँ।
- Create field पर क्लिक करें और इस प्रकार के fields जोड़ें:
total_spent(Number)customer_since(Date)subscription_plan(Text)payment_method(Text)last_payment_amount(Number)
समस्या निवारण
Subscribers Not Being Added
Subscribers Not Being Added
- जाँचें कि API key सही और सक्रिय है।
- जाँचें कि email address RFC 2821 के अनुसार मान्य है।
- जाँचें कि प्रत्येक group ID सही है और आपके account में मौजूद है।
- MailerLite API के ज़रिए bounced या junk subscribers को फिर से सक्रिय नहीं करता। पहले unsubscribed subscriber को फिर से subscribe करने के लिए,
POSTbody मेंresubscribe: trueजोड़ें।
Custom Fields Not Updating
Custom Fields Not Updating
- जाँचें कि प्रत्येक custom field MailerLite में मौजूद है।
- जाँचें कि field names बिल्कुल मेल खाते हैं। इनमें uppercase और lowercase का अंतर होता है।
- जाँचें कि प्रत्येक value field type: text, number या date से मेल खाती है।
Rate Limit Errors
Rate Limit Errors
- MailerLite API प्रति मिनट 120 requests की अनुमति देता है।
- कई subscribers को process करते समय batch endpoint का उपयोग करें।
- अधिक volume वाले scenarios के लिए backoff strategy जोड़ें।
Group Assignment Not Working
Group Assignment Not Working
- जाँचें कि group IDs numeric strings हैं।
- जाँचें कि groups आपके MailerLite account में मौजूद हैं।
groupsके साथ किया गयाPUTrequest subscriber को उन सभी groups से हटा देता है जिन्हें वह सूचीबद्ध नहीं करता।POSTrequest केवल groups जोड़ता है।
API Reference
MailerLite का create या upsert subscriber endpoint ये मुख्य parameters स्वीकार करता है:
पूरे API documentation के लिए MailerLite Developers देखें।