Einführung
Halten Sie Ihr Geschäftsteam mit Echtzeit-Zahlungsbenachrichtigungen in Microsoft Teams auf dem Laufenden. Die Integration liefert Zahlungsereignisse als reichhaltige Adaptive Cards – perfekt für Unternehmensumgebungen, in denen Teams das primäre Kollaborationstool ist.Diese Anleitung setzt voraus, dass Sie Administratorrechte haben, um Webhooks in Ihrem Microsoft Teams-Arbeitsbereich zu erstellen.
Erste Schritte
1
Open the Webhook Section
Gehen Sie in Ihrem Dodo Payments-Dashboard zu Webhooks → + Endpoint hinzufügen und erweitern Sie das Integrations-Dropdown.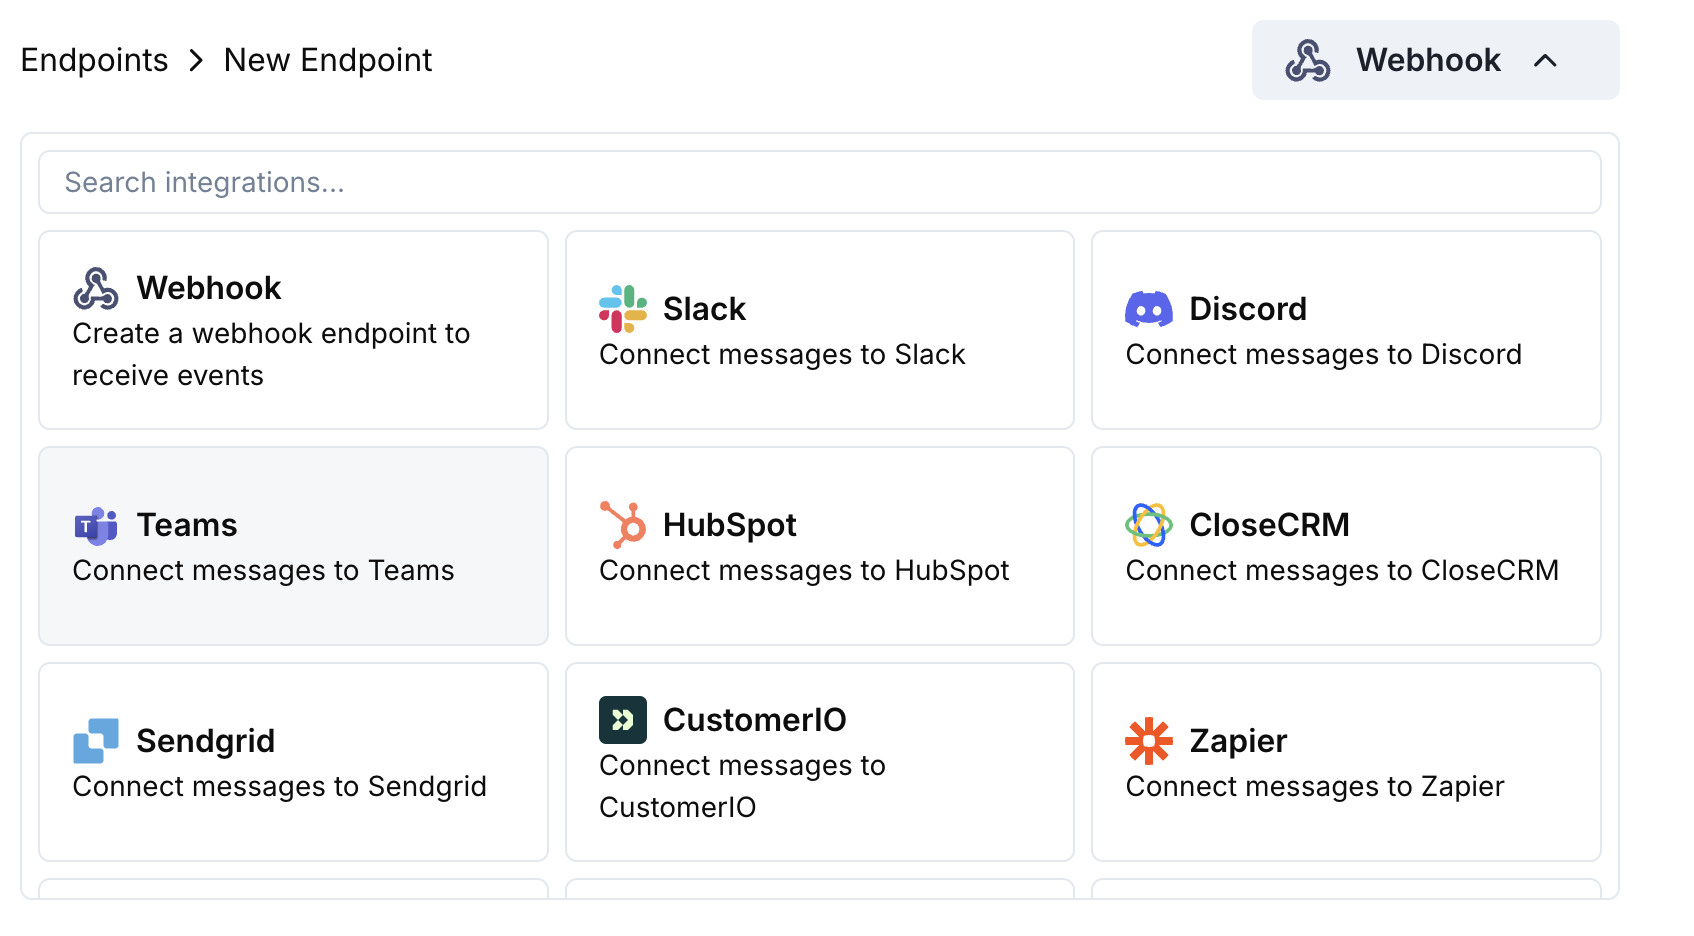
2
Select Microsoft Teams
Wählen Sie die Integrationskarte Microsoft Teams aus.
3
Create Teams Webhook
Navigieren Sie in Teams zu Ihrem Kanal → ⋯ → Connectors → Incoming Webhook → Configure. Kopieren Sie die Webhook-URL.
4
Paste Webhook URL
Fügen Sie die Teams-Webhook-URL in die Endpunktkonfiguration ein.
5
Customize Transformation
Bearbeiten Sie den Transformationscode, um Nachrichten als Adaptive Cards für Teams zu formatieren.
6
Test & Create
Testen Sie mit Beispiel-Payloads und klicken Sie auf Create, um zu aktivieren.
7
Done!
🎉 Ihr Teams-Kanal erhält nun Dodo Payments-Updates als Adaptive Cards.
Transformationscode-Beispiele
Grundlegende Zahlungskarte
payment_card.js
Abonnementverwaltung
subscription_card.js
Streitfallbenachrichtigungen
dispute_card.js
Tipps
- Verwenden Sie Adaptive Cards für reichhaltige, interaktive Formatierung
- Wählen Sie geeignete Farben: Gut (grün), Warnung (gelb), Aufmerksamkeit (rot)
- Halten Sie Faktensätze prägnant und lesbar
- Testen Sie mit dem Teams-Webhooks-Tester, bevor Sie bereitstellen
Fehlersuche
No messages in Teams
No messages in Teams
- Überprüfen Sie, ob die Webhook-URL korrekt und aktiv ist
- Stellen Sie sicher, dass die Transformation gültiges Adaptive Card JSON zurückgibt
- Vergewissern Sie sich, dass der Webhook die Berechtigung hat, im Kanal zu posten
Card formatting issues
Card formatting issues
- Validieren Sie das Adaptive Card-Schema im Teams Webhook Tester
- Überprüfen Sie, ob alle erforderlichen Felder vorhanden sind
- Stellen Sie sicher, dass die Farbwerte gültig sind (Good, Warning, Attention, Default)