소개
AutoSend와 Dodo Payments 통합을 통해 성공적인 거래부터 실패한 시도 및 환불 확인까지 모든 결제 이벤트에 대한 실시간 이메일 알림을 자동으로 보낼 수 있습니다. AutoSend의 강력한 이메일 API를 사용하여 결제 이벤트에 대한 트랜잭션 이메일을 보냅니다.이 통합은 인증을 위해 AutoSend API 키가 필요합니다. AutoSend 대시보드의 설정 > API 키에서 API 키를 확인할 수 있습니다.
시작하기
Dodo Payments와 AutoSend를 통합하려면 다음 단계를 따르세요:1
Open Webhook Section
Dodo Payments 대시보드의 웹훅(Webhooks) 섹션으로 이동합니다.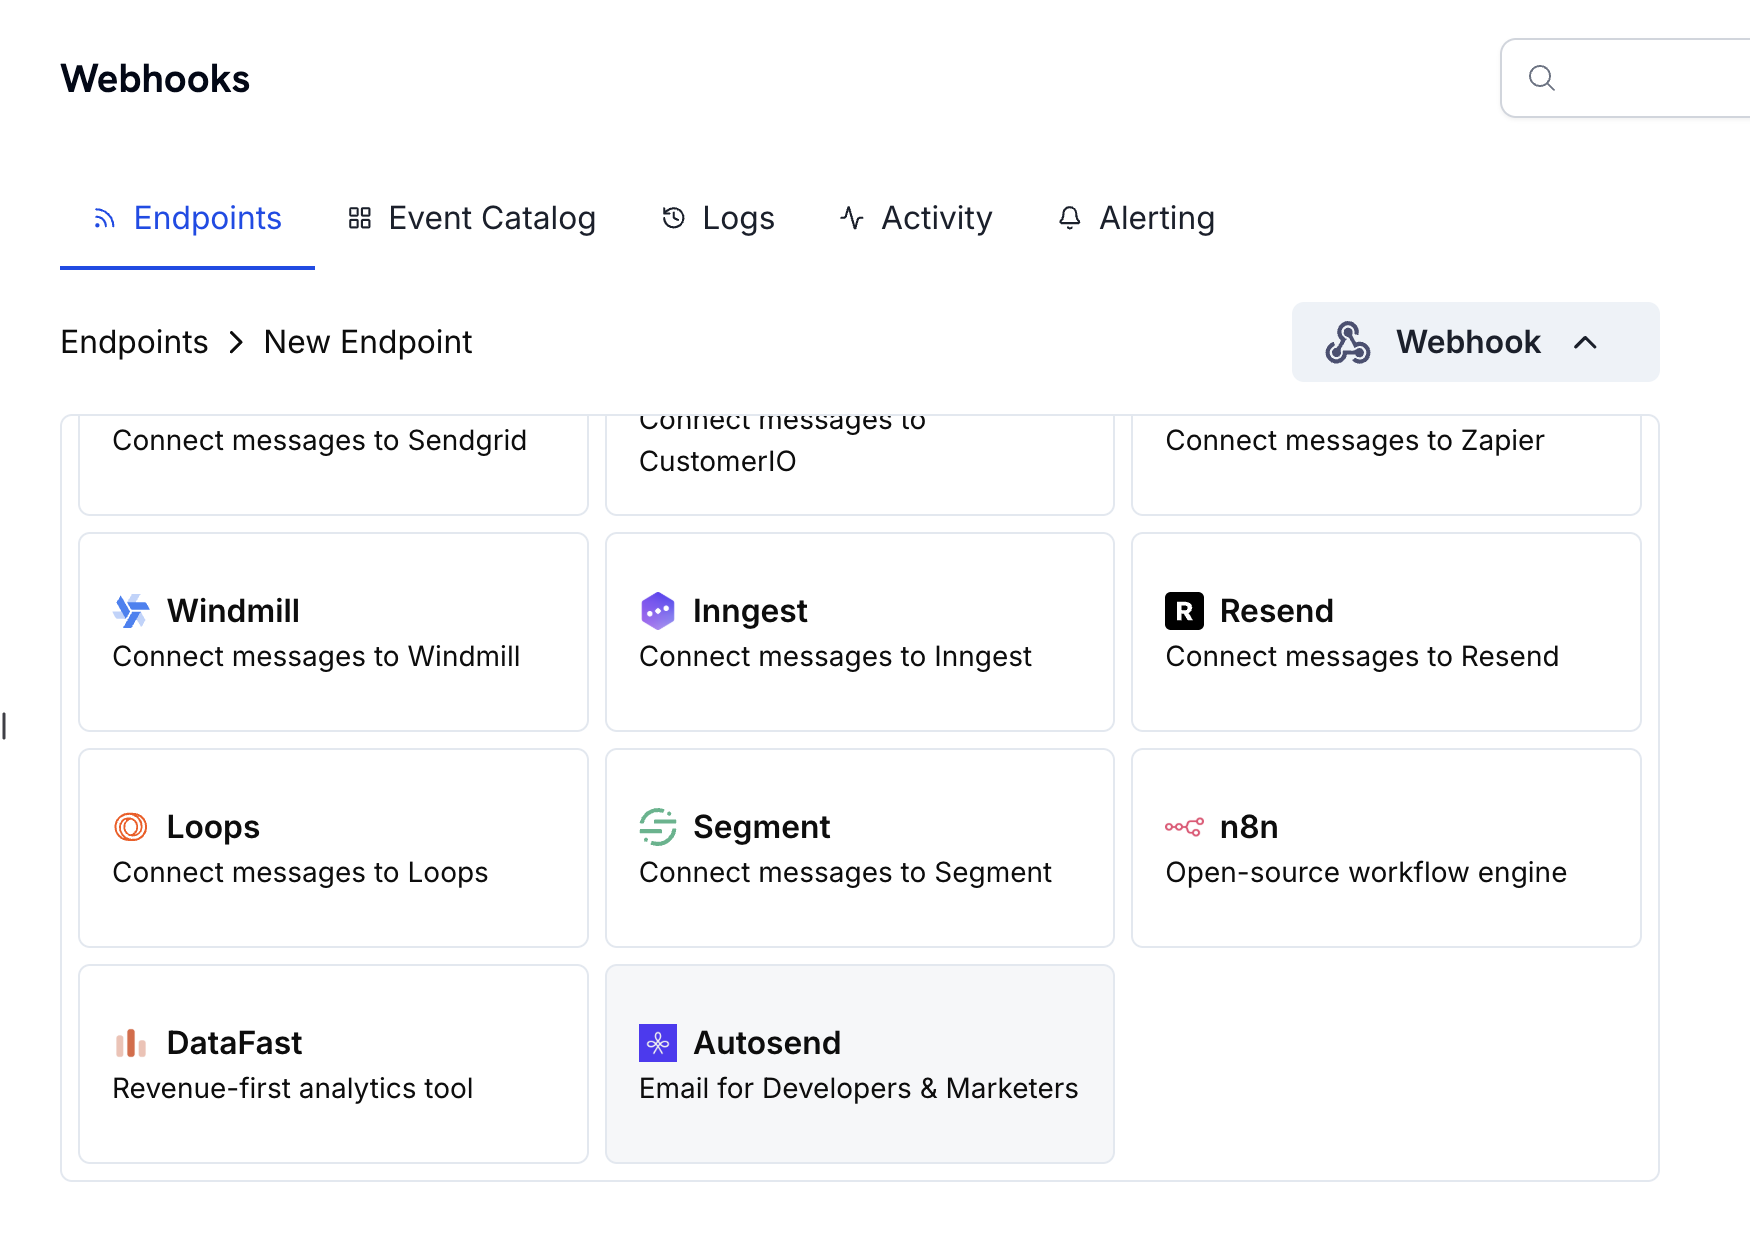
2
Select AutoSend Integration
사용 가능한 통합 목록에서 AutoSend를 선택하세요.
3
Enter API Key
인증을 위해 AutoSend API 키를 입력하세요. AutoSend 대시보드의 설정 > API 키에서 API 키를 확인할 수 있습니다.
Learn how to create and manage API keys
AutoSend 문서를 방문하여 API 키 생성 및 관리를 위한 자세한 지침을 확인하세요.
4
Configure Transformation
결제 이벤트에 따라 이메일 콘텐츠를 맞춤화하기 위해 JavaScript 변환 핸들러를 설정하세요.
5
Test & Create
웹훅 구성을 테스트하여 이메일이 올바르게 전송되는지 확인한 후 통합을 생성하세요.
6
Activation Complete
🎉 AutoSend 통합이 이제 활성화되었으며 구성된 결제 이벤트에 대해 자동으로 이메일을 전송합니다.
코드 예제
결제 확인 이메일
결제가 성공적으로 처리되었을 때 확인 이메일을 보냅니다:payment_confirmation.js
구독 환영 이메일
새 구독이 생성되었을 때 환영 이메일을 보냅니다:subscription_welcome.js
결제 실패 알림
결제가 실패했을 때 알림 이메일을 보냅니다:payment_failure.js
모범 사례
- 발신자 도메인 확인: 발신자 이메일 도메인이 AutoSend에서 확인되었는지 확인하여 배달 가능성을 높이고 인증 문제를 피하세요. 확인된 도메인은 이메일이 스팸 폴더에 들어가는 것을 방지하는 데 도움이 됩니다.
-
개인화에 동적 데이터를 사용하세요:
dynamicData필드를 사용하여 이름, 결제 금액, 구독 세부 정보와 같은 고객별 정보를 포함한 이메일을 개인화하세요. 개인화된 이메일은 참여율이 더 높습니다. - 명확한 제목 작성: 이메일의 목적을 명확하게 나타내는 설명적인 제목을 작성하세요. 스팸 유발 단어를 피하고 제목을 간결하게 유지하세요(50자 이하).
- 생산 전에 테스트: 이메일을 생산에 보내기 전에 항상 테스트하세요. 이렇게 하면 이메일 내용이 올바르게 렌더링되고 모든 동적 데이터가 제대로 매핑됩니다.
API 참조
AutoSend API에 대한 모든 사용 가능한 매개변수 및 오류 코드에 대한 자세한 내용은 AutoSend API 문서를 방문하세요.문제 해결
Emails not being sent
Emails not being sent
- API 키가 올바르고 활성 상태인지 확인하세요
- AutoSend에서 발신자 도메인이 검증되었는지 확인하세요
- 수신자 이메일 주소가 유효한지 확인하세요
- AutoSend의 전송 제한 및 할당량을 검토하세요
- API 엔드포인트 URL이 정확한지 확인하세요:
https://api.autosend.com/v1/mails/send - 페이로드에 필요한 매개변수가 포함되어 있는지 확인하세요
Transformation errors
Transformation errors
- JSON 구조가 AutoSend API 형식과 일치하는지 검증하세요
- 필요한 모든 필드(
to,from,templateId또는html/text)가 포함되었는지 확인하세요 - 이메일 주소가 올바르게 형식화되었는지 확인하세요
- 템플릿을 사용하는 경우
templateId가 유효한지 확인하세요 dynamicData키가 템플릿 변수와 일치하는지 확인하세요
Template issues
Template issues
- AutoSend에서 템플릿 ID가 정확하고 활성 상태인지 확인하세요
dynamicData키가 템플릿에서 사용하는 변수와 일치하는지 확인하세요- 필요한 모든 템플릿 변수가 제공되었는지 확인하세요
- AutoSend 대시보드에서 템플릿을 개별적으로 테스트하세요