はじめに
SendGridを使用して、支払い確認、サブスクリプションの更新、重要な通知のためのトランザクションメールを自動的に送信します。支払いイベントに基づいて、動的コンテンツとプロフェッショナルなテンプレートを使用してパーソナライズされたメールをトリガーします。この統合にはMail Send権限を持つSendGrid APIキーが必要です。
始め方
1
Open the Webhook Section
Dodo Payments ダッシュボードで、Webhooks → + Add Endpoint に移動し、統合ドロップダウンを展開します。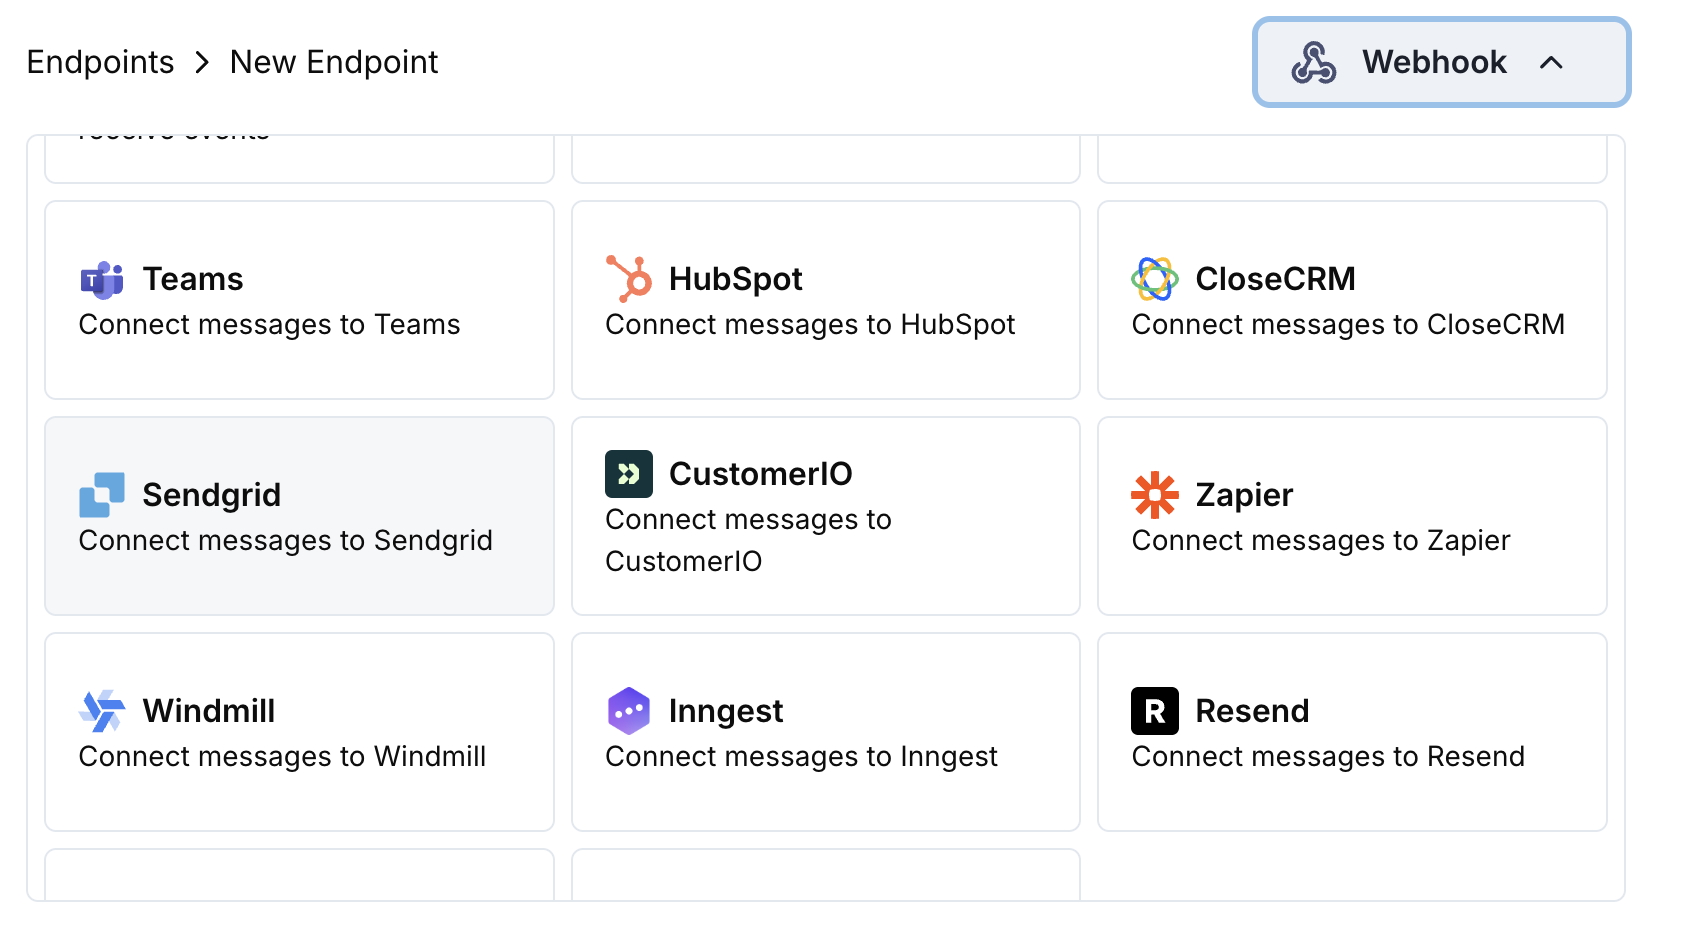
2
Select SendGrid
SendGrid統合カードを選択します。
3
Enter API Key
設定でSendGrid APIキーを入力します。
4
Configure Transformation
SendGridのMail Send API用にメールをフォーマットするよう変換コードを編集します。
5
Test & Create
サンプルペイロードでテストし、Createをクリックしてメール送信を有効化します。
6
Done!
🎉 支払いイベントがSendGrid経由で自動的にトランザクションメールをトリガーします。
変換コードの例
支払い確認メール
payment_confirmation.js
サブスクリプションウェルカムメール
subscription_welcome.js
支払い失敗通知
payment_failure.js
ヒント
- SendGridの動的テンプレートを使用してパーソナライズされたコンテンツを作成
- テンプレート変数に関連する支払いデータを含める
- 適切な送信元アドレスと送信者名を設定
- 一貫したメールフォーマットのためにテンプレートIDを使用
- コンプライアンスのために配信停止リンクを含める
トラブルシューティング
Emails not being sent
Emails not being sent
- APIキーがMail Send権限を持っていることを確認します
- テンプレートIDが有効かつアクティブであることを確認します
- 受信者のメールアドレスが有効であることを確認します
- SendGridの送信制限とクォータを確認します
Transformation errors
Transformation errors
- JSON構造がSendGrid API形式と一致していることを確認します
- 必須フィールドがすべて存在していることを確認します
- テンプレートデータ変数の書式が正しいことを確認します
- 送信元メールアドレスがSendGridで検証済みであることを確認します