はじめに
支払いイベントに基づいて、パーソナライズされたメールキャンペーンや顧客の旅をトリガーします。新しい顧客へのウェルカムメール、サブスクリプションの更新、支払い失敗通知をCustomer.ioを通じて自動的に送信します。この統合には、お使いのCustomer.ioサイトIDとAPIキーが必要です。
始め方
1
Open the Webhook Section
Dodo Paymentsのダッシュボードで、Webhooks → + Add Endpoint に移動し、統合のドロップダウンを展開します。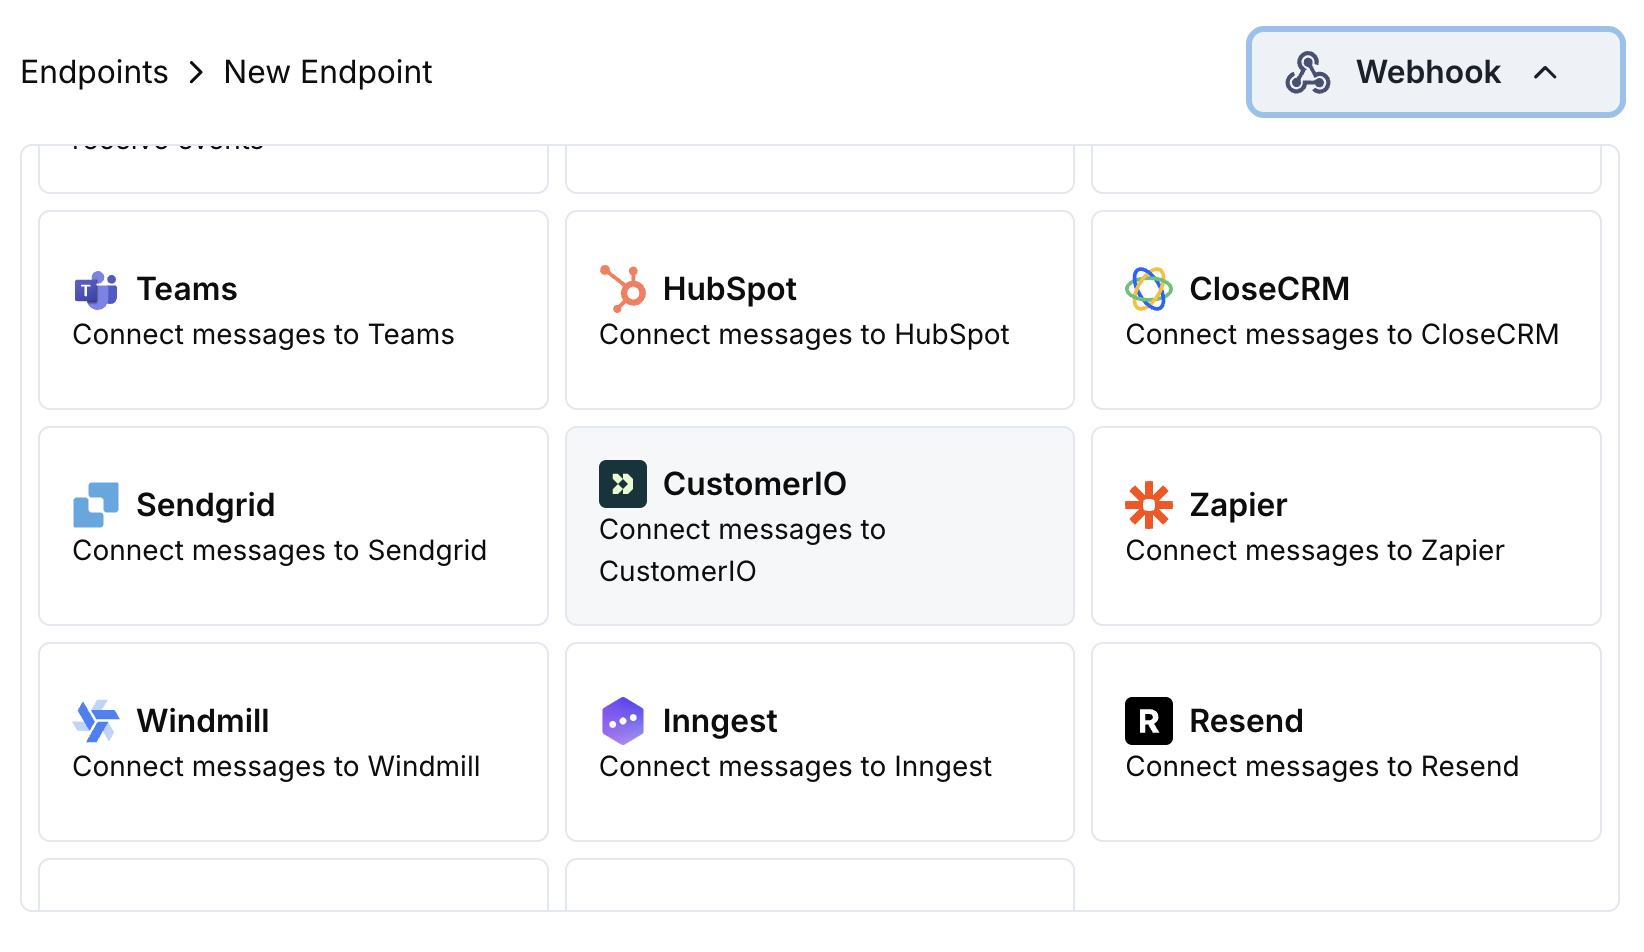
2
Select Customer.io
Customer.ioの統合カードを選択します。
3
Enter Credentials
Customer.ioのサイトIDとAPIキーを設定に入力します。
4
Configure Transformation
トランスフォーメーションコードを編集して、イベントをCustomer.ioのTrack API形式に整えます。
5
Test & Create
サンプルのペイロードでテストし、Createをクリックして同期を有効にします。
6
Done!
🎉 支払いイベントがCustomer.ioのメールオートメーションをトリガーするようになります。
変換コードの例
支払いイベントのトラッキング
track_payments.js
サブスクリプションライフサイクルのトラッキング
track_subscriptions.js
顧客属性のトラッキング
track_attributes.js
ヒント
- Customer.ioキャンペーンに一致する一貫したイベント名を使用する
- パーソナライズのために関連する属性を含める
- 正確なトラッキングのために適切な顧客識別子を設定する
- キャンペーントリガーのために意味のあるイベント名を使用する
トラブルシューティング
Events not triggering campaigns
Events not triggering campaigns
- サイトIDとAPIキーが正しいことを確認します
- イベント名がCustomer.ioのキャンペーンに一致しているか確認します
- 顧客識別子が適切に設定されていることを確認します
- Customer.ioのAPIレート制限を確認します
Transformation errors
Transformation errors
- JSON構造がCustomer.io APIの形式に一致しているか検証します
- 必要なすべてのフィールドが存在することを確認します
- イベント名と属性が適切にフォーマットされていることを確認します