Introduction
Connect Dodo Payments to thousands of apps and services through Zapier. Automate workflows by triggering Zaps when payment events occur, from sending emails to updating spreadsheets, creating tasks, and much more.This integration requires a Zapier webhook URL from your Zap configuration.
Getting Started
1
Open the Webhook Section
In your Dodo Payments dashboard, navigate to Webhooks → + Add Endpoint and expand the integrations dropdown.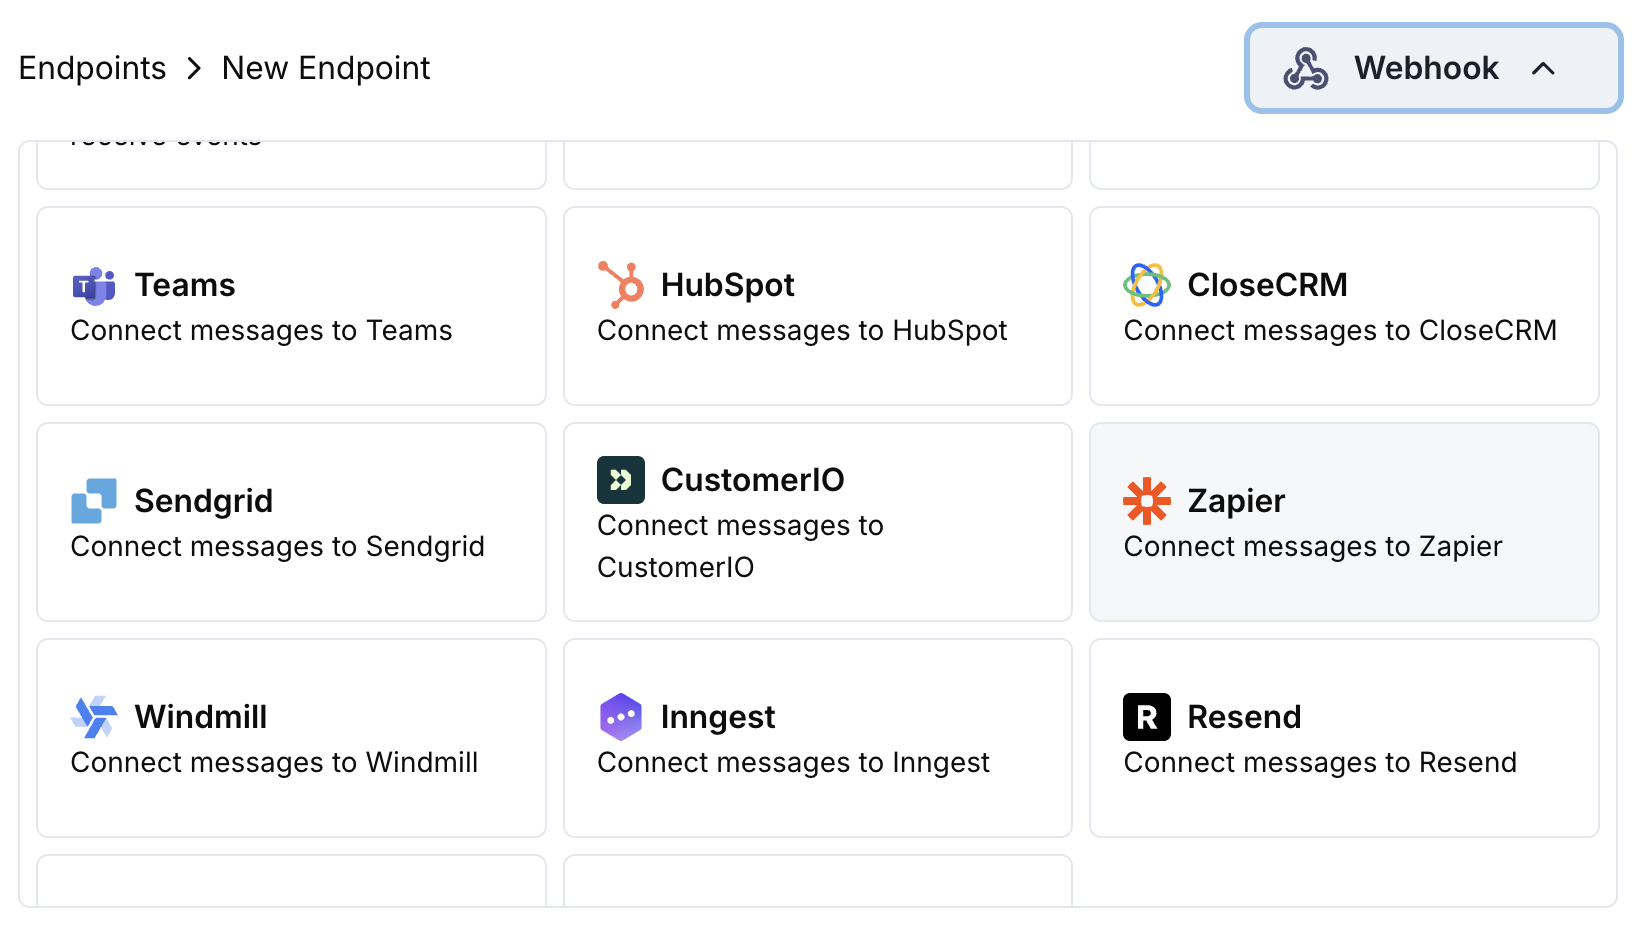
2
Select Zapier
Choose the Zapier integration card.
3
Create Zap in Zapier
In Zapier, create a new Zap with “Webhooks by Zapier” as the trigger. Copy the webhook URL.
4
Paste Webhook URL
Paste the Zapier webhook URL into the endpoint configuration.
5
Configure Transformation
Edit the transformation code to format data for your Zapier workflow.
6
Test & Create
Test with sample payloads and click Create to activate the integration.
7
Done!
🎉 Payment events will now trigger your Zapier workflows automatically.
Transformation Code Examples
Basic Webhook Payload
basic_webhook.js
Subscription Event Handler
subscription_webhook.js
Dispute Alert Handler
dispute_webhook.js
Popular Zapier Use Cases
Email Notifications
Email Notifications
- Send Gmail/Outlook emails for payment confirmations
- Create email sequences in Mailchimp/ConvertKit
- Send Slack/Discord notifications
- Create Google Sheets records
CRM Updates
CRM Updates
- Add contacts to HubSpot/Salesforce
- Create deals in Pipedrive/Close
- Update customer records in Airtable
- Log activities in Monday.com
Task Management
Task Management
- Create tasks in Asana/Trello
- Add to-do items in Notion
- Create calendar events
- Send SMS notifications via Twilio
Tips
- Keep payload structure simple for easy Zapier parsing
- Use consistent field names across all events
- Include timestamps for workflow timing
- Test your Zap with sample data before going live
- Use Zapier’s built-in filters for conditional logic
Troubleshooting
Zap not triggering
Zap not triggering
- Verify webhook URL is correct and active
- Check that Zap is turned on in Zapier
- Ensure payload structure matches Zapier expectations
- Test webhook delivery in Zapier dashboard
Data not mapping correctly
Data not mapping correctly
- Check field names in Zapier action steps
- Verify data types match expected formats
- Use Zapier’s test feature to debug mapping
- Ensure transformation code returns valid JSON