介绍
通过 Zapier 将 Dodo Payments 连接到数千个应用程序和服务。当发生支付事件时,通过触发 Zaps 来自动化工作流程,从发送电子邮件到更新电子表格、创建任务等等。此集成需要来自您的 Zap 配置的 Zapier webhook URL。
开始使用
1
Open the Webhook Section
在您的 Dodo Payments 仪表盘中,导航到 Webhooks → + 添加端点 并展开集成下拉菜单。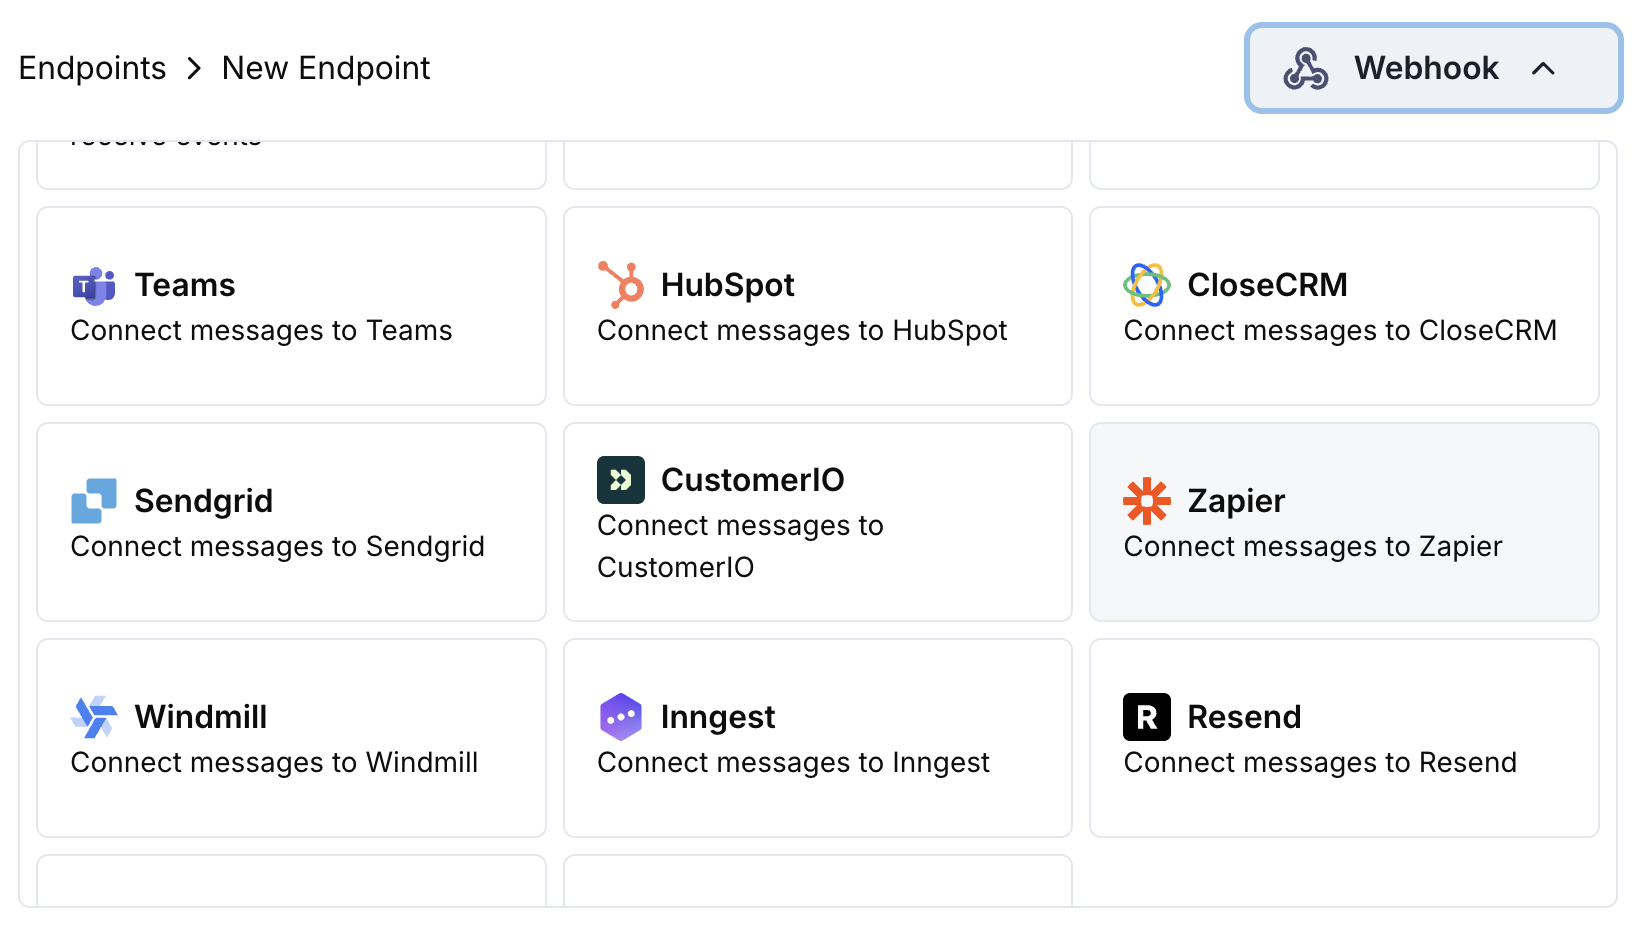
2
Select Zapier
选择 Zapier 集成卡片。
3
Create Zap in Zapier
在 Zapier 中,创建一个以“Webhooks by Zapier”为触发器的新 Zap。复制 webhook URL。
4
Paste Webhook URL
将 Zapier webhook URL 粘贴到端点配置中。
5
Configure Transformation
编辑转换代码以格式化用于您的 Zapier 工作流的数据。
6
Test & Create
使用示例负载进行测试,然后点击 Create 激活集成。
7
Done!
🎉 付款事件现在会自动触发您的 Zapier 工作流。
转换代码示例
基本 Webhook 有效负载
basic_webhook.js
订阅事件处理程序
subscription_webhook.js
争议警报处理程序
dispute_webhook.js
常见的 Zapier 用例
Email Notifications
Email Notifications
- 发送 Gmail/Outlook 邮件以确认付款
- 在 Mailchimp/ConvertKit 中创建电子邮件序列
- 发送 Slack/Discord 通知
- 创建 Google 表格记录
CRM Updates
CRM Updates
- 将联系人添加到 HubSpot/Salesforce
- 在 Pipedrive/Close 中创建交易
- 更新 Airtable 中的客户记录
- 在 Monday.com 中记录活动
Task Management
Task Management
- 在 Asana/Trello 中创建任务
- 在 Notion 中添加待办事项
- 创建日历事件
- 通过 Twilio 发送短信通知
提示
- 保持有效负载结构简单,以便于 Zapier 解析
- 在所有事件中使用一致的字段名称
- 包含时间戳以便于工作流程定时
- 在上线前使用示例数据测试您的 Zap
- 使用 Zapier 的内置过滤器进行条件逻辑
故障排除
Zap not triggering
Zap not triggering
- 确认 webhook URL 正确且处于激活状态
- 检查 Zapier 中的 Zap 是否已开启
- 确保负载结构符合 Zapier 预期
- 在 Zapier 仪表板中测试 webhook 发送
Data not mapping correctly
Data not mapping correctly
- 检查 Zapier 操作步骤中的字段名称
- 验证数据类型是否与预期格式匹配
- 使用 Zapier 的测试功能调试映射
- 确保转换代码返回有效的 JSON