Chuyển đến nội dung chính

Giới thiệu

Kích hoạt các chiến dịch email cá nhân hóa và hành trình khách hàng dựa trên các sự kiện thanh toán. Tự động gửi email chào mừng cho khách hàng mới, cập nhật đăng ký và thông báo lỗi thanh toán qua Customer.io.
Tích hợp này yêu cầu ID Trang và Khóa API của Customer.io.

Bắt đầu

1

Open the Webhook Section

Trong bảng điều khiển Dodo Payments của bạn, chuyển đến Webhooks → + Add Endpoint và mở rộng menu tích hợp.
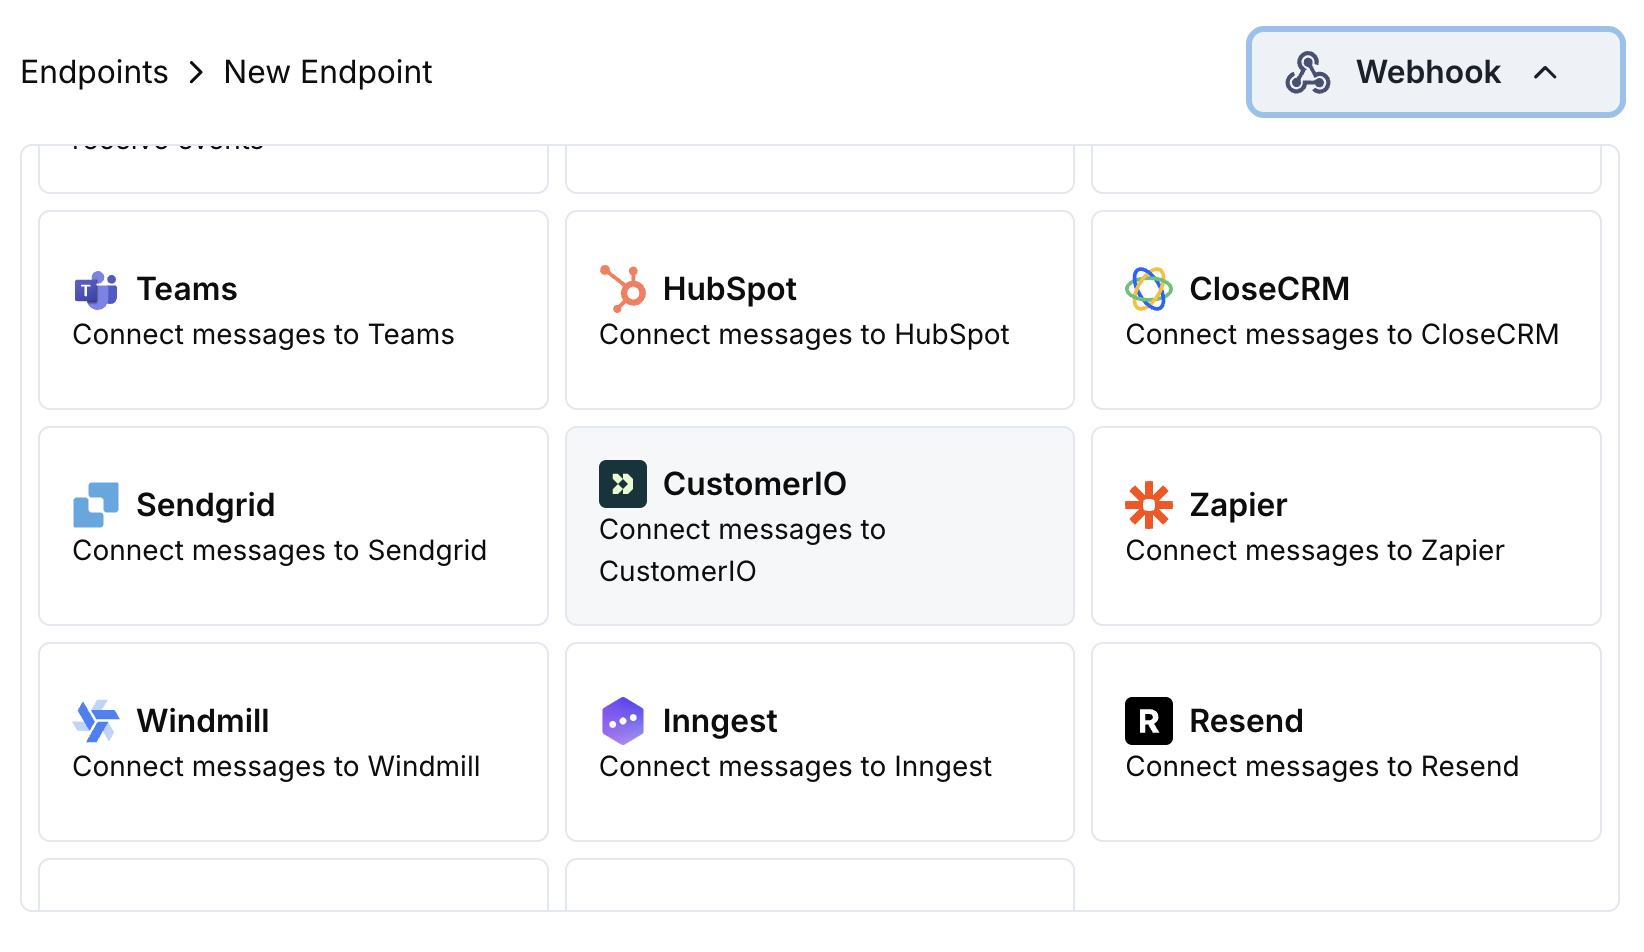
Add Endpoint and integrations dropdown
2

Select Customer.io

Chọn thẻ tích hợp Customer.io.
3

Enter Credentials

Cung cấp ID Trang và Khóa API của Customer.io trong phần cấu hình.
4

Configure Transformation

Chỉnh sửa mã chuyển đổi để định dạng sự kiện cho API Track của Customer.io.
5

Test & Create

Thử nghiệm với các payload mẫu và nhấp Create để kích hoạt đồng bộ.
6

Done!

🎉 Các sự kiện thanh toán bây giờ sẽ kích hoạt các chiến dịch email tự động của Customer.io.

Ví dụ Mã Biến đổi

Theo dõi Sự kiện Thanh toán

track_payments.js
function handler(webhook) {
  if (webhook.eventType === "payment.succeeded") {
    const p = webhook.payload.data;
    webhook.url = "https://track.customer.io/api/v2/entity";
    webhook.payload = {
      type: "person",
      identifiers: {
        id: p.customer.customer_id
      },
      action: "payment_completed",
      name: "Payment Completed",
      attributes: {
        email: p.customer.email,
        name: p.customer.name,
        payment_amount: (p.total_amount / 100).toFixed(2),
        payment_method: p.payment_method || "unknown",
        payment_id: p.payment_id,
        currency: p.currency || "USD"
      }
    };
  }
  return webhook;
}

Theo dõi Vòng đời Đăng ký

track_subscriptions.js
function handler(webhook) {
  const s = webhook.payload.data;
  switch (webhook.eventType) {
    case "subscription.active":
      webhook.url = "https://track.customer.io/api/v2/entity";
      webhook.payload = {
        type: "person",
        identifiers: {
          id: s.customer.customer_id
        },
        action: "subscription_started",
        name: "Subscription Started",
        attributes: {
          email: s.customer.email,
          subscription_id: s.subscription_id,
          product_id: s.product_id,
          amount: (s.recurring_pre_tax_amount / 100).toFixed(2),
          frequency: s.payment_frequency_interval,
          next_billing: s.next_billing_date
        }
      };
      break;
    case "subscription.cancelled":
      webhook.url = "https://track.customer.io/api/v2/entity";
      webhook.payload = {
        type: "person",
        identifiers: {
          id: s.customer.customer_id
        },
        action: "subscription_cancelled",
        name: "Subscription Cancelled",
        attributes: {
          email: s.customer.email,
          subscription_id: s.subscription_id,
          cancelled_at: s.cancelled_at,
          cancel_at_next_billing: s.cancel_at_next_billing_date
        }
      };
      break;
  }
  return webhook;
}

Theo dõi Thuộc tính Khách hàng

track_attributes.js
function handler(webhook) {
  if (webhook.eventType === "payment.succeeded") {
    const p = webhook.payload.data;
    webhook.url = "https://track.customer.io/api/v2/entity";
    webhook.payload = {
      type: "person",
      identifiers: {
        id: p.customer.customer_id
      },
      action: "identify",
      name: "Customer Identified",
      attributes: {
        email: p.customer.email,
        name: p.customer.name,
        total_spent: (p.total_amount / 100).toFixed(2),
        payment_method: p.payment_method || "unknown",
        last_payment_date: webhook.payload.timestamp,
        customer_since: webhook.payload.timestamp
      }
    };
  }
  return webhook;
}

Mẹo

  • Sử dụng tên sự kiện nhất quán phù hợp với các chiến dịch Customer.io của bạn
  • Bao gồm các thuộc tính liên quan để cá nhân hóa
  • Đặt các định danh khách hàng chính xác để theo dõi chính xác
  • Sử dụng tên sự kiện có ý nghĩa cho các kích hoạt chiến dịch

Khắc phục sự cố

  • Xác nhận ID Trang và Khóa API chính xác
  • Kiểm tra tên sự kiện trùng với chiến dịch của Customer.io
  • Đảm bảo định danh khách hàng được thiết lập đúng cách
  • Xem lại giới hạn tốc độ API của Customer.io
  • Xác nhận cấu trúc JSON phù hợp với định dạng API của Customer.io
  • Kiểm tra tất cả trường bắt buộc đã có
  • Đảm bảo tên sự kiện và thuộc tính được định dạng đúng