

This tutorial uses Resend as the email provider. Its free tier (3,000 emails per month) covers building and testing the whole flow. The billing pattern works with any provider: replace
resend.emails.send with a call to SendGrid, Postmark, Amazon SES, or your own SMTP relay.- Create a custom credit entitlement for emails in the dashboard.
- Attach credits to a subscription plan and a one-time top-up product.
- Send email through Resend and debit one credit per send with a ledger entry.
- Read a customer’s live credit balance from your frontend.
- Verify Dodo Payments webhooks and handle
credit.balance_lowto warn customers before their balance reaches zero.
What We’re Building
MailKit sells two products:
The unit is one email = one credit. Customers don’t need to reason about tokens, batches, or weighted units. They see “4,231 emails left this month.”
Before you start, you need:
- A Dodo Payments account. Build everything in test mode.
- A free Resend account and API key.
- Node.js 22 or later, and working knowledge of TypeScript.
Step 1: Create Your Email Credit Entitlement
The credit entitlement defines the unit MailKit sells: one email send.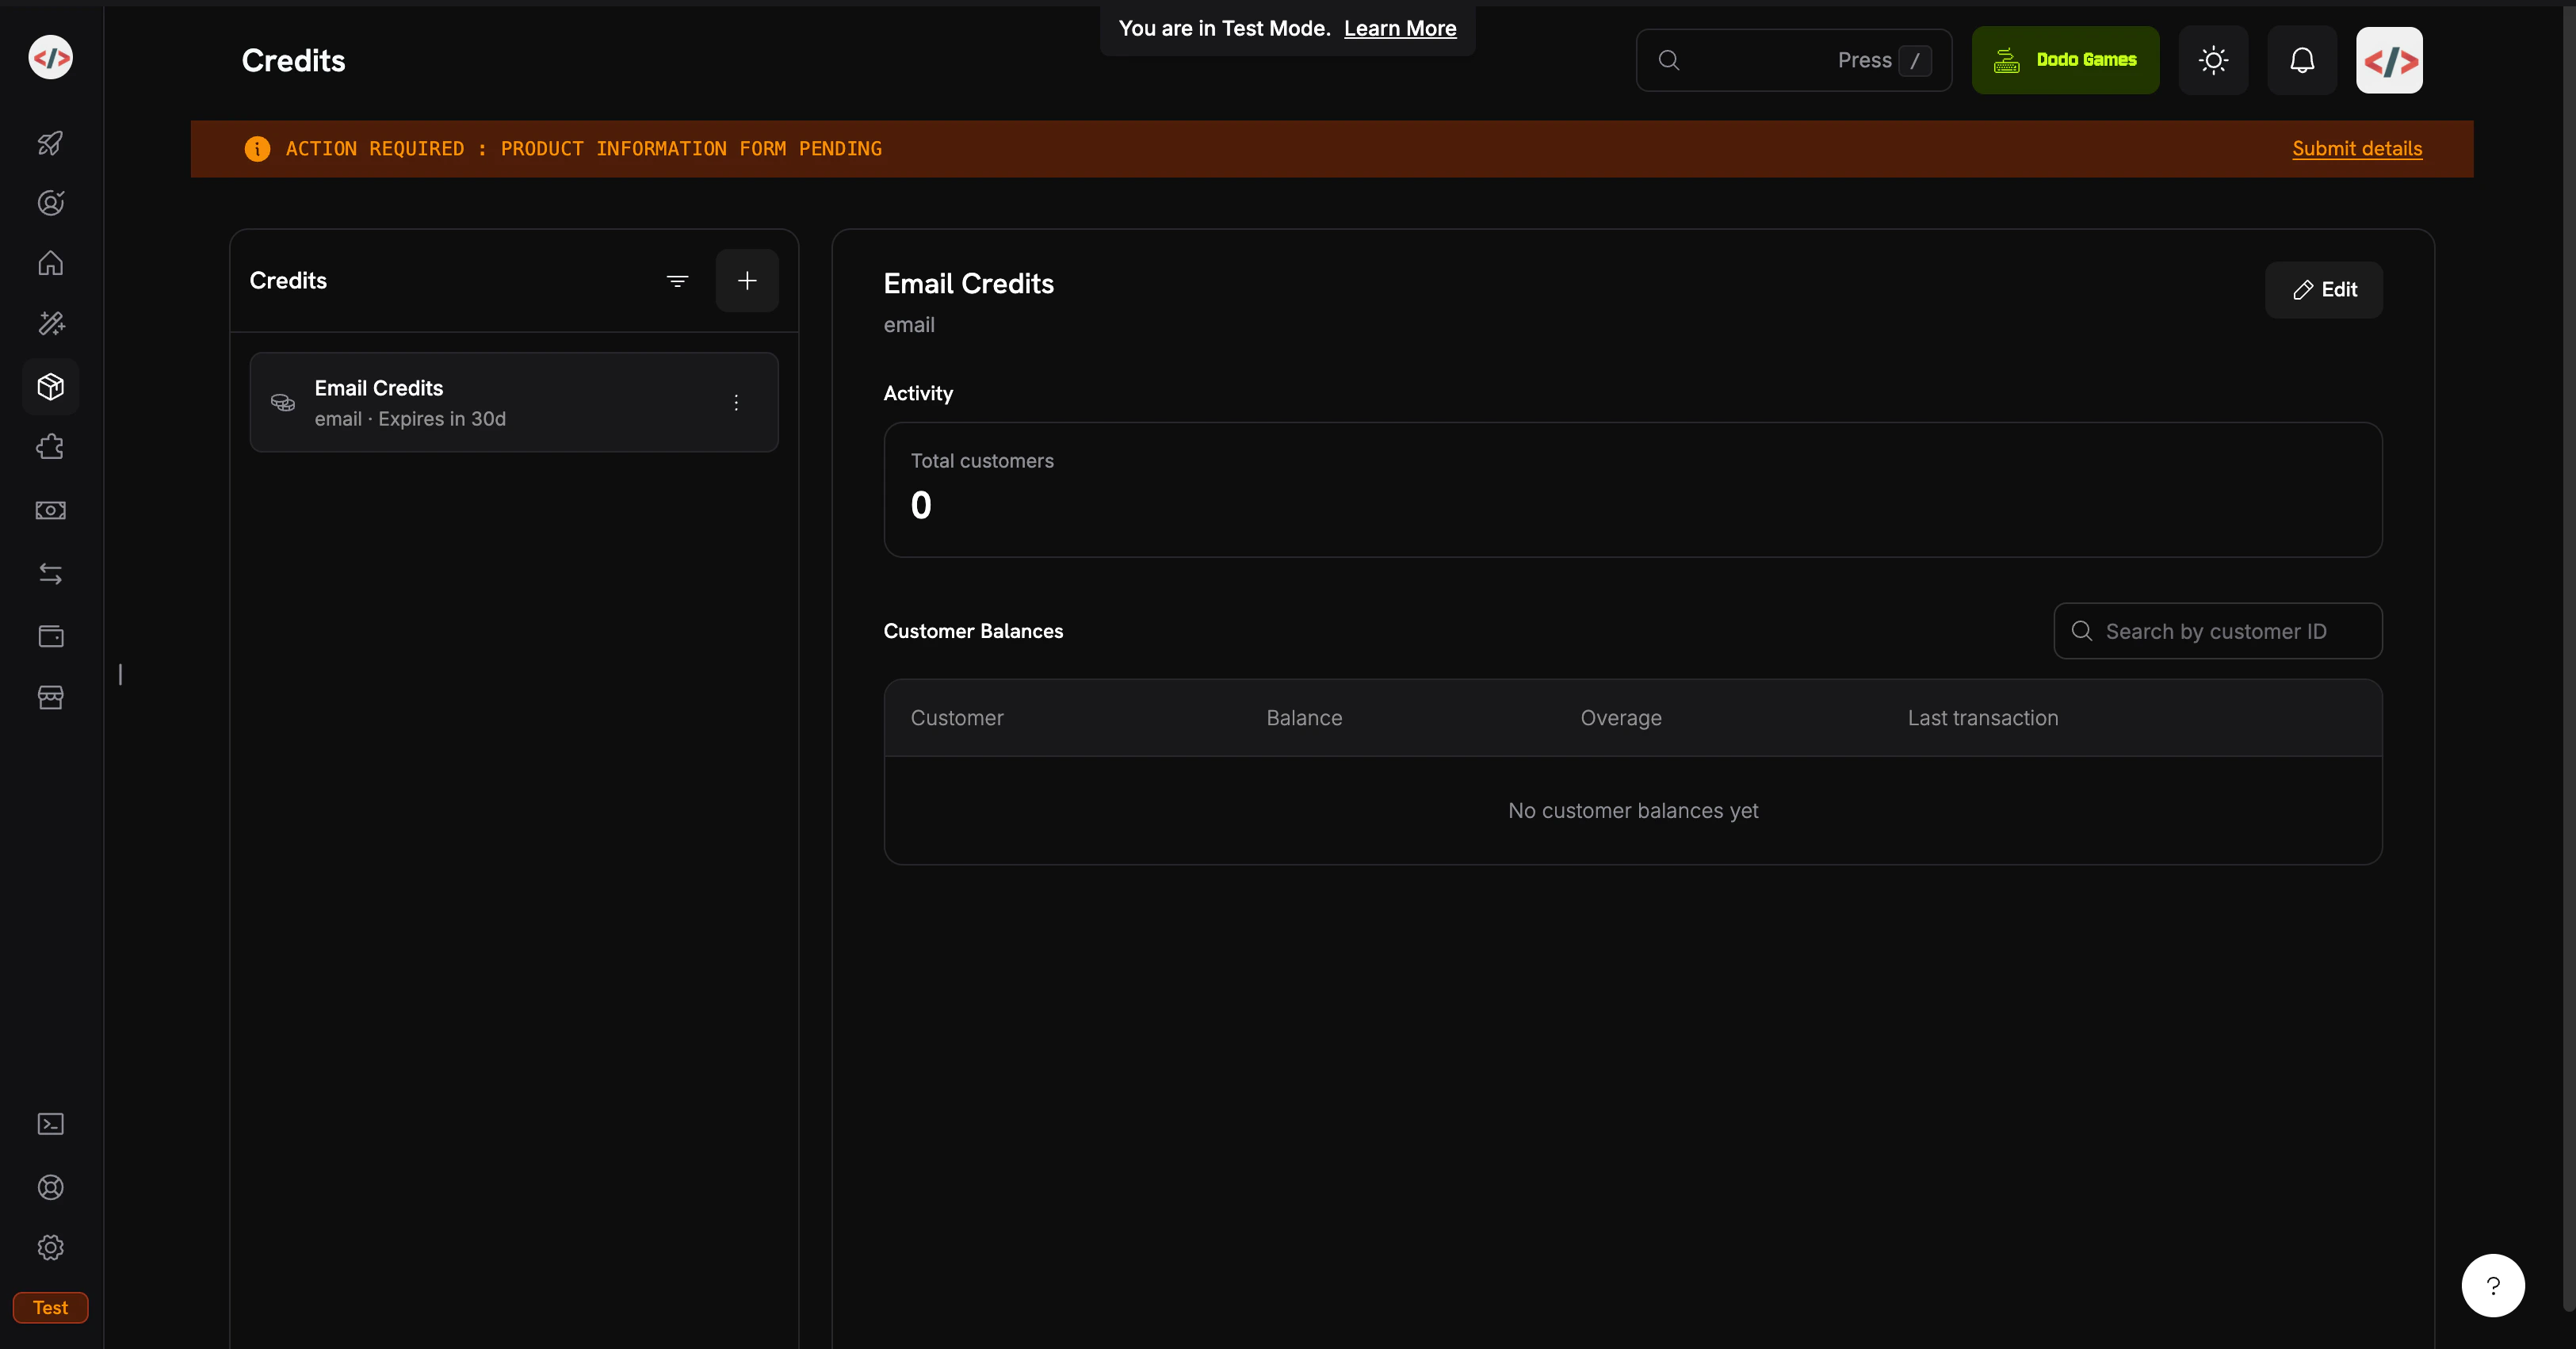
The Credits tab under Products lists all your credit entitlements.
1
Open the Credits Section
- Log in to the Dodo Payments dashboard.
- Click Products in the sidebar.
- Select the Credits tab.
- Click Create Credit.
2
Configure the Credit Unit
Enter these values:Credit Name:
Email CreditsCredit Type: Custom UnitUnit Name: emailDefine Precision: 0. An email is a whole unit, so the balance never needs decimals.Credit Expiry: 30 days. Unused credits expire 30 days after they’re issued.3
Leave the Other Defaults
This tutorial leaves rollover and overage off to keep the credit flow minimal. You can turn them on later, either on the credit or on each product’s credit attachment.
4
Save and Copy the Credit ID
Click Create Credit. Open the credit and copy its ID, which starts with
cde_. The backend uses it for balance reads and ledger entries.The
Email Credits entitlement is ready. Next, create the products that grant it to customers.Step 2: Create the Plan and Top-Up Pack
Create two products that attach the sameEmail Credits entitlement: a Subscription plan that grants 5,000 emails each billing cycle, and a One Time top-up that adds 5,000 more on demand.
MailKit Plan ($19/month, 5,000 Emails)
1
Create the Subscription
- Go to Products and click Add Product.
- Enter the product details:
MailKit PlanDescription: 5,000 transactional emails per month.- Under Pricing Type, select Subscription.
- Set the recurring price:
19.00Repeat payment every: 1 monthCurrency: USD2
Attach the Email Credit Entitlement
In the Entitlements section, click Attach next to Credits and configure:Select credits:
Email CreditsCredits issued per billing cycle: 5000Low Balance Threshold (%): 20. Dodo Payments sends credit.balance_low when the balance falls below 20% of the credits issued per cycle, which is 1,000 emails.Import Default Credit Settings: on, so the product uses the 30-day expiry from Step 1.Add the credit to the product, then save the product. Copy the product ID, which starts with pdt_.Plan: $19/month, with 5,000 emails issued each billing cycle.
Top-Up Pack ($9 One-Time, 5,000 Emails)
1
Create a One-Time Product
- Go to Products and click Add Product.
- Enter the product details:
Email Top-Up PackDescription: Add 5,000 emails to your MailKit balance.- Under Pricing Type, select One Time.
- Set the price:
9.00Currency: USD2
Attach the Credit Grant
In the Entitlements section, click Attach next to Credits and configure:Save the product and copy its ID.
- Select credits:
Email Credits - No of credits issued:
5000
A one-time product grants credits with their own expiry: 30 days from purchase, from the default you set in Step 1. Top-up credits add to the subscription credits. They don’t replace them.
Top-Up Pack: $9 for 5,000 emails, added to the balance after the payment succeeds.
Step 3: Set Up the Backend
Build the Express server that creates checkouts, sends email, reads balances, and receives webhooks.1
Initialize the Project
package.json:2
Configure Environment Variables
Create You fill in
.env with a test mode API key from Developer → API Keys and the IDs from Steps 1 and 2:.env
DODO_PAYMENTS_WEBHOOK_KEY in Step 4, after you create the webhook endpoint. Create the Resend API key at resend.com/api-keys.3
Build the Server
Create
server.ts in the project root. The server exposes five routes: subscribe checkout, top-up checkout, balance read, send, and the webhook receiver.The backend is ready: subscribe, top-up, balance, send, and the webhook handler.
4
Add a Demo UI
Create
public/index.html. It calls each route from a simple form, so you can test the flow in a browser:Step 4: Wire Up the Webhook Endpoint
Thecredit.balance_low event lets you warn customers before they run out. Without it, a customer first notices the problem when an email fails to send.
1
Expose Your Local Server
Webhooks need a public URL. While you develop, use ngrok or another tunnel:Copy the HTTPS forwarding URL, for example
https://1234abcd.ngrok-free.app.2
Register the Endpoint in Dodo Payments
- Go to Developer → Webhooks and click Add endpoint.
- Enter the URL
https://1234abcd.ngrok-free.app/webhooks/dodo, using your own tunnel host. - Select the events
credit.added,credit.balance_low, andcredit.rolled_over. - Click Create endpoint.
- Copy the signing secret from the endpoint’s Overview tab into
.envasDODO_PAYMENTS_WEBHOOK_KEY. - Restart the server.
Step 5: Test the Full Flow
1
Start the Server
MailKit running on http://localhost:3000. Open that URL in your browser.2
Subscribe a Test Customer
- In section 1, enter a test email address and name, then click Get checkout link.
- Open the link and complete checkout with a test card.
- In the dashboard, go to Customers and copy the new customer’s ID, which starts with
cus_.
The customer has 5,000 emails in their balance. To confirm, open the customer in Customers and select the Credits tab.
3
Send an Email
- Paste the customer ID into section 3.
- Leave To set to
delivered@resend.dev, a Resend test address that accepts every message. - Click Send.
4
Trigger the Low-Balance Webhook
The threshold is 20%, or 1,000 of the 5,000 emails issued per cycle. To reach it without sending 4,000 emails, debit the balance manually in the dashboard:
- Open the customer in Customers, select the Credits tab, and choose Email Credits.
- Click Apply Credit/Debit, select Debit, and enter
4000. The balance is now exactly 1,000, which isn’t below the threshold yet. - Send one more email from the demo. The balance drops to 999.
The server received and verified the webhook. In production, this is where you email the customer or show an in-app banner.
5
Buy a Top-Up Pack
- Paste the customer ID into section 4.
- Click Buy 5,000 emails and complete the test checkout.
- Refresh the balance. It increases by 5,000.
Dodo Payments sends a
credit.added event with transaction_type: "credit_added". The grant behind it has source_type: one_time, which you can read back with the List Customer Grants API. Top-up credits add to the subscription credits. Ledger debits draw from existing grants in FIFO order, oldest grant first.6
Test the Hard Stop
Debit the balance to zero in the dashboard, then try to send one more email. The server responds with That
402:402 is your application’s enforcement. Treat the Dodo Payments balance API as the source of truth, and don’t cache the balance on the client.Troubleshooting
Webhook signature verification fails (401)
Webhook signature verification fails (401)
The signature covers the raw HTTP body.
express.json() replaces the body with a parsed object, so verification fails. Register /webhooks/dodo with express.raw({ type: 'application/json' }) above the app.use(express.json()) line. Then check that DODO_PAYMENTS_WEBHOOK_KEY matches the signing secret on the endpoint’s Overview tab.Balance is 0, customer not found, or credits don't deduct
Balance is 0, customer not found, or credits don't deduct
Check these three things, in order:
- The customer completed checkout. Credits are issued when the payment succeeds, not when the checkout session is created.
CREDIT_ENTITLEMENT_IDin.envmatches the credit attached to the product. The balance and ledger calls use this ID, so a mismatch reads or debits a different credit.- The
customer_idyou pass is the Dodo Payments customer ID (it starts withcus_), not an ID from your own database.
Resend rejects the recipient
Resend rejects the recipient
The test sender
onboarding@resend.dev delivers only to the email address on your Resend account, or to delivered@resend.dev. To send to anyone else, verify a domain and use a from address on that domain.