메인 콘텐츠로 건너뛰기

Documentation Index

Fetch the complete documentation index at: https://docs.dodopayments.com/llms.txt

Use this file to discover all available pages before exploring further.

Let Sentra write your integration code for you.
Use our AI assistant in VS Code, Cursor, or Windsurf to generate SDK/API code, webhook handlers, and more, just by describing what you want.
Try Sentra: AI-Powered Integration →
이 튜토리얼에서는 고객이 이메일 크레딧 풀에 대가를 미리 지불하는 트랜잭션 이메일 플랫폼 MailKit을 구축합니다. 이 계획은 매월 이메일 사용량을 허용하며, 고객이 크레딧이 부족할 경우 다음 주기를 기다리지 않고 충전 팩을 구매할 수 있습니다. 매 전송 시 크레딧 하나가 자동으로 차감됩니다.
이 튜토리얼에서는 이메일 공급자로 Resend를 사용합니다. 무료 등급(월 3,000 이메일)은 유료 계정 없이 전체 흐름을 구축하고 테스트하기에 충분합니다. 이 패턴은 모든 공급자와 함께 작동하며, resend.emails.send를 SendGrid, Postmark, SES 또는 자체 SMTP 릴레이로 교체하십시오.
이 튜토리얼이 끝나면 다음과 같은 내용을 알 수 있습니다:
  • 대시보드에서 맞춤형 크레딧 할당량(이메일) 생성
  • 구독 계획 및 일회성 충전 제품에 크레딧 첨부
  • Resend를 통해 실제 이메일을 전송하고 원장 항목을 통해 전송당 크레딧 1개 차감
  • 프런트엔드에서 실시간 크레딧 잔액 쿼리
  • Dodo 웹훅을 정확하게 검증하고 고객에게 0이 되기 전에 경고하는 credit.balance_low 처리

우리가 만들고 있는 것

MailKit의 가격 모델은 다음과 같습니다:
ProductPriceEmails
MailKit Plan$19/month5,000 emails/cycle
Top-Up Pack$9 one-time+5,000 emails
단위는 이메일 하나 = 크레딧 하나입니다. 고객은 토큰, 배치, 가중 단위에 대해 생각할 필요가 없습니다. 그들은 단지 “이번 달에 4,231개의 이메일이 남아 있습니다”라고 표시됩니다.
시작하기 전에 다음을 확인하십시오:
  • Dodo Payments 계정 (테스트 모드도 괜찮음)
  • 무료 Resend 계정과 API 키
  • Node.js 18+ 및 기본 TypeScript에 대한 이해

Step 1: Create Your Email Credit Entitlement

크레딧 할당량은 플랫폼이 판매하는 단위를 정의합니다: 이 경우 이메일 전송 하나.
Credits listing page
1

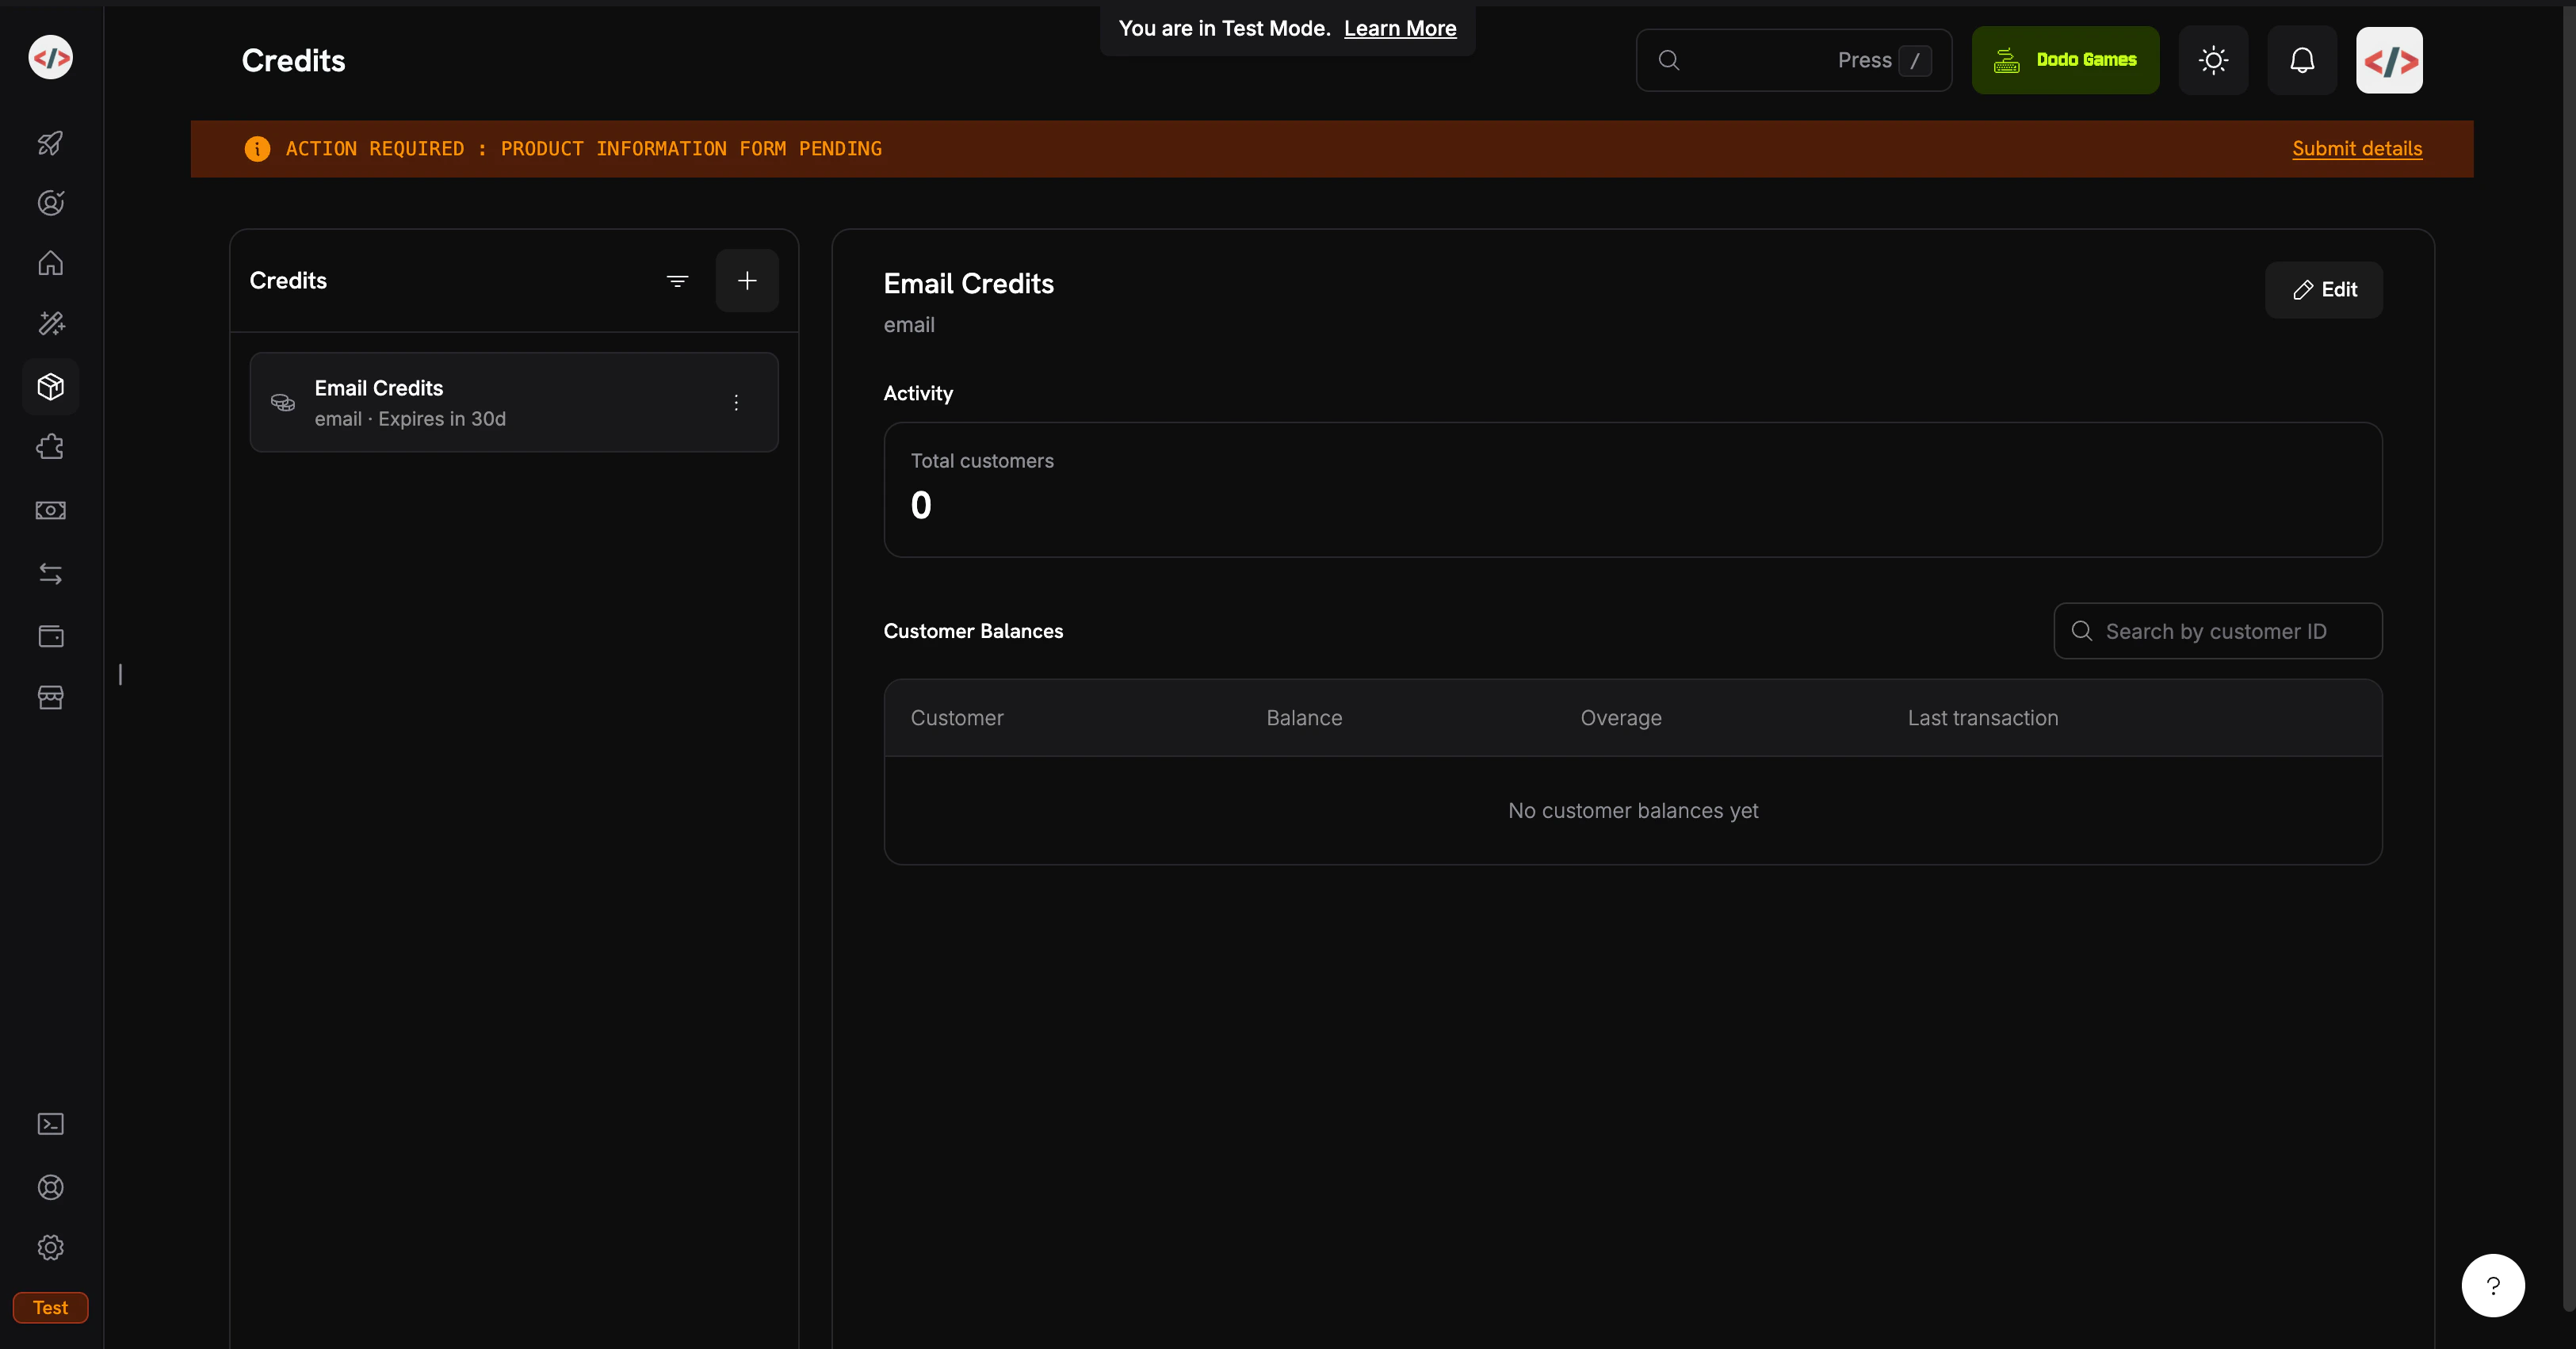
Open the Credits section

  1. Dodo Payments 대시보드에 로그인합니다.
  2. 왼쪽 사이드바에서 Products를 클릭합니다.
  3. Credits 탭을 선택합니다.
  4. Create Credit을 클릭합니다.
2

Configure the credit unit

크레딧 세부 정보를 입력합니다:Credit Name: Email CreditsCredit Type: Select Custom UnitUnit Name: emailPrecision: 0 (이메일은 항상 전체 단위입니다; 반 이메일을 보낼 수 없습니다)Credit Expiry: 30 days (각 주기의 할당량이 재설정됩니다)
정밀도는 생성 후 변경할 수 없습니다. 이메일, 메시지 또는 세션과 같은 이산 단위의 경우 0가 적합합니다.
3

Leave the other defaults as-is

이 요리책에서는 롤오버 또는 초과 사용을 활성화하지 않습니다; 목표는 가능한 가장 간단한 CBB 흐름입니다. 나중에 크레딧 첨부에서 이를 다시 탐색할 수 있습니다.
4

Save and copy the credit ID

Create Credit을 클릭합니다. 크레딧을 열고 ID를 복사합니다. 백엔드 잔액 쿼리에 필요합니다. 이는 cent_xxxxxxxxxxxx처럼 보입니다.
당신의 Email Credits 할당이 준비되었습니다. 다음: 고객에게 크레딧을 제공하는 제품입니다.

Step 2: Create the Plan and Top-Up Pack

두 가지 제품을 만듭니다: 반복되는 구독 계획과 일회성 결제 충전. 계획은 각 주기에 5,000개의 이메일을 제공합니다; 충전은 요구에 따라 5,000개를 추가합니다. 둘 다 동일한 Email Credits 할당량을 연결합니다.
이 요리책에서는 사용량 기반 계량기가 아닌 직접 원장 항목으로 크레딧을 차감합니다. 원장 항목은 즉각적이며(잔액은 밀리초 단위로 업데이트됨), 추가 설정이 필요 없으며 한 사용자 액션이 정확히 하나의 크레딧인 경우 적합합니다. 인제스트된 사용 이벤트에서 자동 차감을 선호하는 경우(“토큰” 또는 “처리된 MB”와 같은 가중치 단위에 유용함), 계량기 기반 패턴은 크레딧 기반 과금 → 크레딧으로 사용량 과금을 참조하세요.

MailKit Plan ($19/month, 5,000 emails)

1

Create the subscription

  1. Products → Create Product로 이동
  2. 제품 세부 정보를 입력합니다:
Product Name: MailKit PlanDescription: 5,000 transactional emails per month.
  1. 제품 유형으로 Subscription을 선택
  2. 반복 가격 설정:
Recurring Price: 19.00Billing Cycle: MonthlyCurrency: USD
2

Attach the email credit entitlement

Entitlements → Credits → Attach로 스크롤하고 구성합니다:Credit Entitlement: Email CreditsCredits issued per billing cycle: 5000Low Balance Threshold: 20 (percent; 20% 이하로 떨어질 때 credit.balance_low 발생, 즉 1,000개의 이메일)Import Default Credit Settings: enabled (Step 1의 30일 만료 사용)제품에 추가를 클릭한 다음 저장합니다. 제품 ID(pdt_xxxxxxxxxxxx)를 복사합니다.
계획: $19/month → 각 주기에 5,000개의 이메일이 새로고침됩니다.

충전 팩 ($9 one-time, 5,000 emails)

1

Create a one-time product

  1. Products → Create Product로 이동
  2. 제품 세부 정보를 입력합니다:
Product Name: Email Top-Up PackDescription: Add 5,000 emails to your MailKit balance instantly.
  1. 제품 유형으로 Single Payment을 선택
  2. 가격 설정:
Price: 9.00Currency: USD
2

Attach the credit grant

Entitlements → Credits → Attach 에서:
  • 크레딧 할당량: Email Credits
  • 발행된 크레딧: 5000
일회성 제품은 자체 만료가 있는 크레딧을 제공합니다(구매 후 30일, Step 1에 따라). 충전은 구독 크레딧에 추가됩니다; 이를 대체하지 않습니다.
저장하고 제품 ID를 복사합니다.
충전 팩: $9 → +5,000개의 이메일, 즉시 사용 가능.

Step 3: Set Up the Backend

이제 체크아웃, 전송, 잔액 쿼리, 웹훅을 처리하는 Express 서버를 구축합니다.
1

Initialize the project

mkdir mailkit && cd mailkit
npm init -y
npm install dodopayments resend express dotenv
npm install -D tsx @types/node @types/express
package.json에 개발 스크립트를 추가합니다:
{
  "scripts": {
    "dev": "tsx watch server.ts"
  }
}
tsx은 빌드 단계나 tsconfig.json 없이 TypeScript를 직접 실행합니다, 이는 튜토리얼에 적합합니다. 프로덕션에서는 tsconfig.jsonbuild 스크립트를 추가하십시오.
2

Configure environment variables

.env를 생성합니다:
.env
# Dodo Payments
DODO_PAYMENTS_API_KEY=your_dodo_test_api_key
DODO_WEBHOOK_KEY=your_dodo_webhook_signing_key
CREDIT_ENTITLEMENT_ID=cent_xxxxxxxxxxxx
PLAN_PRODUCT_ID=pdt_xxxxxxxxxxxx
TOPUP_PRODUCT_ID=pdt_xxxxxxxxxxxx

# Resend
RESEND_API_KEY=re_xxxxxxxxxxxx

# App
BASE_URL=http://localhost:3000
PORT=3000
DODO_WEBHOOK_KEY는 엔드포인트를 생성한 후 4단계에서 채웁니다. Resend API 키는 resend.com/api-keys에서 가져옵니다.
.env.gitignore에 즉시 추가하십시오. API 키를 커밋하지 마십시오.
3

Build the server

프로젝트 루트에 server.ts를 생성합니다:
import 'dotenv/config';
import express, { Request, Response } from 'express';
import DodoPayments from 'dodopayments';
import { Resend } from 'resend';

const app = express();

const dodo = new DodoPayments({
  bearerToken: process.env.DODO_PAYMENTS_API_KEY!,
  webhookKey: process.env.DODO_WEBHOOK_KEY!,
  environment: 'test_mode',
});

const resend = new Resend(process.env.RESEND_API_KEY!);

const CREDIT_ENTITLEMENT_ID = process.env.CREDIT_ENTITLEMENT_ID!;
const BASE_URL = process.env.BASE_URL!;

// ---------------------------------------------------------------
// Webhook endpoint MUST receive the raw body for signature
// verification. Register it BEFORE express.json().
// ---------------------------------------------------------------
app.post(
  '/webhooks/dodo',
  express.raw({ type: 'application/json' }),
  async (req: Request, res: Response) => {
    const headers = {
      'webhook-id': req.headers['webhook-id'] as string,
      'webhook-signature': req.headers['webhook-signature'] as string,
      'webhook-timestamp': req.headers['webhook-timestamp'] as string,
    };

    let event: any;
    try {
      event = await dodo.webhooks.unwrap(req.body.toString('utf8'), { headers });
    } catch (err) {
      console.error('Webhook signature verification failed:', err);
      return res.status(401).json({ error: 'invalid signature' });
    }

    switch (event.type) {
      case 'credit.balance_low': {
        const { customer_id, credit_entitlement_name, available_balance, threshold_percent } =
          event.data;
        console.log(
          `[low-balance] ${customer_id} has ${available_balance} ${credit_entitlement_name} ` +
            `left (under ${threshold_percent}%)`
        );
        await notifyCustomerLowBalance(customer_id, Number(available_balance));
        break;
      }
      case 'credit.added':
        console.log('[credit.added]', event.data);
        break;
      case 'credit.rolled_over':
        console.log('[rolled_over]', event.data);
        break;
    }

    res.json({ received: true });
  }
);

// JSON parsing for everything else.
app.use(express.json());

// ---------------------------------------------------------------
// POST /checkout/subscribe → start the MailKit subscription.
// ---------------------------------------------------------------
app.post('/checkout/subscribe', async (req, res) => {
  const { email, name } = req.body as { email: string; name: string };

  const session = await dodo.checkoutSessions.create({
    product_cart: [{ product_id: process.env.PLAN_PRODUCT_ID!, quantity: 1 }],
    customer: { email, name },
    return_url: `${BASE_URL}/?subscribed=1`,
  });

  res.json({ checkout_url: session.checkout_url });
});

// ---------------------------------------------------------------
// POST /checkout/topup → buy a 5,000-email top-up for an existing
// customer. In a real app, customer_id is resolved from the
// authenticated session, never trusted from request input.
// ---------------------------------------------------------------
app.post('/checkout/topup', async (req, res) => {
  const { customer_id } = req.body as { customer_id: string };

  const session = await dodo.checkoutSessions.create({
    product_cart: [{ product_id: process.env.TOPUP_PRODUCT_ID!, quantity: 1 }],
    customer: { customer_id },
    return_url: `${BASE_URL}/?topped_up=1`,
  });

  res.json({ checkout_url: session.checkout_url });
});

// ---------------------------------------------------------------
// GET /credits/:customerId → live balance for the dashboard widget.
// ---------------------------------------------------------------
app.get('/credits/:customerId', async (req, res) => {
  const balance = await dodo.creditEntitlements.balances.retrieve(req.params.customerId, {
    credit_entitlement_id: CREDIT_ENTITLEMENT_ID,
  });

  res.json({ balance: balance.balance });
});

// ---------------------------------------------------------------
// POST /send → send an email via Resend, then write a ledger entry
// to debit 1 credit from the customer's balance. The deduction is
// instant; the next /credits call reflects it.
// ---------------------------------------------------------------
app.post('/send', async (req, res) => {
  const { customer_id, to, subject, html } = req.body as {
    customer_id: string;
    to: string;
    subject: string;
    html: string;
  };

  // 1. Pre-flight balance check: refuse to send if the balance is at zero.
  const balance = await dodo.creditEntitlements.balances.retrieve(customer_id, {
    credit_entitlement_id: CREDIT_ENTITLEMENT_ID,
  });

  if (Number(balance.balance) <= 0) {
    return res.status(402).json({
      error: 'No email credits remaining. Buy a top-up pack or upgrade your plan.',
    });
  }

  // 2. Send via Resend.
  const { data, error } = await resend.emails.send({
    from: 'MailKit <onboarding@resend.dev>', // swap for your verified domain
    to: [to],
    subject,
    html,
  });

  if (error) {
    return res.status(500).json({ error: error.message });
  }

  // 3. Debit 1 credit. Resend's message id is the idempotency key, so if
  //    the client retries this request, Dodo deduplicates and the
  //    customer is only debited once for that send.
  await dodo.creditEntitlements.balances.createLedgerEntry(customer_id, {
    credit_entitlement_id: CREDIT_ENTITLEMENT_ID,
    amount: '1',
    entry_type: 'debit',
    reason: `email send ${data!.id}`,
    idempotency_key: data!.id,
  });

  res.json({ id: data!.id });
});

async function notifyCustomerLowBalance(customerId: string, available: number) {
  // In production: send an email to the account owner, push a banner,
  // open an in-app modal, etc. For the demo we just log.
  console.log(`[NOTIFY] ${customerId}: ${available} emails left. Consider topping up.`);
}

app.use(express.static('public'));

const port = Number(process.env.PORT) || 3000;
app.listen(port, () => {
  console.log(`MailKit running on http://localhost:${port}`);
});
웹훅 본문은 원시여야 합니다. express.json()는 본문을 파싱하고 다시 직렬화하여 서명 검증을 중단시킵니다. /webhooks/dodoexpress.raw() 전에 정의합니다.
백엔드 준비 완료: 구독, 충전, 잔액, 전송, 및 웹훅 핸들러가 모두 연결되었습니다.
4

Add a demo UI

public/index.html를 생성합니다:
<!doctype html>
<html>
  <head>
    <title>MailKit Demo</title>
    <style>
      body {
        font-family: system-ui, -apple-system, sans-serif;
        max-width: 720px;
        margin: 40px auto;
        padding: 0 20px;
        color: #1a1a2e;
      }
      h1 { font-size: 28px; margin-bottom: 4px; }
      h2 { font-size: 16px; margin-top: 32px; padding-bottom: 6px; border-bottom: 1px solid #eee; }
      label { display: block; font-size: 13px; font-weight: 600; margin: 12px 0 4px; }
      input, select, textarea {
        width: 100%;
        padding: 10px;
        border: 1px solid #ddd;
        border-radius: 6px;
        font-family: inherit;
        font-size: 14px;
        box-sizing: border-box;
      }
      button {
        background: #1a1a2e;
        color: white;
        padding: 10px 18px;
        border: none;
        border-radius: 6px;
        cursor: pointer;
        font-size: 14px;
        margin-top: 12px;
      }
      button:hover { background: #2d2d4a; }
      .out {
        background: #f6f6fa;
        padding: 12px;
        border-radius: 6px;
        margin-top: 12px;
        font-size: 13px;
        font-family: ui-monospace, monospace;
        white-space: pre-wrap;
        word-break: break-all;
      }
      .balance { font-size: 36px; font-weight: 700; color: #4f46e5; }
      .balance-sub { color: #888; font-size: 13px; margin-top: 4px; }
    </style>
  </head>
  <body>
    <h1>MailKit</h1>
    <p>Prepaid transactional email, billed per send.</p>

    <h2>1. Subscribe to MailKit ($19/mo, 5,000 emails)</h2>
    <label>Email</label>
    <input id="subEmail" type="email" placeholder="you@example.com" />
    <label>Name</label>
    <input id="subName" type="text" placeholder="Your name" />
    <button onclick="subscribe()">Get checkout link</button>
    <div id="subOut" class="out" hidden></div>

    <h2>2. Check your balance</h2>
    <label>Customer ID</label>
    <input id="balCust" type="text" placeholder="cus_xxxxxxxxxxxx" />
    <button onclick="checkBalance()">Refresh</button>
    <div id="balOut" class="out" hidden></div>

    <h2>3. Send a transactional email</h2>
    <label>Customer ID</label>
    <input id="sendCust" type="text" placeholder="cus_xxxxxxxxxxxx" />
    <label>To (Resend's sandbox accepts delivered@resend.dev)</label>
    <input id="sendTo" type="email" value="delivered@resend.dev" />
    <label>Subject</label>
    <input id="sendSubj" type="text" value="Hello from MailKit" />
    <label>HTML body</label>
    <textarea id="sendBody" rows="3">&lt;strong&gt;It works!&lt;/strong&gt;</textarea>
    <button onclick="sendEmail()">Send</button>
    <div id="sendOut" class="out" hidden></div>

    <h2>4. Run low? Buy a top-up pack</h2>
    <label>Customer ID</label>
    <input id="topCust" type="text" placeholder="cus_xxxxxxxxxxxx" />
    <button onclick="topup()">Buy 5,000 emails ($9)</button>
    <div id="topOut" class="out" hidden></div>

    <script>
      const show = (id, content) => {
        const el = document.getElementById(id);
        el.hidden = false;
        el.innerHTML = content;
      };

      async function subscribe() {
        const r = await fetch('/checkout/subscribe', {
          method: 'POST',
          headers: { 'Content-Type': 'application/json' },
          body: JSON.stringify({
            email: document.getElementById('subEmail').value,
            name: document.getElementById('subName').value,
          }),
        });
        const data = await r.json();
        show('subOut', r.ok
          ? `<a href="${data.checkout_url}" target="_blank">Open checkout →</a>`
          : `Error: ${data.error}`);
      }

      async function checkBalance() {
        const id = document.getElementById('balCust').value;
        const r = await fetch(`/credits/${id}`);
        const data = await r.json();
        show('balOut', r.ok
          ? `<div class="balance">${Number(data.balance).toLocaleString()}</div>
             <div class="balance-sub">emails available</div>`
          : `Error: ${data.error}`);
      }

      async function sendEmail() {
        const r = await fetch('/send', {
          method: 'POST',
          headers: { 'Content-Type': 'application/json' },
          body: JSON.stringify({
            customer_id: document.getElementById('sendCust').value,
            to: document.getElementById('sendTo').value,
            subject: document.getElementById('sendSubj').value,
            html: document.getElementById('sendBody').value,
          }),
        });
        const data = await r.json();
        show('sendOut', r.ok ? `Sent. Message id: ${data.id}` : `Error: ${data.error}`);
      }

      async function topup() {
        const r = await fetch('/checkout/topup', {
          method: 'POST',
          headers: { 'Content-Type': 'application/json' },
          body: JSON.stringify({ customer_id: document.getElementById('topCust').value }),
        });
        const data = await r.json();
        show('topOut', r.ok
          ? `<a href="${data.checkout_url}" target="_blank">Open top-up checkout →</a>`
          : `Error: ${data.error}`);
      }
    </script>
  </body>
</html>

Step 4: Wire Up the Webhook Endpoint

credit.balance_low 이벤트는 고객이 다 쓰기 전에 알림을 제공할 수 있게 해줍니다. 없으면, 그들이 문제를 처음 인지하는 것은 이메일이 전송되지 않을 때입니다.
1

Expose your local server

웹훅은 공용 URL이 필요합니다. 개발 중에는 ngrok (또는 다른 터널)을 사용하십시오:
ngrok http 3000
HTTPS 포워딩 URL을 복사합니다(예: https://1234abcd.ngrok-free.app).
2

Register the endpoint in Dodo

  1. Developers → Webhooks → Add Endpoint로 이동
  2. URL: https://1234abcd.ngrok-free.app/webhooks/dodo
  3. Events: credit.added, credit.balance_low, credit.rolled_over 구독
  4. 저장한 다음, 서명 키.envDODO_WEBHOOK_KEY로 복사합니다.
  5. 서버를 다시 시작합니다.

Step 5: Test the Full Flow

1

Start the server

npm run dev
MailKit running on http://localhost:3000를 볼 수 있어야 합니다. 브라우저에서 엽니다.
2

Subscribe a test customer

  1. 섹션 1에 테스트 이메일과 이름을 입력, Get checkout link 클릭
  2. 링크를 열고 테스트 카드로 체크아웃 완료
  3. 결제가 완료된 후, 대시보드의 Customers 아래에서 customer_id를 찾습니다.
고객은 이제 잔액에 5,000개의 이메일을 가지고 있어야 합니다. Customers → [Customer] → Credits를 확인하십시오.
3

Send a real email

  1. SECTION 3에 customer_id를 붙여 넣습니다.
  2. todelivered@resend.dev로 설정하여 두십시오 (Resend의 모든 것을 허용하는 샌드박스 인박스)
  3. Send를 클릭합니다.
Resend 메시지 ID가 반환됩니다. 2단계에서 잔액을 새로 고치면 수량이 즉시 4,999로 감소합니다. 각 원장 차감은 기록되는 즉시 실시간 잔액에 반영됩니다.
4

Trigger the low-balance webhook

임계값은 20%입니다 (5,000 이메일 할당량 중 1,000). 4,000개의 실제 이메일을 보내지 않고 이를 트리거하려면 대시보드에서 잔액을 수동으로 차감하십시오:
  1. Customers → [Customer] → Credits → Email Credits로 이동합니다.
  2. 잔액 조정 클릭 후 4000로 차감
  3. 데모를 통해 이메일 하나 더 전송
서버는 몇 초 안에 다음을 로그해야 합니다:
[low-balance] cus_xxx has 999 Email Credits left (under 20%)
[NOTIFY] cus_xxx: 999 emails left. Consider topping up.
서버가 웹훅을 수신하고 검증했습니다. 프로덕션에서는 이것이 고객에게 이메일을 보내거나 앱 내부 배너를 표시하는 곳입니다.
5

Buy a top-up pack

  1. 섹션 4에 customer_id를 붙여 넣습니다.
  2. Buy 5,000 emails 클릭 후 테스트 체크아웃 완료
  3. 잔액을 새로 고치면 5,000씩 증가합니다.
credit.added 이벤트가 grant_source: one_time와 함께 발생합니다. 충전이 구독 크레딧 위에 쌓입니다; 두 풀은 FIFO(최소 비사용 만료 보조금 우선)로 소비됩니다.
6

Test the hard stop

잔액을 수동으로 0으로 차감한 다음 이메일 하나를 더 보내보십시오. 다음을 얻을 것입니다:
{ "error": "No email credits remaining. Buy a top-up pack or upgrade your plan." }
그 402는 애플리케이션 수준의 강제입니다. Dodo 잔액 API는 진실의 근원입니다; 클라이언트에 캐시하지 마십시오.

문제 해결

서명은 원시 HTTP 본문을 통해 계산됩니다. express.json()는 페이로드를 파싱하고 다시 직렬화하여 HMAC를 중단시킵니다. /webhooks/dodoapp.use(express.json()) 줄 위에 등록되었는지, DODO_WEBHOOK_KEY가 엔드포인트 세부 페이지에 표시된 서명 키와 일치하는지 확인하십시오.
세 가지를 이 순서로 확인하십시오:
  1. 고객이 체크아웃을 완료했는지 (크레딧은 성공적인 결제 후 발급되며 세션 생성 시 발급되지 않음)
  2. CREDIT_ENTITLEMENT_ID.env에서 제품에 연결된 크레딧과 일치하는지 (ID 불일치는 잘못된 크레딧에 조용히 기록됨)
  3. 포함하고 있는 customer_id가 Dodo에서 온 것인지 (대시보드의 customers 테이블), 아니면 자체 데이터베이스에 있는 것인지 확인합니다.
샌드박스 발신자 onboarding@resend.dev은 Resend 계정의 이메일 또는 delivered@resend.dev로만 배달됩니다. 다른 사람에게 보내기 위해 도메인 확인하고 그 위에 from 주소를 사용하십시오.

당신이 만든 것

One reusable credit unit

Email Credits는 한 번 정의하고 구독 계획과 충전 팩 모두에 첨부됩니다.

Subscription with prepaid allowance

$19/month는 주기당 5,000개의 이메일을 제공합니다. 고객은 그들이 무엇을 지불하는지 알고, 당신은 최악의 경우 비용을 알고 있습니다.

Top-up pack

5,000개의 이메일을 제공하는 일회성 제품입니다. 계획 변경 없이 구독 크레딧 위에 추가됩니다.

Instant ledger debits

각 전송 후 하나의 createLedgerEntry 호출. 계량기, 집계 지연 없음, Resend의 메시지 ID를 통한 재시도 시 멱등.

Credit-Based Billing Reference

롤오버, 초과 사용 모드, 원장 관리 및 전체 API 표면에 대한 전체 CBB 문서를 읽으십시오.
도움이 필요하신가요? Need help?
Last modified on May 14, 2026