> ## Documentation Index
> Fetch the complete documentation index at: https://docs.dodopayments.com/llms.txt
> Use this file to discover all available pages before exploring further.
# HubSpot
> 通过 Dodo Payments 事件自动创建和更新 HubSpot 中的联系人、公司和交易。
## 介绍
将您的支付数据直接同步到 HubSpot CRM。从成功的支付中创建联系人,跟踪订阅生命周期,并构建全面的客户档案——所有这些都由 Dodo Payments 事件自动触发。
此集成需要 HubSpot 管理员访问权限来配置 OAuth 范围和 API 权限。
## 开始使用
在您的 Dodo Payments 仪表板中,前往Webhooks → + 添加端点,然后展开集成下拉菜单。
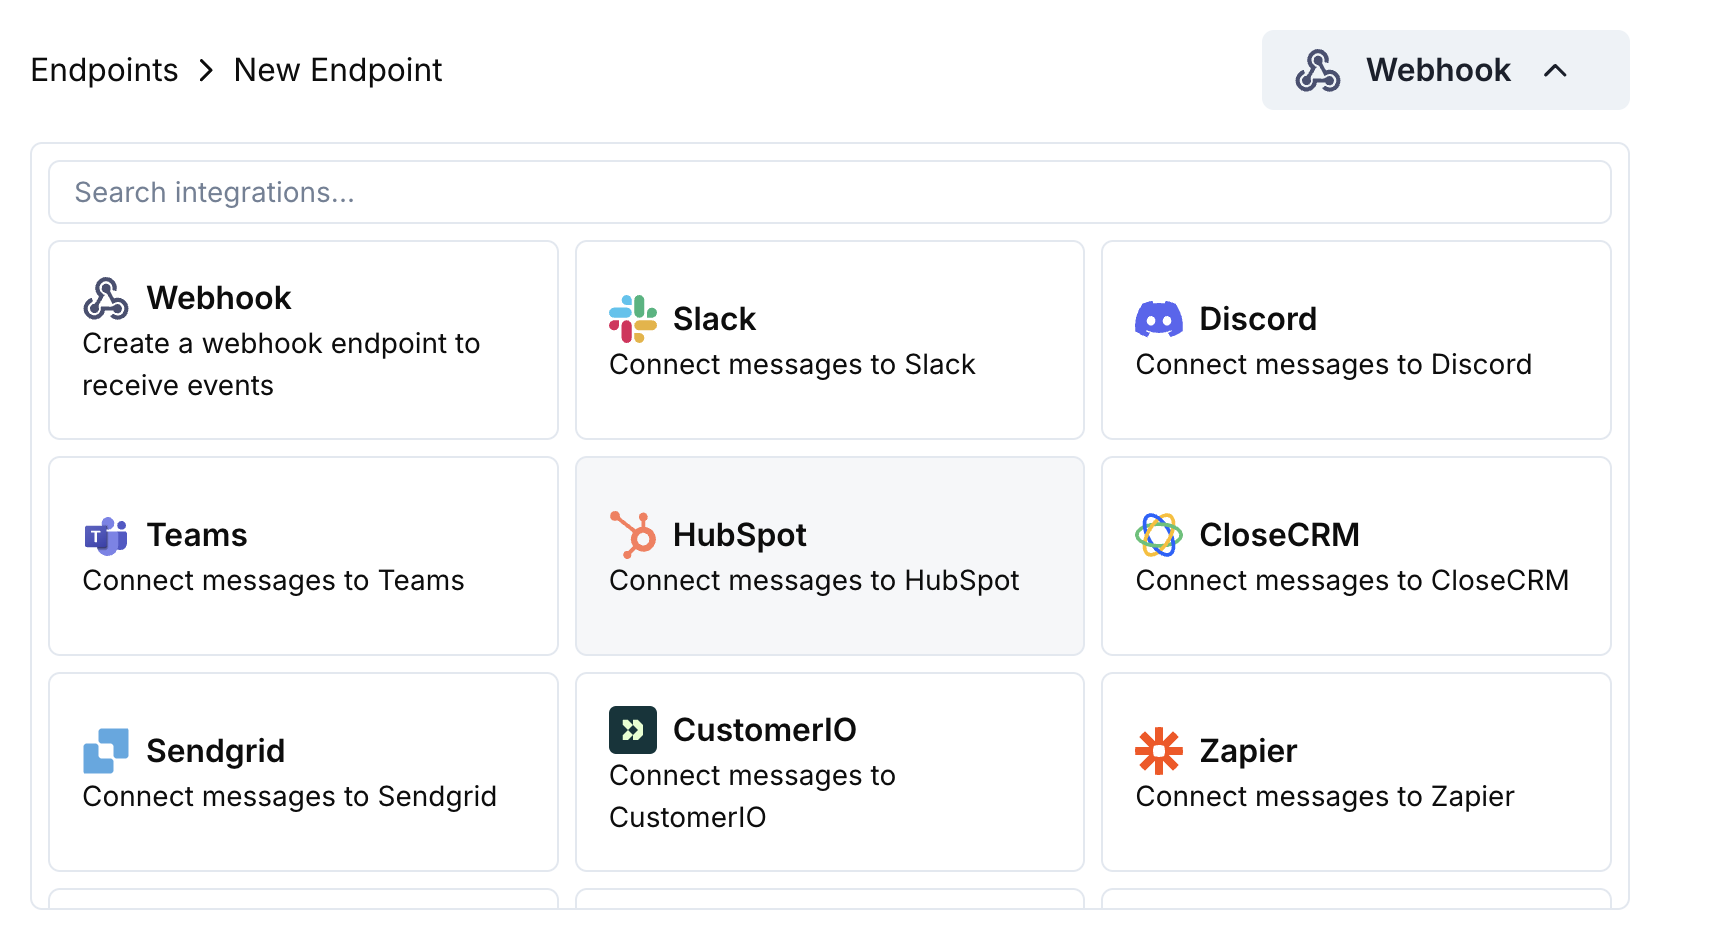 选择HubSpot集成卡。
点击连接到 HubSpot并授权所需的 OAuth 范围。
编辑转换代码,将支付数据映射到 HubSpot CRM 对象。
使用示例有效负载进行测试,然后点击创建以激活同步。
🎉 现在支付事件将自动在你的 HubSpot CRM 中创建/更新记录。
## 转换代码示例
### 从支付创建联系人
```javascript create_contact.js icon="js" expandable theme={null}
function handler(webhook) {
if (webhook.eventType === "payment.succeeded") {
const p = webhook.payload.data;
webhook.url = "https://api.hubapi.com/crm/v3/objects/contacts";
webhook.payload = {
properties: {
email: p.customer.email,
firstname: p.customer.name.split(' ')[0] || '',
lastname: p.customer.name.split(' ').slice(1).join(' ') || '',
phone: p.customer.phone || '',
company: p.customer.company || '',
amount: (p.total_amount / 100).toString(),
payment_method: p.payment_method || '',
currency: p.currency || 'USD'
}
};
}
return webhook;
}
```
### 使用订阅更新联系人
```javascript update_contact.js icon="js" expandable theme={null}
function handler(webhook) {
if (webhook.eventType === "subscription.active") {
const s = webhook.payload.data;
webhook.url = `https://api.hubapi.com/crm/v3/objects/contacts/${s.customer.customer_id}`;
webhook.method = "PATCH";
webhook.payload = {
properties: {
subscription_status: "active",
subscription_amount: (s.recurring_pre_tax_amount / 100).toString(),
subscription_frequency: s.payment_frequency_interval,
next_billing_date: s.next_billing_date,
product_id: s.product_id
}
};
}
return webhook;
}
```
### 从支付创建交易
```javascript create_deal.js icon="js" expandable theme={null}
function handler(webhook) {
if (webhook.eventType === "payment.succeeded") {
const p = webhook.payload.data;
webhook.url = "https://api.hubapi.com/crm/v3/objects/deals";
webhook.payload = {
properties: {
dealname: `Payment - ${p.customer.email}`,
amount: (p.total_amount / 100).toString(),
dealstage: "closedwon",
closedate: new Date().toISOString(),
hs_currency: p.currency || "USD"
},
associations: [
{
to: {
id: p.customer.customer_id
},
types: [
{
associationCategory: "HUBSPOT_DEFINED",
associationTypeId: 3
}
]
}
]
};
}
return webhook;
}
```
## 提示
* 使用 HubSpot 的 API 探索器测试对象创建
* 将支付金额映射到 HubSpot 货币字段
* 包括客户 ID 以确保正确关联
* 根据支付状态设置适当的交易阶段
## 故障排除
* 验证 OAuth 范围包含写入权限
* 检查所需的 HubSpot 属性是否存在
* 确保客户电子邮件有效且唯一
* 查看 HubSpot API 限速
* 验证 JSON 结构是否与 HubSpot API 格式匹配
* 检查是否包含所有必需属性
* 确保属性名称与 HubSpot 字段名称完全匹配
选择HubSpot集成卡。
点击连接到 HubSpot并授权所需的 OAuth 范围。
编辑转换代码,将支付数据映射到 HubSpot CRM 对象。
使用示例有效负载进行测试,然后点击创建以激活同步。
🎉 现在支付事件将自动在你的 HubSpot CRM 中创建/更新记录。
## 转换代码示例
### 从支付创建联系人
```javascript create_contact.js icon="js" expandable theme={null}
function handler(webhook) {
if (webhook.eventType === "payment.succeeded") {
const p = webhook.payload.data;
webhook.url = "https://api.hubapi.com/crm/v3/objects/contacts";
webhook.payload = {
properties: {
email: p.customer.email,
firstname: p.customer.name.split(' ')[0] || '',
lastname: p.customer.name.split(' ').slice(1).join(' ') || '',
phone: p.customer.phone || '',
company: p.customer.company || '',
amount: (p.total_amount / 100).toString(),
payment_method: p.payment_method || '',
currency: p.currency || 'USD'
}
};
}
return webhook;
}
```
### 使用订阅更新联系人
```javascript update_contact.js icon="js" expandable theme={null}
function handler(webhook) {
if (webhook.eventType === "subscription.active") {
const s = webhook.payload.data;
webhook.url = `https://api.hubapi.com/crm/v3/objects/contacts/${s.customer.customer_id}`;
webhook.method = "PATCH";
webhook.payload = {
properties: {
subscription_status: "active",
subscription_amount: (s.recurring_pre_tax_amount / 100).toString(),
subscription_frequency: s.payment_frequency_interval,
next_billing_date: s.next_billing_date,
product_id: s.product_id
}
};
}
return webhook;
}
```
### 从支付创建交易
```javascript create_deal.js icon="js" expandable theme={null}
function handler(webhook) {
if (webhook.eventType === "payment.succeeded") {
const p = webhook.payload.data;
webhook.url = "https://api.hubapi.com/crm/v3/objects/deals";
webhook.payload = {
properties: {
dealname: `Payment - ${p.customer.email}`,
amount: (p.total_amount / 100).toString(),
dealstage: "closedwon",
closedate: new Date().toISOString(),
hs_currency: p.currency || "USD"
},
associations: [
{
to: {
id: p.customer.customer_id
},
types: [
{
associationCategory: "HUBSPOT_DEFINED",
associationTypeId: 3
}
]
}
]
};
}
return webhook;
}
```
## 提示
* 使用 HubSpot 的 API 探索器测试对象创建
* 将支付金额映射到 HubSpot 货币字段
* 包括客户 ID 以确保正确关联
* 根据支付状态设置适当的交易阶段
## 故障排除
* 验证 OAuth 范围包含写入权限
* 检查所需的 HubSpot 属性是否存在
* 确保客户电子邮件有效且唯一
* 查看 HubSpot API 限速
* 验证 JSON 结构是否与 HubSpot API 格式匹配
* 检查是否包含所有必需属性
* 确保属性名称与 HubSpot 字段名称完全匹配